

YOUR CART IS CURRENTLY EMPTY
Exhibition stand lighting: lighting products, graphics and people
Published
Quick answer
Hall lighting is set up for the whole room, not for your stand, so plan three layers: focused light on the products, even light on (or behind) the main graphic, and softer light where your team talks to visitors. Use LED fittings, which use far less power and run cooler than halogen. List every fitting and its wattage, then order enough power through the show's electrical contractor before the deadline in the exhibitor manual.
Light the product, the graphic and the people
Good exhibition stand lighting decides where visitors look and how long they stay. Hall lighting is flat and overhead, so a stand without its own lights tends to look dull next to its neighbours.
Plan the lighting in layers, one job at a time:
- The product. Focused light on the hero product or demo, so it is the brightest thing on the stand.
- The graphic. Even light across the back wall or header, so the brand reads from the aisle.
- The people. Softer, warmer light over the meeting table or counter, where your team has the longer conversations.
A bright, crisp front draws people in from the aisle. A softer area further back feels like a place to sit down and talk. Decide what each zone is for before you choose fittings.
Spotlights and arm lights for products and graphics
Spotlights create a "hero" element. They pick out the key product or message and add light and shadow, which makes the stand look less flat. Arm lights mounted on the top of a wall or banner stand do the same job for a printed graphic.
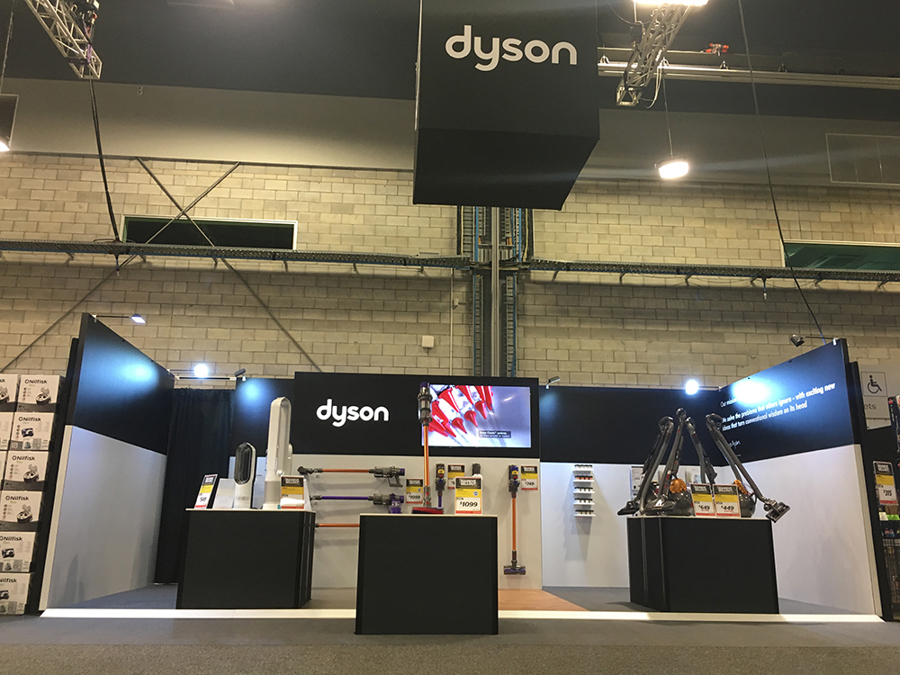
Two options from our range:
- Premier Light L1000. An LED kit for the Premier banner stand that throws light onto the printed graphic. It is an optional extra, so you can order it with a new Premier or add it to one you already have, with no change to the artwork.
- Battery Displays 2 Glow lights. Battery powered lights that need no outlet and leave no lead to tape down. Aim one at the hero product, a shelf or a section of graphic, and move it during the show if the light needs to go somewhere else.
Fix lights securely and keep them clear of fabric. One 2025 exhibitor manual for a show at ICC Sydney required spotlights and floodlights to be "guarded and mechanically fixed", and said "All lighting must be kept at least 300mm away from muslin/fabric ceilings and other combustibles." Check the equivalent rules in your own manual.
Lightboxes and backlit fabric walls
A backlit wall lights the whole graphic evenly from behind, so the brand stays bright under flat hall lighting and from a distance.
Our Illuminated SuperWall is a fabric backdrop with its own lighting inside. An LED "curtain" hangs within the frame, and a one-piece fabric graphic made for backlighting slides over the top.
| Detail | Illuminated SuperWall (from the product page) |
|---|---|
| Height | 2.45m, in a choice of widths |
| Included | Full-colour 270gsm fabric graphic for backlighting, LED light curtains, Australian-certified transformers, the aluminium frame and a carry bag |
| Weight | 7 to 14kg complete, depending on size |
| Set-up | Designed for one person to assemble in under 10 minutes, with no tools |
| Production lead time | 1.5 weeks from order and print-ready artwork, plus delivery time |
| Price | From $3,992 excluding GST and freight |
Graphic skins can be swapped, so the same frame can carry a new campaign at the next show.
If a fabric graphic backs onto a window or a bright wall, daylight can shine through it and wash out the print. Light from your own fittings, behind or in front of the graphic and stronger than the light behind it, evens it out. Check this at the time of day your show is busiest.
See all our illuminated displays, including plinths with lighting, which display one product on an illuminated base.
Overhead features and rigged lighting
A lit overhead sign can be seen across the hall, well before visitors reach your aisle.
Our overhead lightboxes come in a standard 2.4 x 1.2 x 1.2m box, or as a custom shape or size. The price includes the aluminium frame, steel hanging cables, internal LED lighting, an Australian-certified power adaptor and printed graphics on the visible sides. They start from $6,521 excluding GST and freight, with a 1.5-week production lead time from order and print-ready artwork.
Anything hung overhead needs approval and a support point in the right place, and venues control who does the rigging:
- ICC Sydney: banner hanging and rigging are ordered in advance through the venue's Exhibitor Services team. At one 2025 show there, all rigging needed approval from both the organiser and the venue, and only space-only stands over 36m² were allowed to rig.
- Melbourne Convention and Exhibition Centre (MCEC): "All rigging services at MCEC are delivered by our in-house team."
The hanging point must be arranged in advance. We can advise on how to arrange it and who to speak to at the venue.
How much power to order for an exhibition stand
Don't assume power is included. One 2025 exhibitor manual for a show at ICC Sydney said "Space Only Stands do not include any electrical supply", while shell scheme stands came with a standard 4 A socket-outlet. Your own exhibitor manual sets the rules for your show.
Work it out in four steps:
- List every item that plugs in: lights, lightbox power supplies, screens, laptops, fridges, coffee machines and chargers.
- Note each item's wattage from its label or spec sheet, and add them up.
- Convert to amps. Watts divided by volts gives amps. Australia's nominal supply is 230 V. As a rough guide, a 4 A outlet supplies about 920 W (4 x 230). Your electrical contractor will confirm what your stand needs.
- Order through the show's electrical contractor by the deadline. Allow for outlets in the right positions, not just total amps. At MCEC, the venue's checklist says to decide on services such as lighting and rigging a month out and to order them seven business days before the event.
| Item | Where on the stand | Watts (from label) | Outlet needed? |
|---|---|---|---|
| Backlit wall power supply | Back wall | Yes | |
| Arm lights or spotlights | Wall tops, header | Yes | |
| Screen and media player | Feature wall | Yes | |
| Battery lights | Anywhere | None from the stand supply | No |
| Fridge, coffee machine | Counter or storage | Yes |
Shows can also limit how you wire it. The same 2025 manual capped lighting circuits at 1,000 watts, required lighting and power to run on separate circuits, and allowed only one 4-way extension lead per socket outlet, with no daisy-chaining and no block adaptors.
Choose LED. The Australian Government's energy.gov.au says LEDs "use up to 75% less energy" than old halogens and "generate less heat". That means fewer amps to order and a cooler stand.
Test and tag everything. The same 2025 manual required every piece of electrical equipment brought on-site to be "tested and tagged in accordance with AS/NZS 3760 prior to use". Items that weren't tagged could not be used, and the organisers reserved the right to cut power to stands that were not compliant. MCEC's checklist also says to "Test and tag every piece of electrical equipment" before coming on-site.
Colour, mood and the people on your stand
The colour of the light sets the mood as much as its brightness. Crisp white light says "look here". Warmer, softer light says "come in and talk to us". In a crowded hall, a well-chosen lighting scheme can set a stand apart.
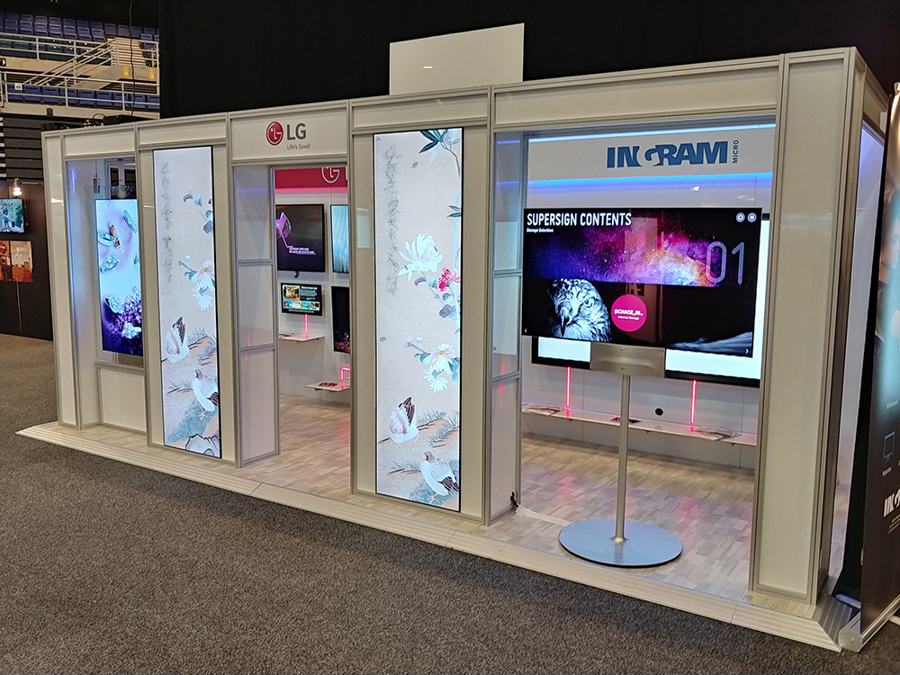
- Up-lights add depth around the edges of a stand and can pick out a brand colour.
- Gobos project a pattern or logo through a stencil onto a wall or floor. They are an easy way to add a brand mark without another printed panel.
- Soft, ambient light over meeting areas helps visitors relax and stay for a longer conversation.
Light for your audience. A design or consumer-tech crowd may expect bolder colour and effects than a procurement or government audience. Light your staff as well as your product: a team standing in shadow looks less approachable.
Lighting mistakes to avoid
- Only judging the stand from the aisle. Walk through it. Check the lighting from where visitors stand, sit and talk, not just from 10 metres away.
- Glare. Aim spotlights at the product or graphic, not into the eyes of visitors or staff.
- Sensory overload. Flashing or fast colour changes can drive away the people you worked to draw in.
- Ordering power late. Finalise your lighting list early so the power order goes in before the exhibitor manual's deadline.
- Cables across walkways. Plan outlet positions, or use battery lights where a lead would cross a path.
- Bringing untagged gear. Test and tag every lead and fitting, and read the manual's lighting and electrical rules before you pack.
Buying lighting with your stand
The fastest way to get lighting right is to plan it with the stand, not add it on site. Tell us what you want to light, where the stand is and what power you have ordered, and we can suggest options from our range. If you're planning a hired stand, mention lighting in the brief so it is considered from the start.
Next step
Contact us or call 1300 240 250 with your show, stand size and what you need to light, and we'll suggest lighting options to suit.