

YOUR CART IS CURRENTLY EMPTY
Visual merchandising basics: how displays sell without a word
Published
Quick answer
Visual merchandising is the way a display guides the shopper's eye to one product, then gets that product into their hand. The core principles are a clear focal point on the main sightline, the hero product at eye level, placement in the store's hot spots rather than the entry decompression zone, colour blocking, and a pyramid layout that keeps every item visible. Plinths, turntables and showcases are the tools that make those principles work on the floor.
What visual merchandising is for
Visual merchandising is the physical side of product merchandising: deciding where a product sits, how it is lit and framed, and what the shopper sees first. The aim is to make products easier to notice, understand, compare and buy in the space available.
Most retail displays do one of four jobs:
| Display type | Job | Typical tool |
|---|---|---|
| Hero display | Focus attention on one launch or priority range | Plinth, showcase, turntable |
| Category display | Make comparison and navigation easier | Shelving, stepped plinth set |
| Impulse display | Put relevant products near a decision point | Counter unit, dump bin |
| Demonstration display | Show function, texture, scale or use | Demo counter, open plinth top |
Decide which job the display has before you choose a style. It narrows the options faster than a mood board.
Sightlines and focal points
A shopper scans a space in a few seconds. A display works when the eye lands on one thing first, then moves to the supporting products and the price.
- Pick one focal point. One hero product, one message. Too many messages at the same visual level cancel each other out.
- Check the approach, not the front elevation. Walk the routes shoppers actually take and look at the display from each. A display that faces the wall when most traffic comes from the side is only seen in the render.
- Keep the sightline clear. Signage, stock and staff can block the hero product. Set the tallest elements at the back and leave the front low.
- Use contrast and space. A single product with space around it reads as important. The same product in a crowd reads as stock.
Eye level is buy level
The product at eye height gets seen first, so that is where the hero product and the highest-margin range belong. Supporting lines go just above and below. Bulk or heavy stock goes low.
For a brand display on a plinth, height does this work. Our standard portable plinth height is 900mm, and taller plinths or stepped sets lift a small product closer to eye height. Plinths can also be made to a custom height if the product or the store fit-out needs it.
Hot spots and the decompression zone
The decompression zone is the first few steps inside a store entrance. Shoppers are adjusting to the light, the noise and the layout, and tend to walk past what sits there. A hero display placed right at the door is often missed.
Hot spots are the places where shoppers slow down or stop. Look for:
- the first clear sightline just past the entry zone
- the ends of aisles and gondola ends
- the queue line and the area around the point of sale
- the main walkway through a department or a shopping centre concourse
Put the hero display in a hot spot, facing the dominant traffic flow. Keep impulse lines near the counter and queue, where the decision is quick and the price is low.
Colour blocking
Colour blocking groups products of the same or related colours into solid bands, rather than mixing every colour across a shelf. Solid blocks read from further away and make a range look larger and better organised.
- Block by colour first, then by size or price within each block.
- Run the blocks vertically on a wall or shelf, so a shopper standing in one spot sees every colour.
- Use your brand colour on the display structure itself. A plinth wrap, light box or header in brand colours does the job of a sign without adding copy.
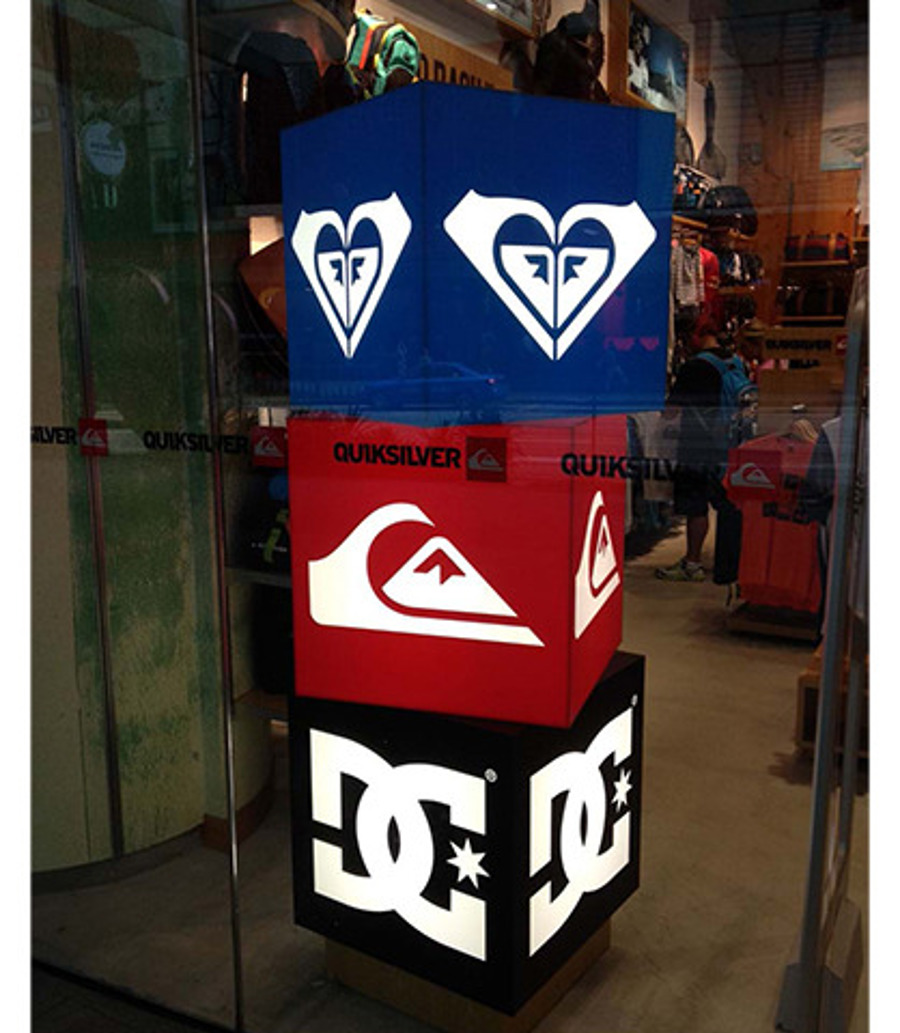
The pyramid principle
The pyramid principle arranges products in a triangle: the tallest or most important item at the top and centre, with smaller items stepping down on each side. The eye goes to the peak first, then down to the rest. Every item stays visible, and the arrangement looks deliberate rather than stacked.
On a brand display, a stepped plinth set does this for you. A plinth kit is a matched group of two or more heights, so a range of products can sit at different levels without any of them hiding another. Put the hero product on the tallest plinth, with variants and accessories on the lower ones.
Lighting in visual merchandising
Lighting decides what gets noticed first. Store ambient lighting covers the whole floor. Accent lighting picks out the hero product. If the store's lighting is flat, build the light into the display.
Our portable plinths can include internal lighting, and goose-neck lights can shine onto the plinth top. A frosted top with internal lighting makes the product glow from below, which works well for clear packaging, glass and bottles.
Applying visual merchandising to brand displays in someone else's store
Brand and trade marketing teams rarely control the store. The display has to work inside a retailer's or centre's rules.
Where to find the visual merchandising display guidelines. Start with the retailer's VM guide or planogram for that category, usually held by head office or the store manager. Add your own brand guidelines. For a shopping-centre space, centre management has its own rules, which usually cover display height, signage and set-up times. Ask for all three before you design.
Design for the people who will set it up. Store staff or field reps, not designers, usually install brand displays. Many of our portable systems can be put together by one person in minutes without tools. Send a one-page set-up guide with a photo of the finished display.
When unpacking merchandise for a visual display:
- Check the stock and display parts against the plan or planogram.
- Check for damage before anything goes on show.
- Remove all packaging, tags and transit protection, and dispose of it as the store requires.
- Clean the display surfaces and the product.
- Build the display to the plan, then check it from the shopper's approach.
- Photograph the finished display and send it to the brand team.
Keep it maintained. Empty facings, damaged graphics and display parts that block access to the product undo the work. Agree who replenishes and checks the display each week.
Display tools: plinths, turntables, showcases
| Tool | What it does for visual merchandising | From the current product page |
|---|---|---|
| Display turntables | Movement draws the eye and gives a 360-degree view | 150mm and 160mm diameters, from $58 + GST, off the shelf, so in-stock models typically despatch the day you order |
| Showcase plinths | A clear case keeps hands off high-value products | 300mm to 600mm square, 100mm to 1,200mm high, lockable door option, 2.5-week production, quoted to brief |
| Portable plinths | Lifts the product and carries brand colour | Supports up to 70kg, folds flat, no tools, 1.5-week production, quoted to brief |
Production times run from order and print-ready artwork. Allow extra time for freight.
Turntables. Keep the speed low. The product page recommends 1 to 4 RPM for most displays. A small turntable can run a touch quicker than a big one. Don't run a turntable continuously. Give the motor regular rest periods.
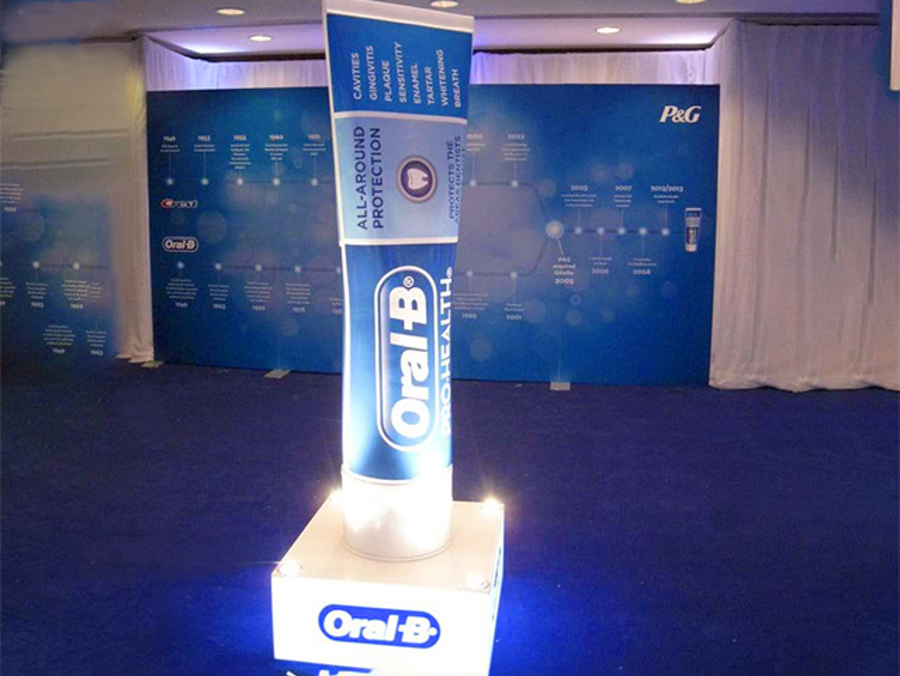
Showcases. Keep a little headroom above the tallest item, but not much: a case that is far too tall makes the product look small. Choose a lockable door or security screws for jewellery, watches and electronics. A common set-up is a 900mm-high plinth, 400mm square, topped with a 300mm or 400mm case.
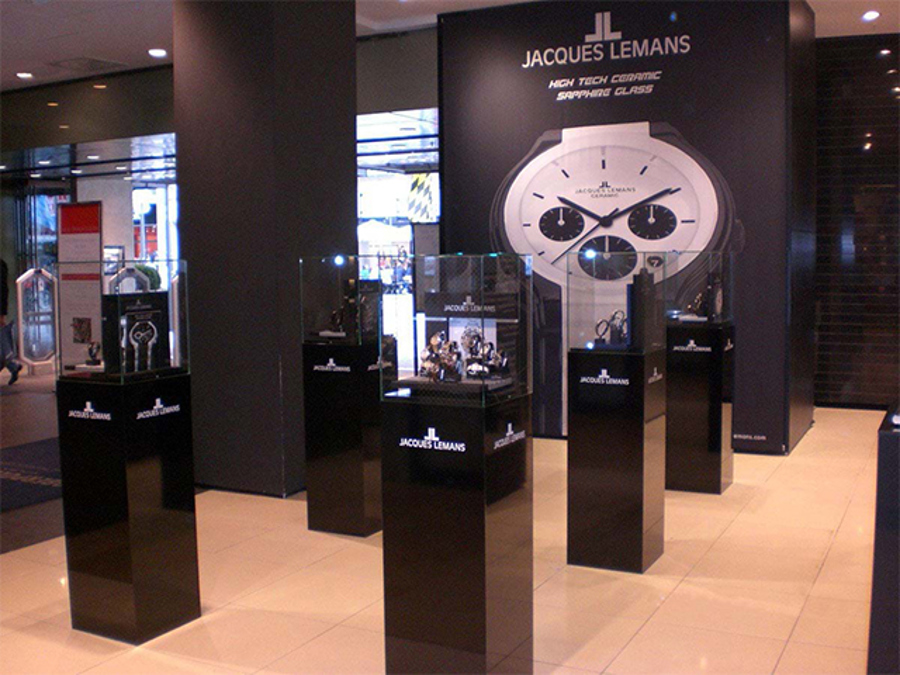
Portable plinths. At the standard 400mm square by 900mm, a plinth weighs 3.7kg, so one person can carry it and set it up. An interchangeable printed fabric sleeve lets the same plinth carry the next campaign's colours.
Next step
Browse our plinths and turntables for retail displays, or see how we work with brands on the shop floor in retail display solutions. Send us the product, the store and the date, and we'll recommend a display that suits the space.