YOUR CART IS CURRENTLY EMPTY
How to write a winning exhibition stand brief
An exhibition stand brief tells a designer what the stand must achieve and tells a supplier exactly what to price. Give sizes, quantities and dates as numbers, so every quote you get back is for the same job.
To help you write one, we've put together the eight things every brief should cover: objectives and success measures, show details, audience and what visitors should do, products and demos, staffing and storage, AV and power, brand rules, and budget with a timeline.
What is an exhibition stand brief?
An exhibition stand brief is a short document that sets out the objectives, requirements and specifications for designing and building your stand. It is written by the exhibitor, usually the marketing or events team, and it is the reference point for everyone who works on the job.
A good brief does two jobs. It gives the designer enough about your goals, audience and brand to come back with a concept that fits. And it gives suppliers enough hard detail to quote accurately, so you are comparing like with like and not three different interpretations of a vague request.
What to include in your brief
Here are the eight sections, what to write in each, and why the designer or supplier needs it. Each one is covered in more detail below.
- Objectives and success: three or four goals, each with a number. This shapes the layout: open front for lead capture, enclosed space for meetings.
- Show details: venue, hall, stand number, size, open sides, dates. These set the footprint, structure and access times.
- Audience and call to action: who you want to stop, and what they should do next. This drives messaging, graphics and engagement.
- Products and demos: what must be on the stand, with sizes and weights. This sets shelving, plinths, counters and floor loads.
- People and storage: staff numbers, meetings, storage needs. These set seating, meeting space and lockable storage.
- AV, power and lighting: screens, devices, power points, lighting. These often have to be ordered by a deadline in the exhibitor manual.
- Brand rules and approvals: brand guidelines, mandatories, who signs off. Settling these early avoids rework late in the job.
- Budget, reuse and timeline: a budget range, reuse plans, key dates. These decide materials, build method and schedule.
#1 - Define your objectives and how you'll measure success
Start with why you are going. Lead generation, sales on the day, product launches and meetings with key accounts each need a different stand. If the goal is hundreds of badge scans, the stand wants an open front with a counter close to the aisle. If the goal is private meetings, it wants walls, seating and a surface for coffee cups.
Write each objective so it can be counted: who, what number, by when and who owns it. Then list the measures you'll report on after the show, such as qualified leads, meetings held or demos completed. Our guide to setting trade show objectives covers this in more detail.
#2 - Give the show details: venue, stand size and open sides
Give the supplier the facts from your exhibitor contract and the organiser's floor plan:
- Show name, venue, hall and stand number
- Stand size in metres, and how many sides are open to the aisle
- Shell scheme or space only
- Bump-in and bump-out dates and times, and show open days
- Any deadlines in the exhibitor manual for stand plans, power, AV and rigging
Don't guess height limits or approval rules. They differ from venue to venue and from show to show, so check your venue's exhibitor manual and attach it to the brief, or send the link. At ICC Sydney, for example, the venue's exhibition manual (December 2023 release) states that all custom stand plans require its approval before construction. Your designer then works to the height limits, rigging rules and deadlines set for your show, not to assumptions.
#3 - Know your audience and what visitors should do
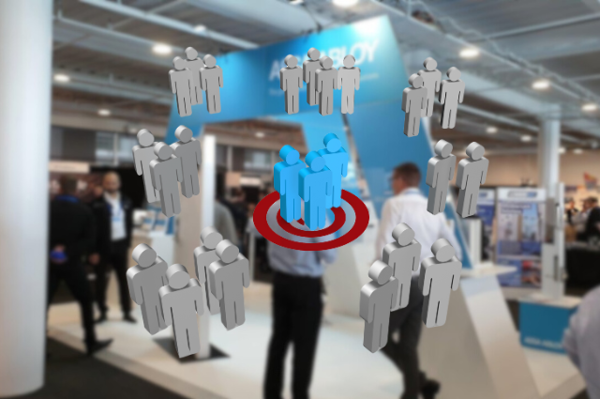
Describe the people you want to attract: their roles, industries and seniority, and whether they are existing customers or new prospects. A stand aimed at procurement managers looks and works differently from one aimed at specialist engineers.
Then say what you want them to do. This is your call to action, and it should match your objectives:
- Book a demonstration at a set time
- Register for a follow-up meeting or a quote
- Try the product on the stand
- Ask about an offer that runs for the show only
Note how you want to engage: short conversations at the front with follow-up later, longer discussions seated, or live demonstrations. That decides how much of the floor goes to open space, counters and meeting areas.
#4 - List the products, demos and what must be on the stand
List every product, sample or piece of equipment that has to be displayed, with its dimensions and weight. Say whether anything needs power, water, security or a lockable case, and whether it arrives with you or with the stand. If you plan a demonstration, describe it: how many people watch at once, how long it runs and what equipment it needs.
#5 - Plan for people: staff numbers, meetings and storage
Tell the designer how many staff will be on the stand at peak times, how many meetings you expect each day, and whether you need a seated meeting area or an enclosed room. Add storage for bags, brochures, stock and catering. Storage that hasn't been planned ends up on the floor in front of the graphics.
#6 - Spell out AV, power and lighting
List screens (with sizes), tablets, lead scanners, sound and any interactive elements. Say how many power points you need and where. Note lighting needs: graphics that need lighting, products that need highlighting, or a backlit wall. If you want hanging signs or overhead structures, say so early. Venues control these closely: ICC Sydney, for example, requires a permit for banner hanging and rigging. Each venue sets its own rigging rules, so check your venue's exhibitor manual for what needs approval and by when.

#7 - Set out brand rules, approvals and mandatories
Attach your brand guidelines and say which logos, taglines, product names or legal lines must appear. Name who approves the design and the artwork, and how long each round of approval takes in your business. If you also need graphics or artwork designed, say so. Our guide to writing a creative brief covers the creative side.
#8 - Share your budget, reuse plans and timeline
Share a budget, even as a range. Designers can match materials and build methods to a budget, but they can't hit a figure they don't know. Say whether the budget covers design, build, graphics, freight, installation and storage, or only some of these.
Say whether the stand will be used once or at several shows a year, and whether those shows have different stand sizes. A reusable structure with replaceable graphics costs more up front but less over a calendar of shows. If your business has sustainability targets, such as reuse or material choices, put them in the brief too.
Then give the key dates: brief sent, concepts due, internal approval, artwork deadline, freight and bump-in. A typical custom stand takes us four to eight weeks once the brief is signed off, so work back from the show date.
Make your specs quotable
Vague briefs produce quotes that can't be compared. These are the lines that make a brief quotable:
- Size: not "Medium stand", but "6m x 3m, two sides open, space only"
- Quantities: not "Some counters", but "One reception counter with lockable storage, two bar-height tables"
- Finish: not "Premium look", but "Fabric graphics on all walls, backlit rear wall, timber-look flooring"
- Reuse: don't leave it unstated; write "Three shows a year at different stand sizes"
- Installation: don't leave it unstated; write "Supplier to install, bump out and pack down"
- Freight and storage: don't leave it unstated; write "Freight to venue and back; store between shows"
What happens after you send the brief
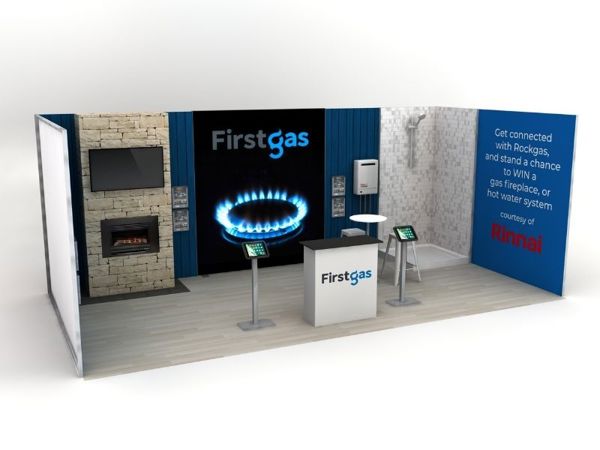
When we receive a brief for custom exhibition stands, we start with your objectives, space and budget. Our graphic and 3D design team then shows the stand as 3D renders, so stakeholders can sign it off and changes are made before production rather than at the venue. We pre-build every custom stand in our workshop and check it before it is freighted. If you plan to reuse it, we can store it between shows and swap the graphics for the next event.
If you are entering a Best Stand award, read the organiser's judging criteria and add them to the brief. Our article on what wins Best Stand at trade shows explains how judges assess stands.
Send us your brief, or call 1300 240 250 with your show name, stand size and date, and we'll tell you what we need to quote.