

YOUR CART IS CURRENTLY EMPTY
How do I apply and remove floor graphics safely?
What are floor graphics?
Floor graphics (or floor decals) are printed adhesive vinyls that stick straight onto a smooth floor. Ours are coated in a hard-wearing, textured floor laminate, which gives a slip-resistant surface. They can be produced in almost any size and cut to shape, and come in indoor or outdoor grades. The steps below are for a hard, smooth floor such as tiles; for carpet, ask us first.
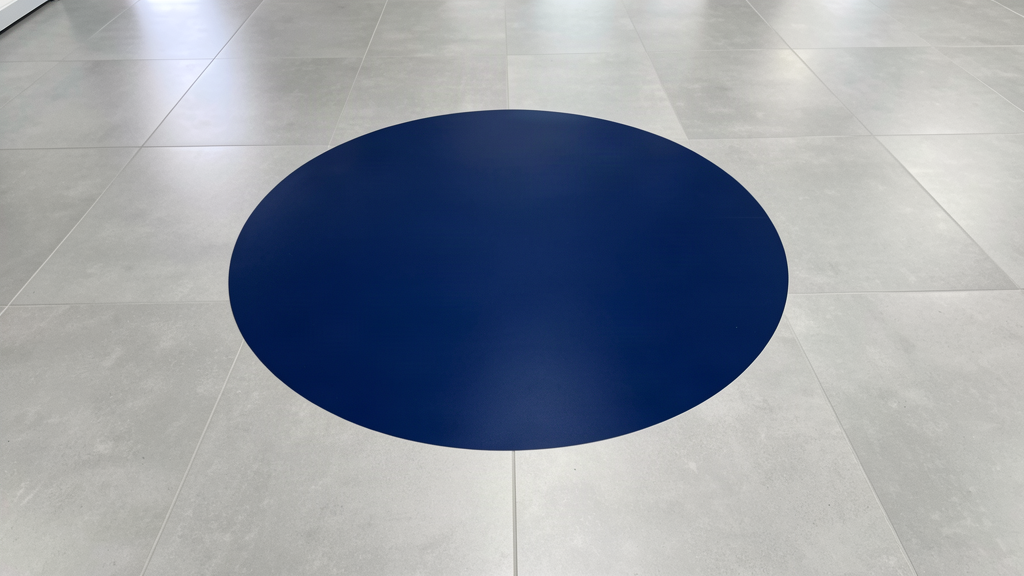
Why does the way you apply them matter?
A floor graphic is something people walk on. If a corner lifts or an edge curls, it can become a trip hazard: Safe Work Australia lists uneven edges in flooring among the low, hard-to-spot obstacles people trip on.
In a shopping centre, store or venue, get permission before you stick anything to the floor. Vicinity Centres, for example, says floor decals at its kiosk sites must be removable and taken up when you leave.
You can choose the adhesive to suit the job. A long-term adhesive is for a graphic that stays down, and a short-term one is for something like an exhibition, where the graphic has to come off without leaving residue. Tell us which one you need when you order.
What you'll need
- A bucket of water and a commercial detergent (not one containing soaps or enzymes)
- Isopropyl alcohol and clean, lint-free cloths
- Masking tape, a sharp blade and a hard plastic squeegee
Steps to apply a floor graphic
1. Choose the spot. Pick a moderate-traffic area away from main doorways. Like any floor surface, a floor graphic gets slippery when wet, even with its slip-resistant laminate. The floor should be level, secure and free from cracks, chips and loose tiles or grout.
2. Clean the floor with detergent and water, going 20 to 25cm past where the graphic will go on every side. Wipe it dry with a lint-free cloth. Don't let it air dry.
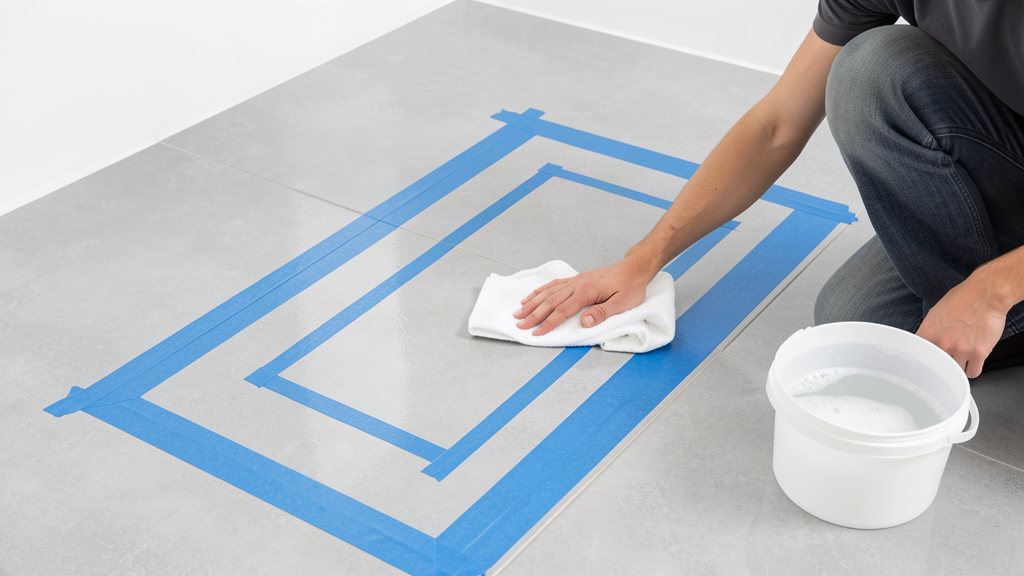
3. Wipe the area with a cloth dampened with isopropyl alcohol, then wipe it dry straight away, before the alcohol evaporates.
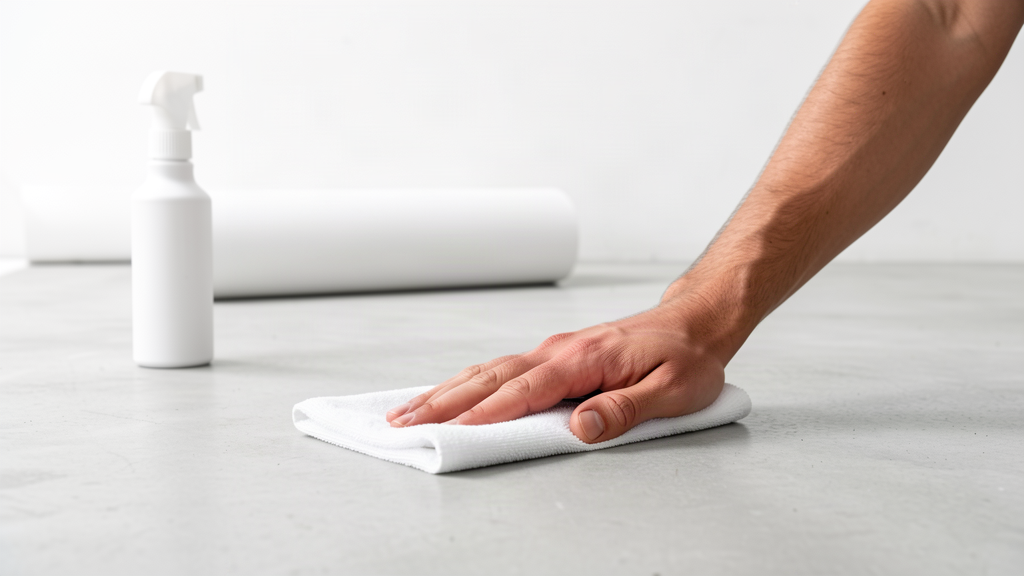
4. Lay the graphic in place, face up, with its liner still on. Make sure its edges don't run along a tile edge, grout line or join in the floor.
5. Run a strip of masking tape down one edge to act as a hinge. Add small tape tabs across the two edges next to it, and cut each one with the blade, so half stays on the graphic and half on the floor. These tabs let you put it back in exactly the same spot.
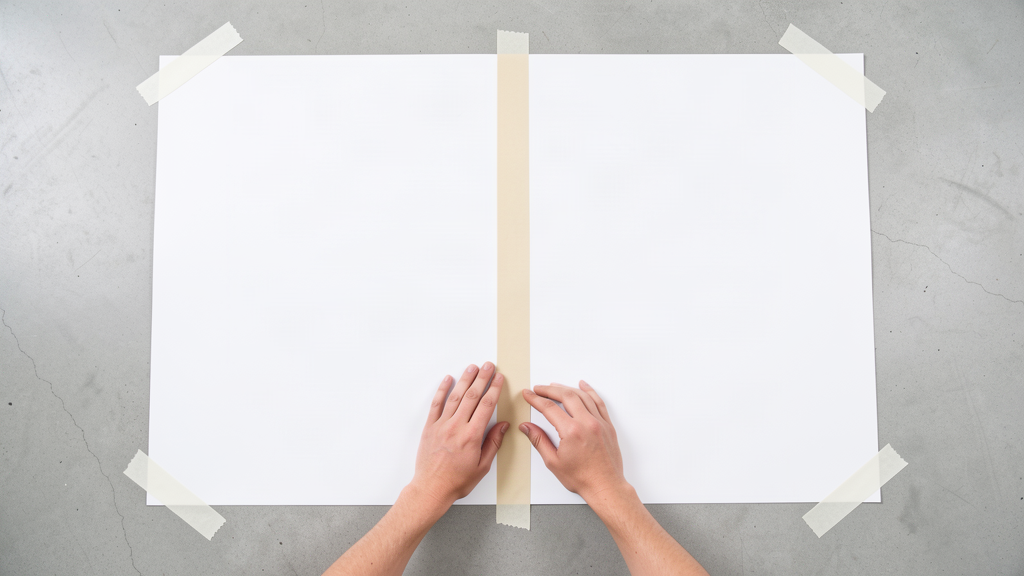
6. Fold the graphic back on its hinge and peel off the liner. Keep the graphic as close to the floor as you can, and don't smooth it down with your hands, as that traps air.
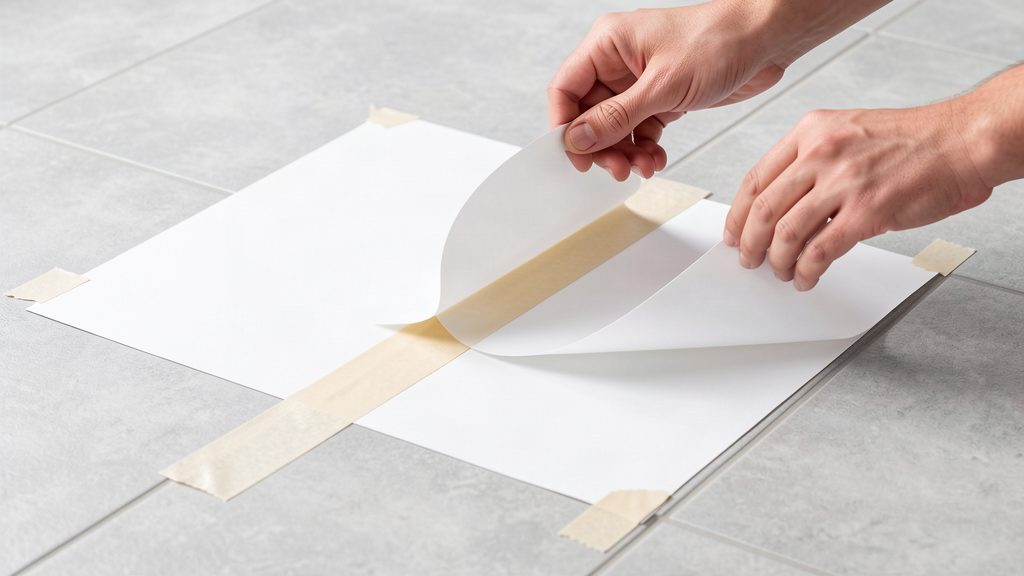
7. Line the tabs up again. With the squeegee, make one firm stroke down the middle of the graphic, then work out to the edges with firm, overlapping strokes.
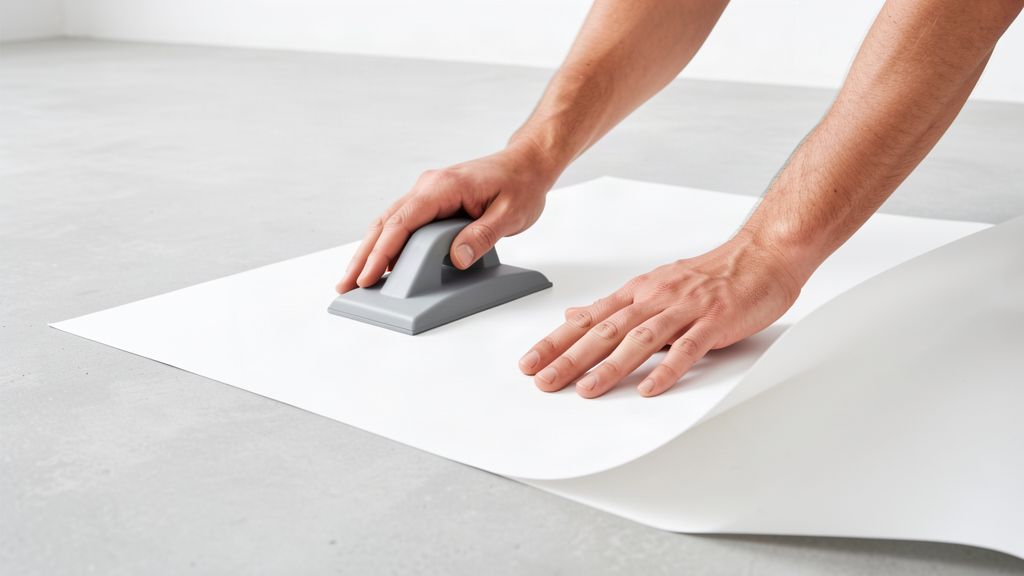
8. Go over the edges and corners again with the squeegee, then remove the tape.
IMPORTANT: Keep people off the graphic for at least 8 hours, so the adhesive can bond to the floor. Don't clean it at all for the first 24 hours.
Note: Rounded corners are less likely to lift from scuffing than square ones.
Steps to remove a floor graphic
1. Start at one corner. If it's hard to lift, use a putty knife to get it started.
2. Pull the graphic back towards you gently, at about 90 degrees to the floor.
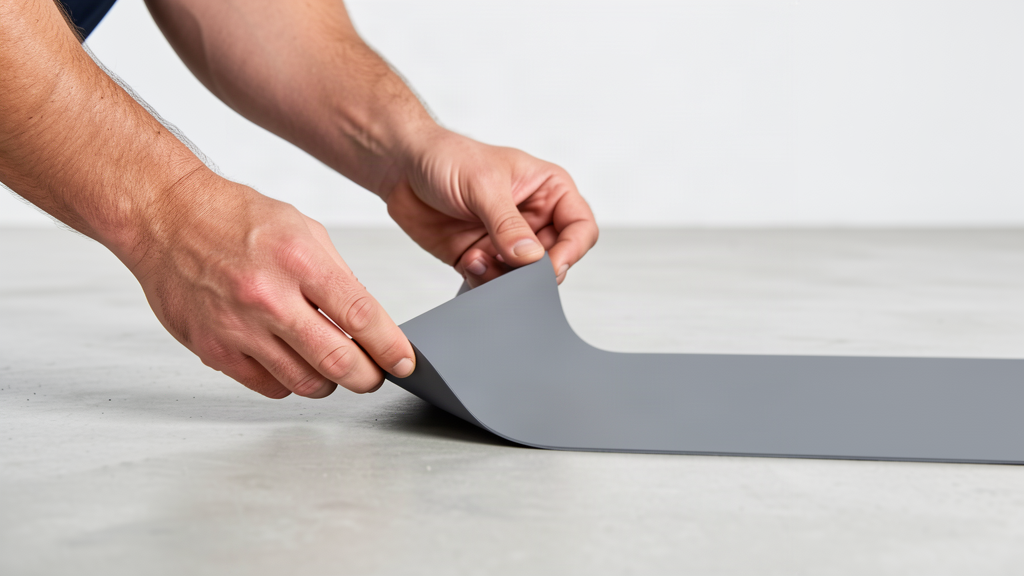
3. If any adhesive is left at the edges, scrape it off gently with the putty knife or use a citrus cleaner, then clean the floor as usual.
Note: The floor under the graphic may look a slightly different shade from the floor around it. The graphic protects what's underneath from light, so the surrounding floor may have faded a little.
4. Finally, check the whole area is clean and flat, and you're done!
If you'd rather not do it yourself, installation is available for our adhesive floor vinyl. For a full exhibition floor, look at our printed vinyl flooring, which is supplied in a roll for you to roll out instead.
Need some help?
We're here for you
If you're needing some advice or just a helping hand, please get in touch with our team, by clicking this button. Complete the enquiry form and one of our specialists will call you back as soon as we can.