

YOUR CART IS CURRENTLY EMPTY
How do I hang a PVC or mesh banner on a fence, wall or between poles?
What's the difference between a PVC and a mesh banner?
A PVC (vinyl) banner is a solid sheet. It sheds water, and a well-made banner holds up against tearing, moisture and UV through long periods outside. That's why it's widely used for outdoor banners, scaffolding banners and building wraps. Standard outdoor PVC banner is about 440 to 500gsm.
A mesh banner has tiny perforations that let air pass through, so it catches less wind than a solid banner. It's the better pick for large banners and exposed fences. A solid PVC banner is fine for smaller, sheltered spots.
We work with you to supply PVC and mesh banners. Some printed graphics can be up to 3.2m wide in one piece, depending on the material and how the job is produced; ask us about the width for your banner. See printing and production for more, or compare PVC with fabric in exhibition wall graphics: fabric vs vinyl.
Why does the way I fix it matter?
Wind is what brings outdoor banners down. A banner tied only at its corners puts the whole load on four eyelets, and that's where it tears. Fix every eyelet with even tension and the load is shared along each edge.
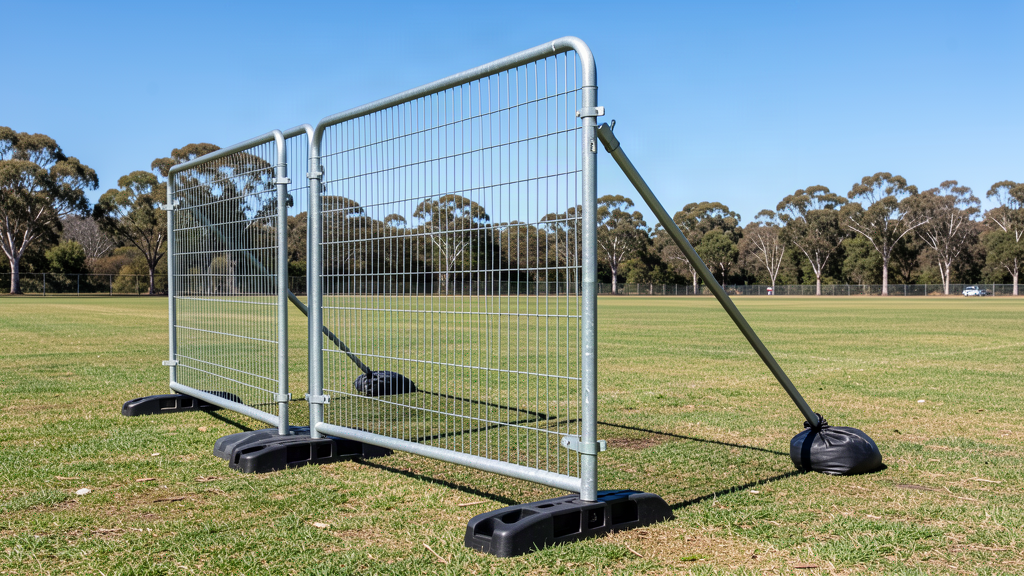
On a temporary fence, the banner loads the fence as well. A printed banner can turn the fence into a sail, and that can topple a fence in what might only be a mild breeze. SafeWork NSW asks for site fences to be built securely to prevent collapse in high winds, using counterweights, baseplates and brackets or braces.
Use the following steps to hang a banner on a fence
1. Check the fence before the banner goes on. If it's a temporary fence, ask the fence supplier whether the run needs stays (wind braces) to carry a banner.
IMPORTANT: Cable ties are for the banner only. SafeWork NSW says fence panels should be securely clamped, and that tie wire or cable ties should not be used to secure posts together.
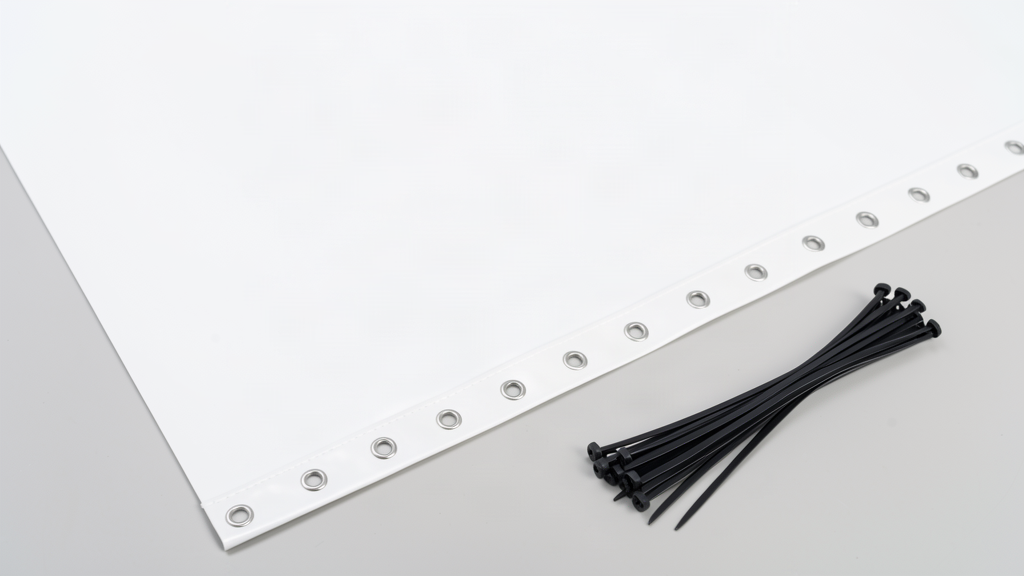
2. Lay the banner face down on a clean, dry surface. Check every hem and eyelet, then count the eyelets and set out one tie for each, plus a few spares.
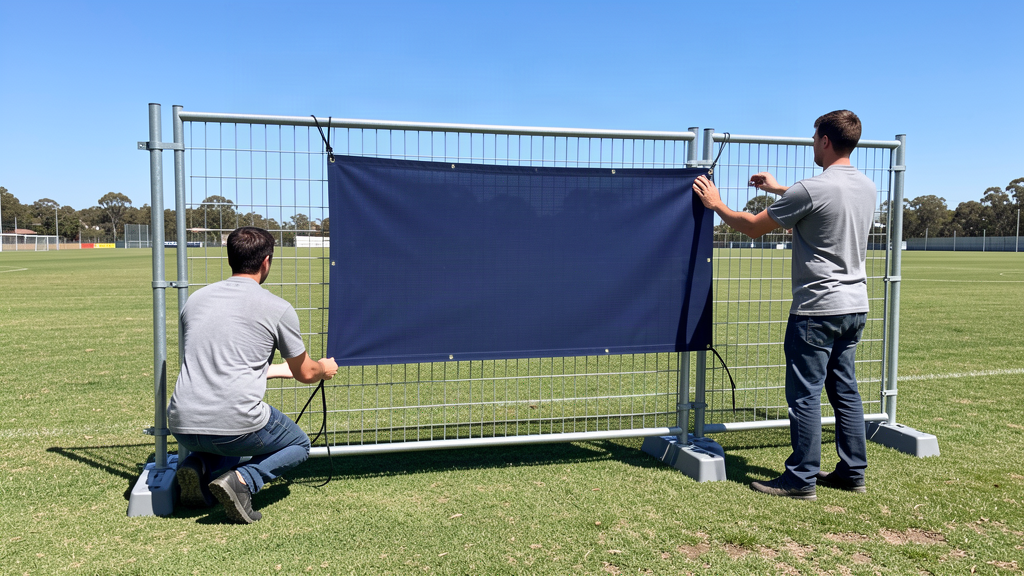
3. Hold the banner against the fence and fix the top two corners, level with each other. Two people make a large banner far easier to get straight.
4. Fix the bottom two corners, pulling gently down and out to take out the sag.
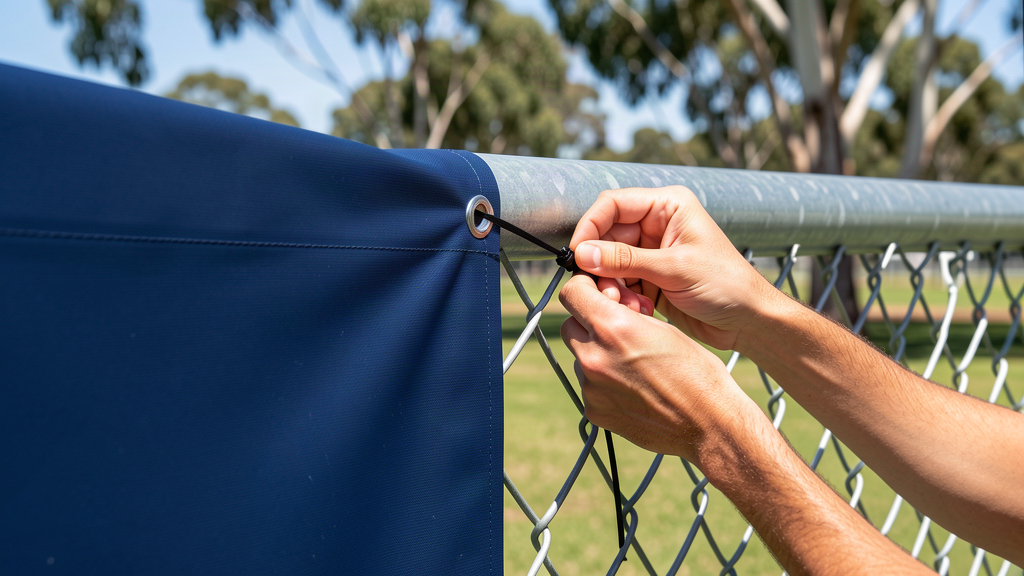
5. Work along each edge from the corners inward, fixing every eyelet. Thread each tie through the eyelet and around the fence wire or rail, never through the printed face.
Note: Pull cable ties firm, not bar-tight. Cable ties pulled bar-tight pass the whole wind load to the corners, which is how banners tear. On exposed sites, use bungee cords instead, which give a little and absorb the gusts.
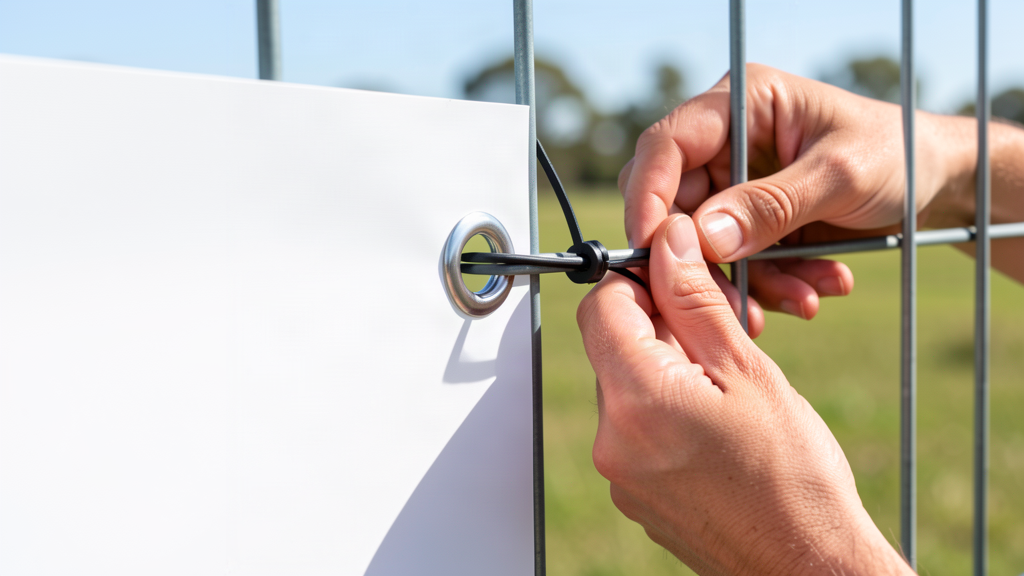
6. Trim the cable tie tails short so they look neat and don't catch on clothing.
7. Finally, step back and check the banner is flat and level, with no sagging spans between eyelets. Re-tension any loose ties, and you're done!

IMPORTANT: Take a temporary banner down before a storm.
Use the following steps to hang a banner on a wall or between poles
1. Fix the top two corners first, level with each other.
On a wall, fix into the wall at each eyelet with screws and washers, or hooks into wall plugs. You can also run a cord through all the eyelets and around fixed points.
Note: Screws leave holes, so get the property owner's OK in writing before you drill. An outdoor sign can also need council approval, so check with your local council too.
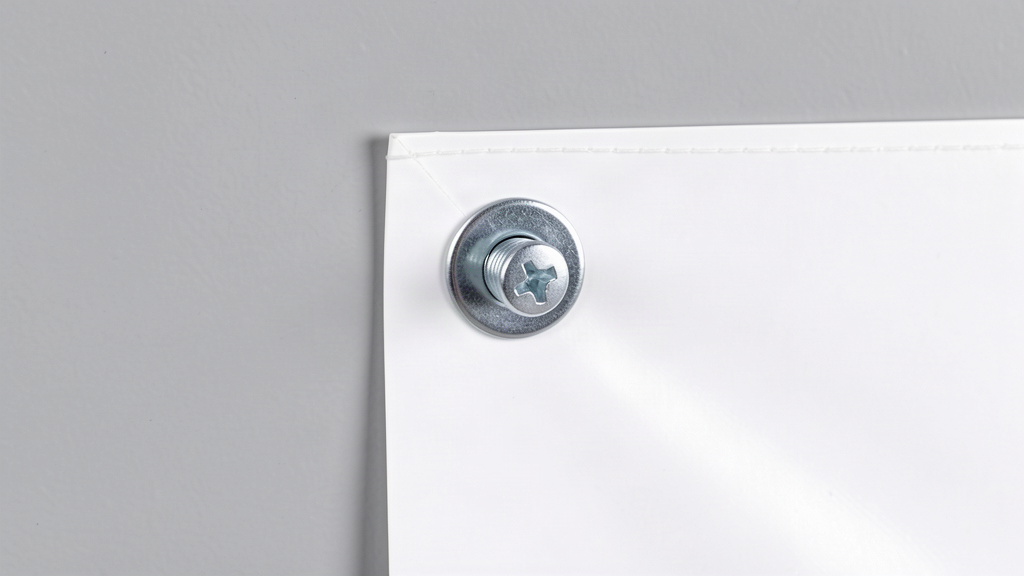
Between two poles, tie the top corners to the poles with rope or bungee cords through the eyelets.
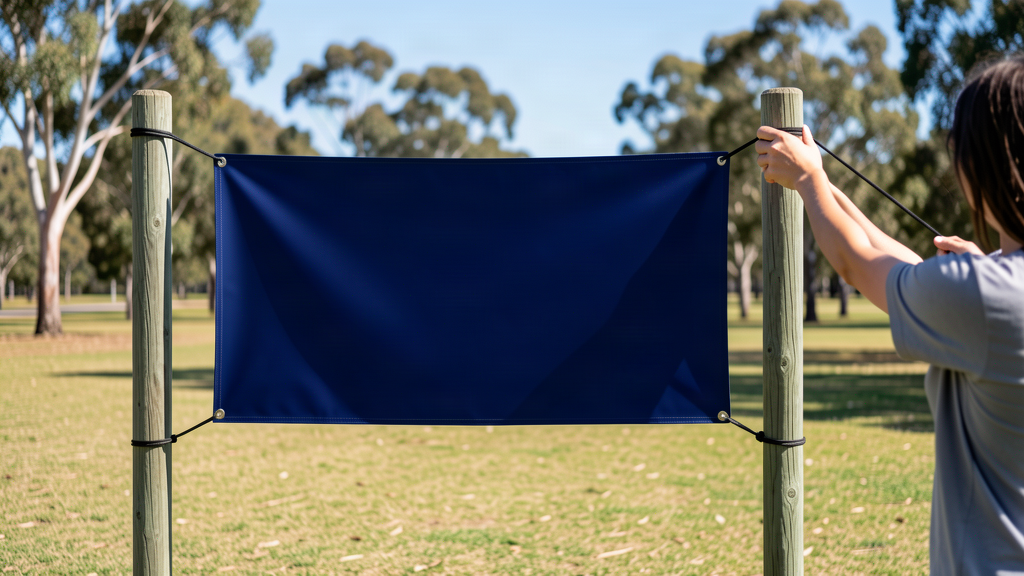
2. Fix the bottom two corners, then the remaining eyelets.
3. Finally, tighten gradually, working around the banner until the tension is even. Check it's level and you're done!
We finish every banner to suit where it will hang, so tell us the location when you order. If the rest of your event is outdoors too, see our portable outdoor displays.
Need some help?
We're here for you
If you're needing some advice or just a helping hand, please get in touch with our team, by clicking this button. Complete the enquiry form and one of our specialists will call you back as soon as we can.