

YOUR CART IS CURRENTLY EMPTY
How do I resize artwork for a different banner size without distorting it?
Why does artwork distort when I resize it?
Most banners aren't the same shape. The artwork file for our Quickscreen 850 pull-up banner, for example, is 850mm wide x 2030mm high with bleed included, while the Quickscreen 1200 file is 1200mm wide x 2030mm high. If you stretch an 850mm design to fill 1200mm, every logo, face and letter gets wider too.
The fix is to scale the artwork in proportion and then rearrange it to suit the new shape. Never stretch it to fit.
The bigger the change in shape, the more you'll need to move. Going from one pull-up width to another usually means widening the background and spacing the copy out. Turning a tall pull-up design into a wide wall graphic is closer to a new layout, using the same logo, photos and words.
Why do I need to check the resolution?
Scaling up spreads the same pixels over a bigger area. For best results, images should be at least 150ppi at 100% of the finished size, and the lowest we can accept is 75ppi at that size. A photo that is 150ppi across an 850mm banner drops to about 106ppi when you enlarge it to cover 1200mm.
Steps to resize your artwork in Illustrator
1. Download the template for the new size from the product page. Our Quickscreen templates are listed by width and height.
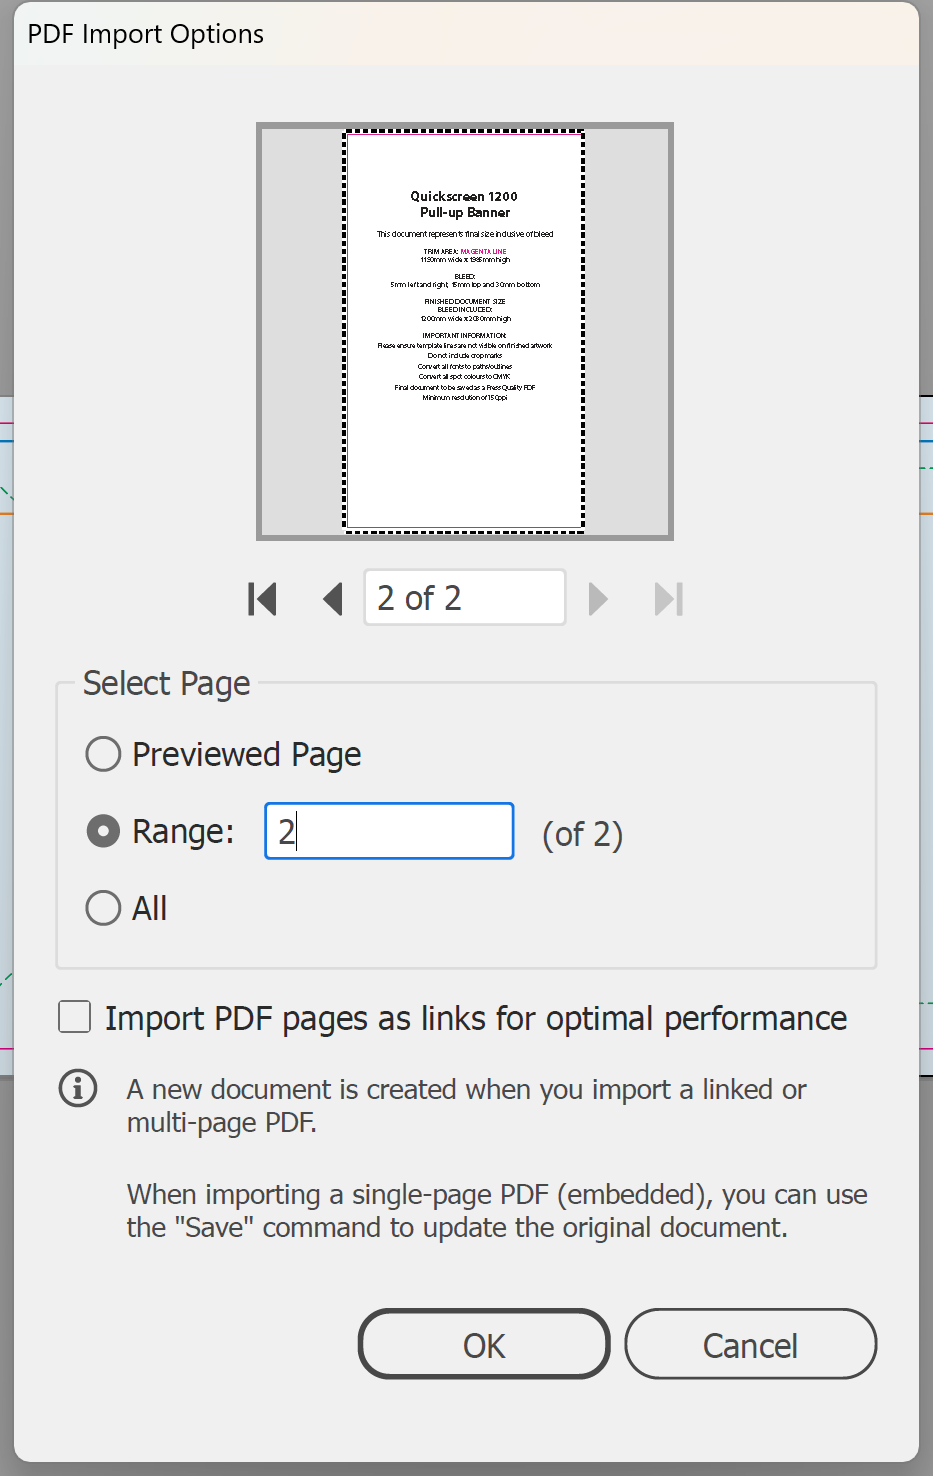
2. Open the template. In the main menu, go to File > Open, select the template PDF and click Open. Quickscreen templates have two pages, so the PDF Import Options dialog box appears. Select Range, enter 2 (the template page) and click OK.
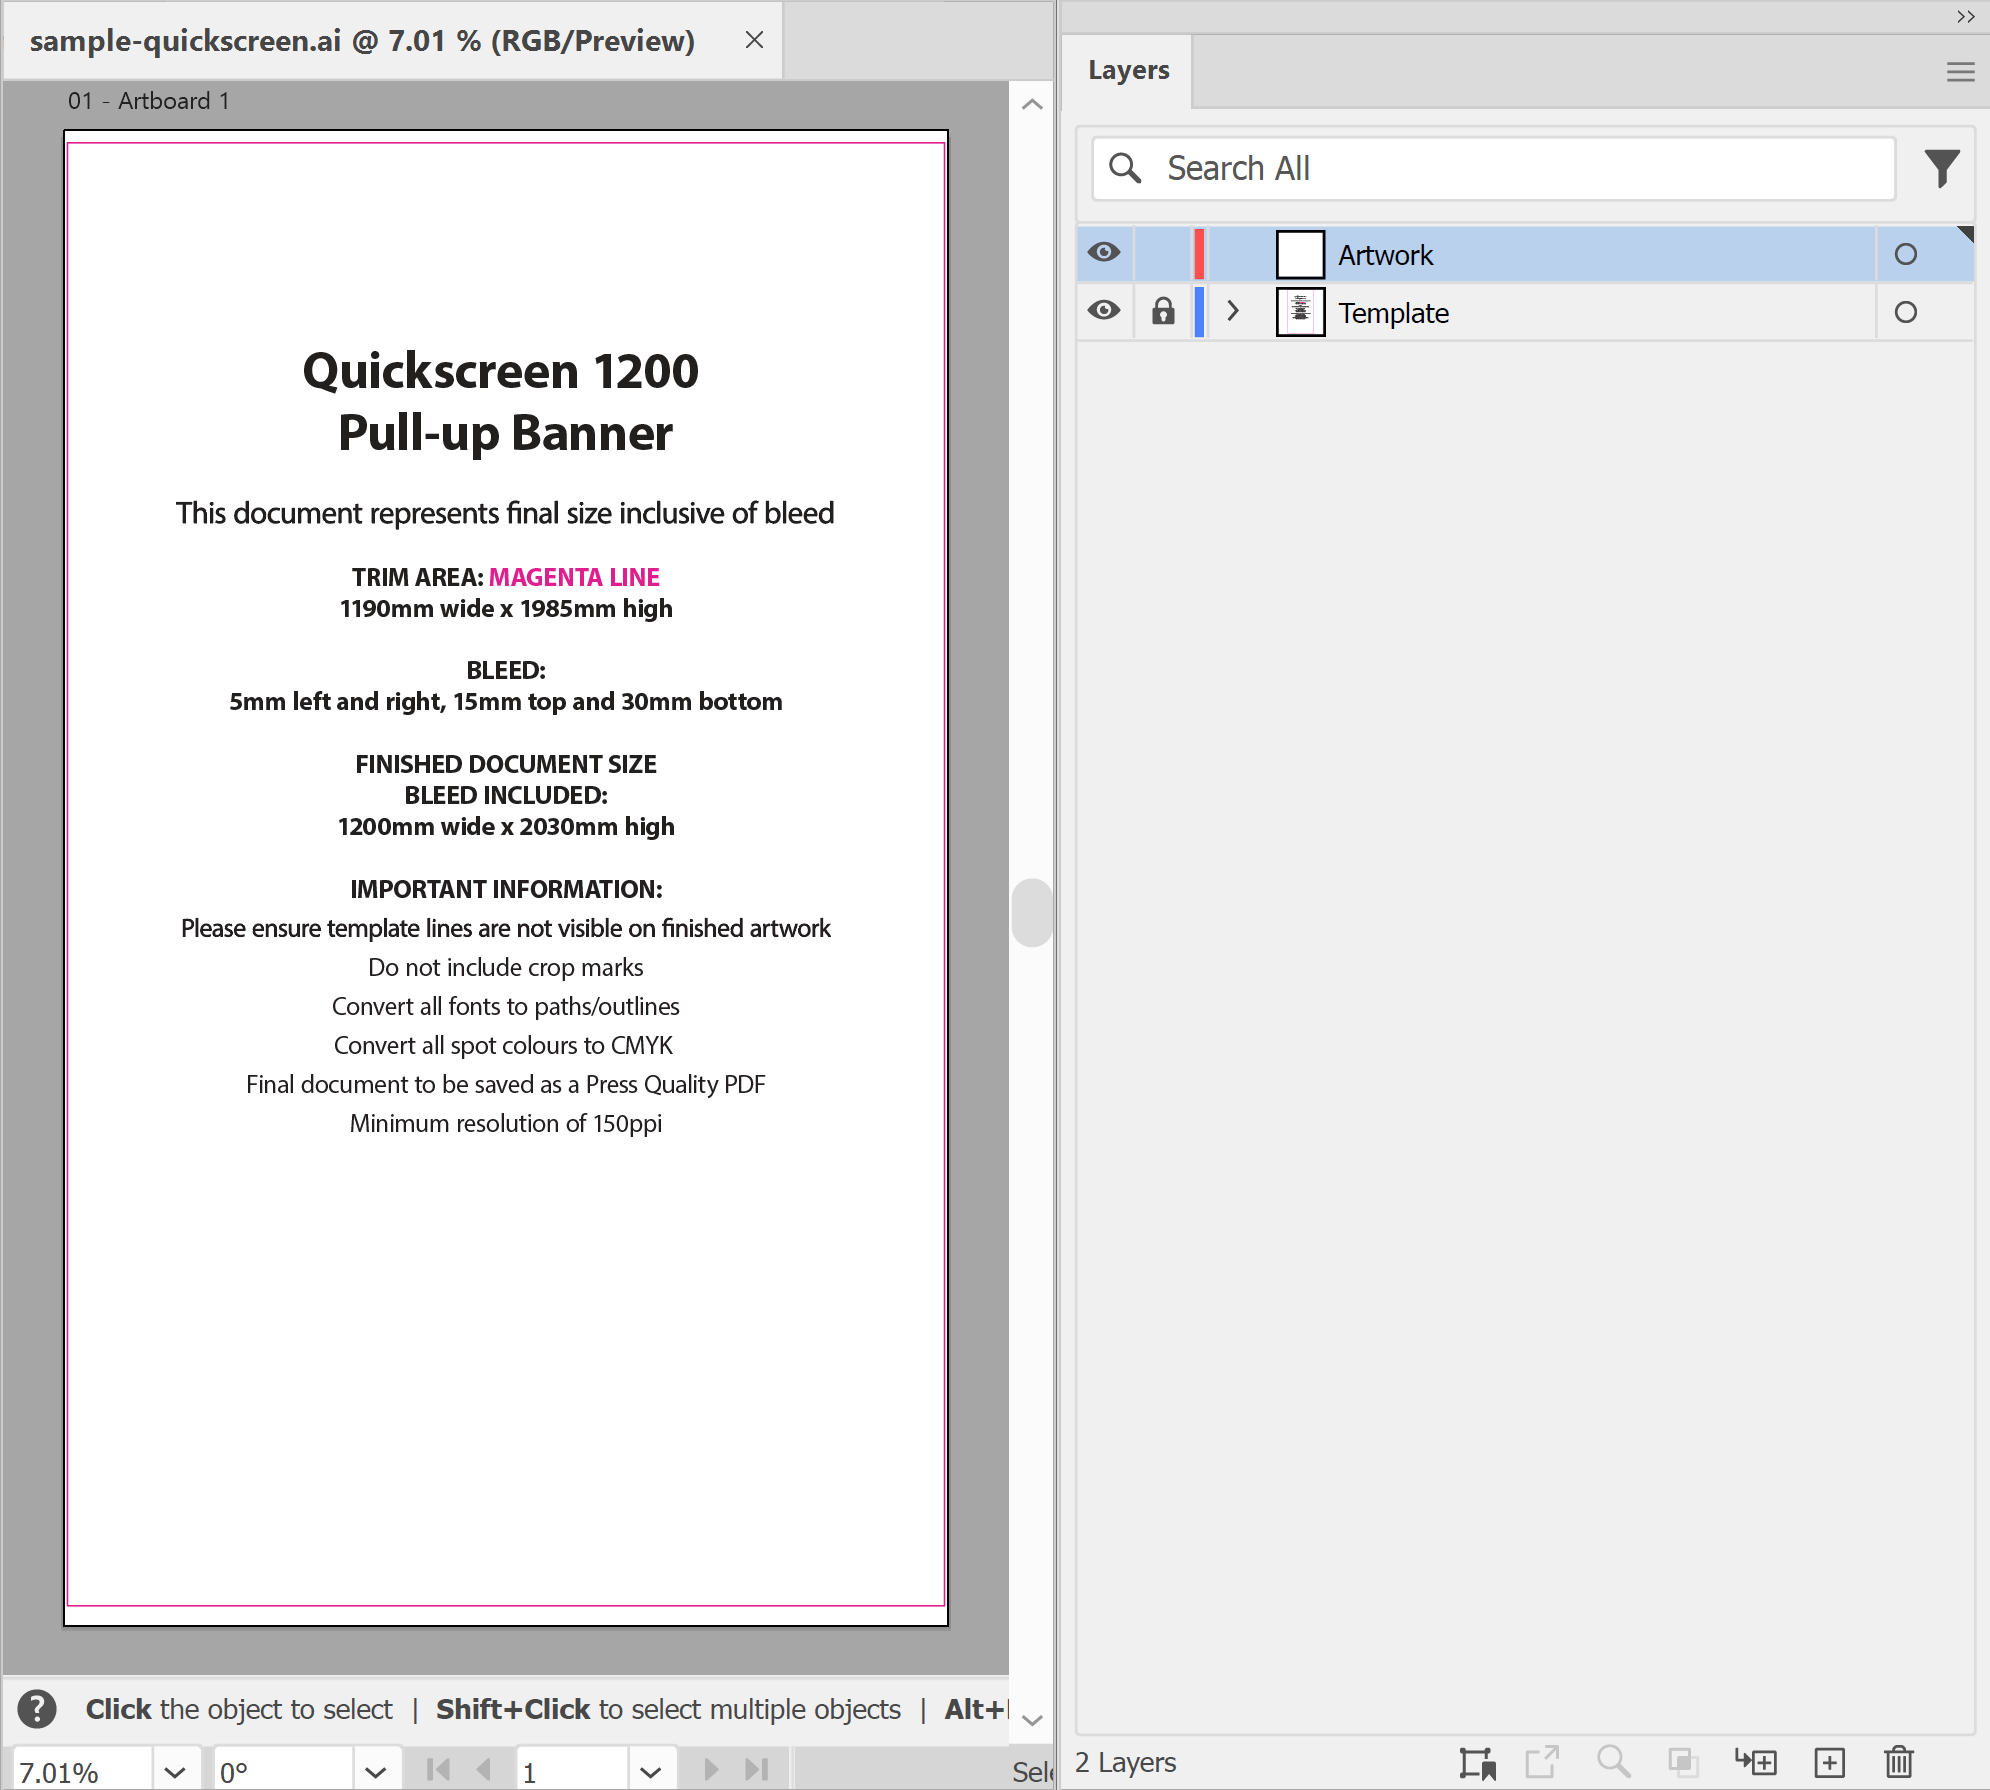
3. Lock the template layer, then add a new layer for your artwork. In the main menu, go to Window > Layers. Click the lock area beside the template layer, then click the Create New Layer icon.
4. Copy your existing design. Open the old artwork file. If it still has a template layer, lock it so you don't copy the old template lines. Then in the main menu go to Select > All, and then Edit > Copy.
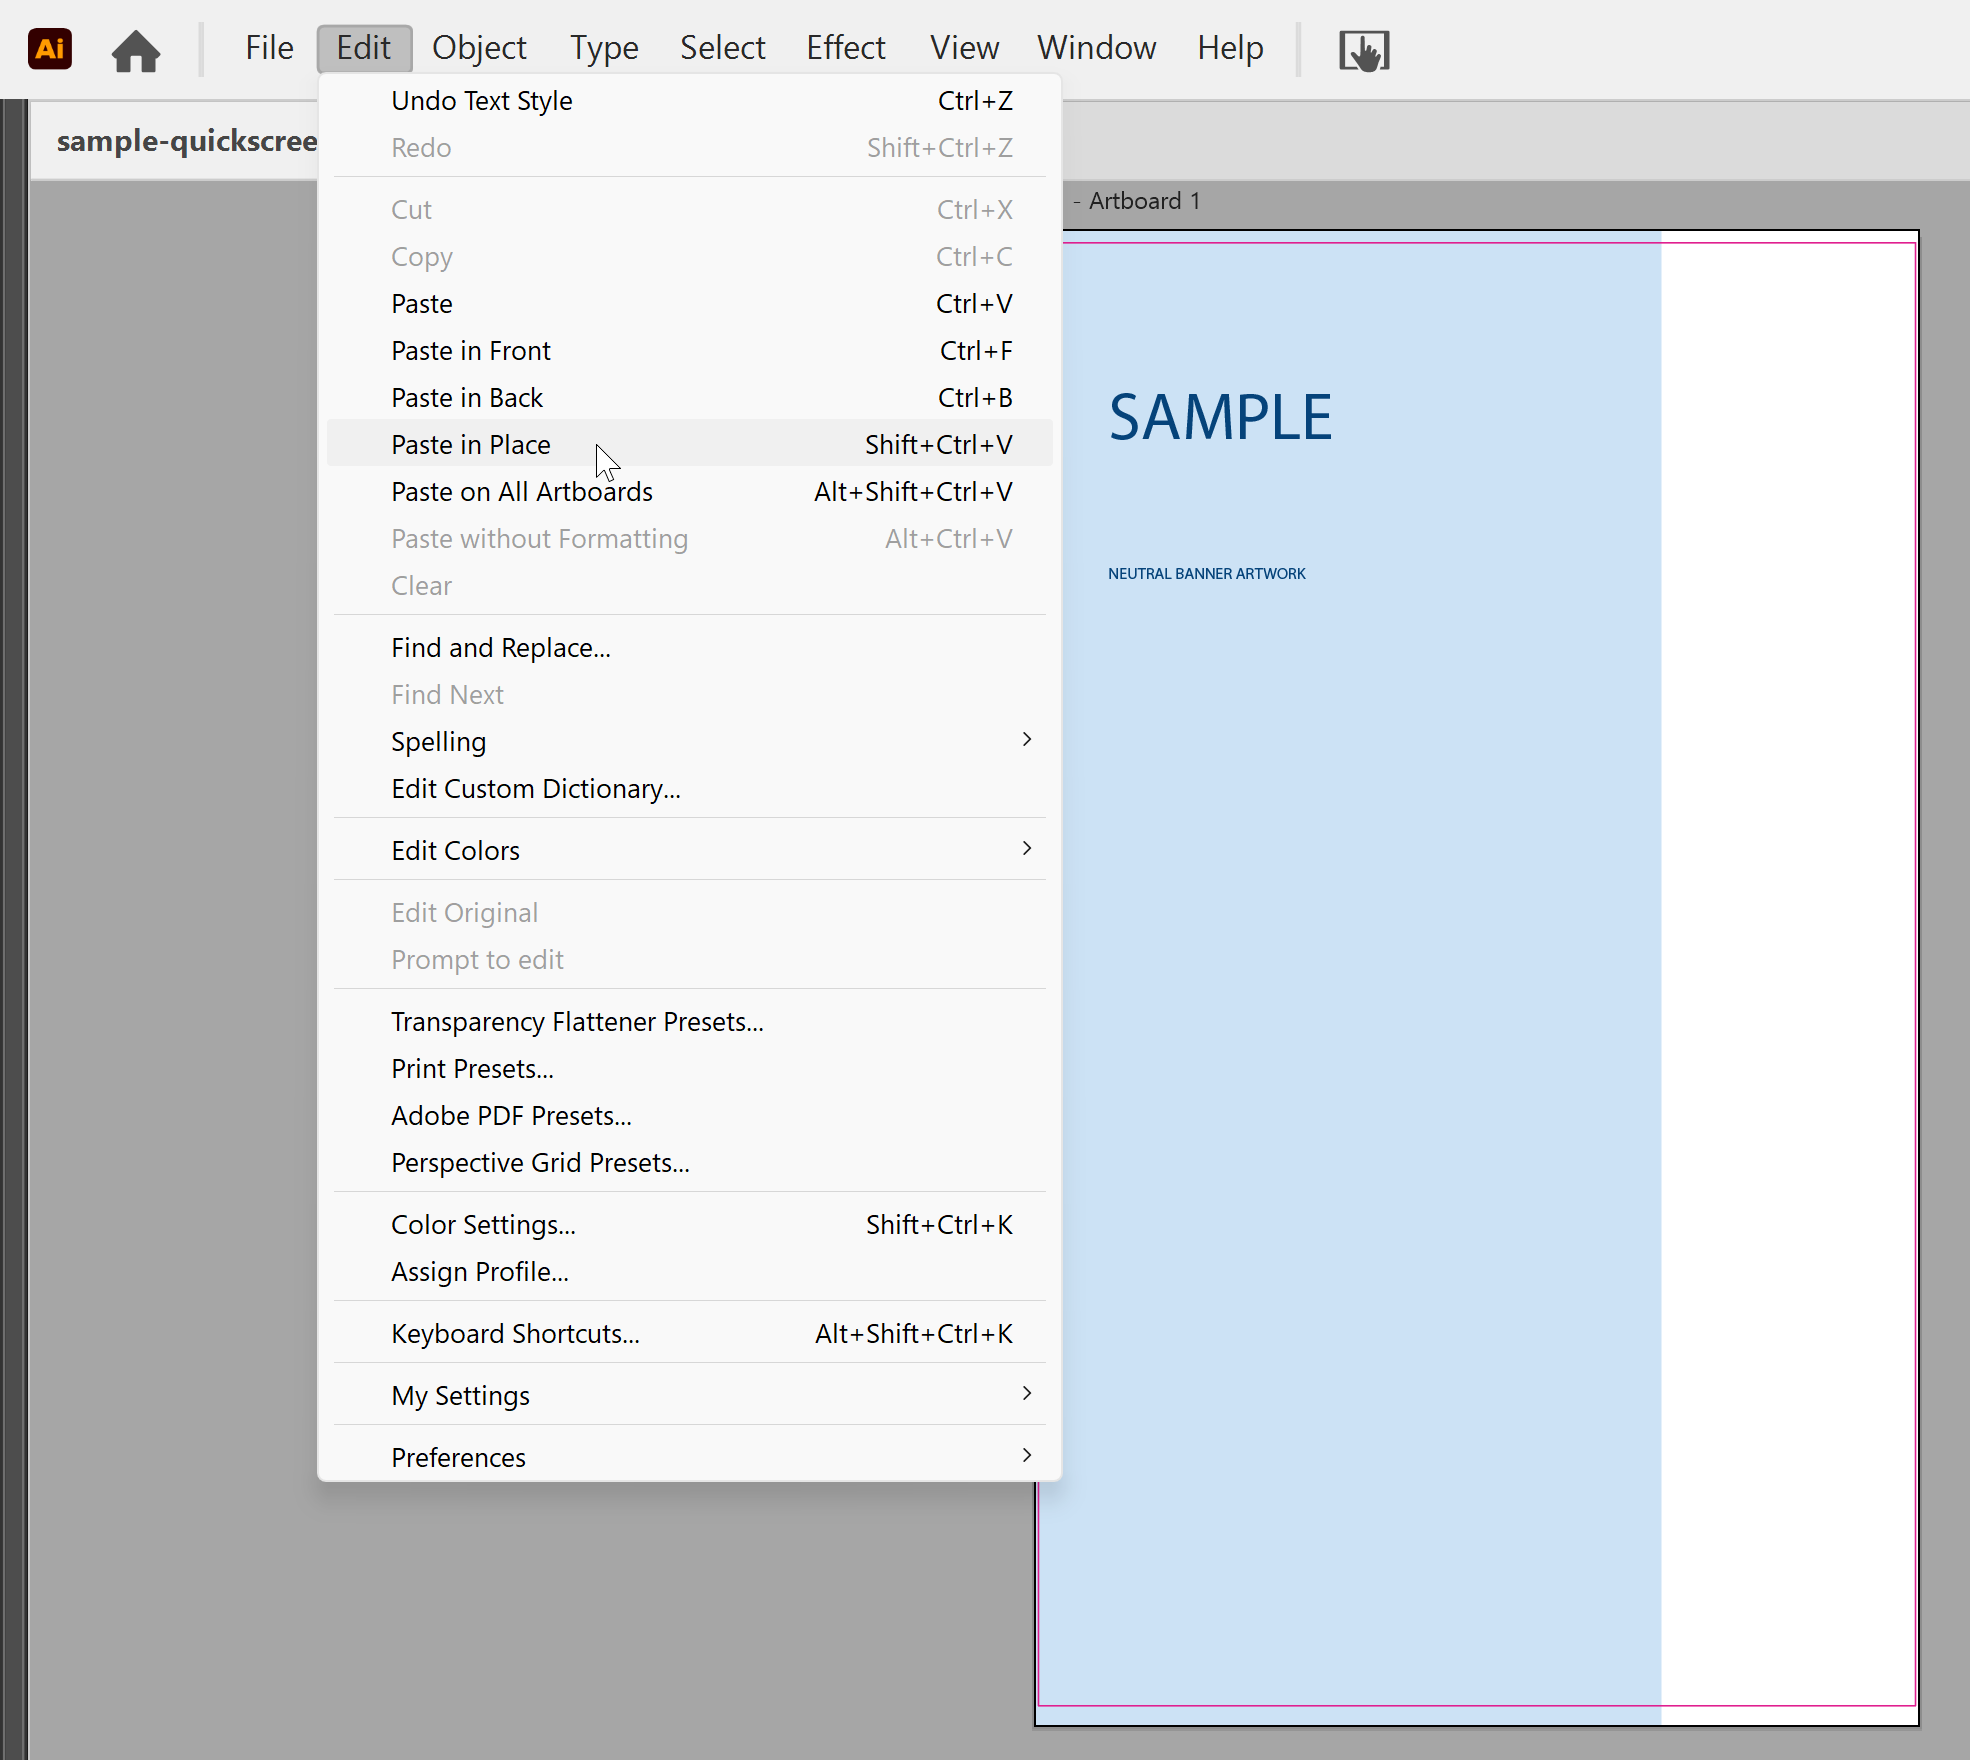
5. Paste it into the new template. Switch to the template, select your new layer, and in the main menu go to Edit > Paste in Place. This places the artwork at the same position on the artboard as in the original file, measured from the top-left corner, so a narrower design sits to the left with a gap on the right.
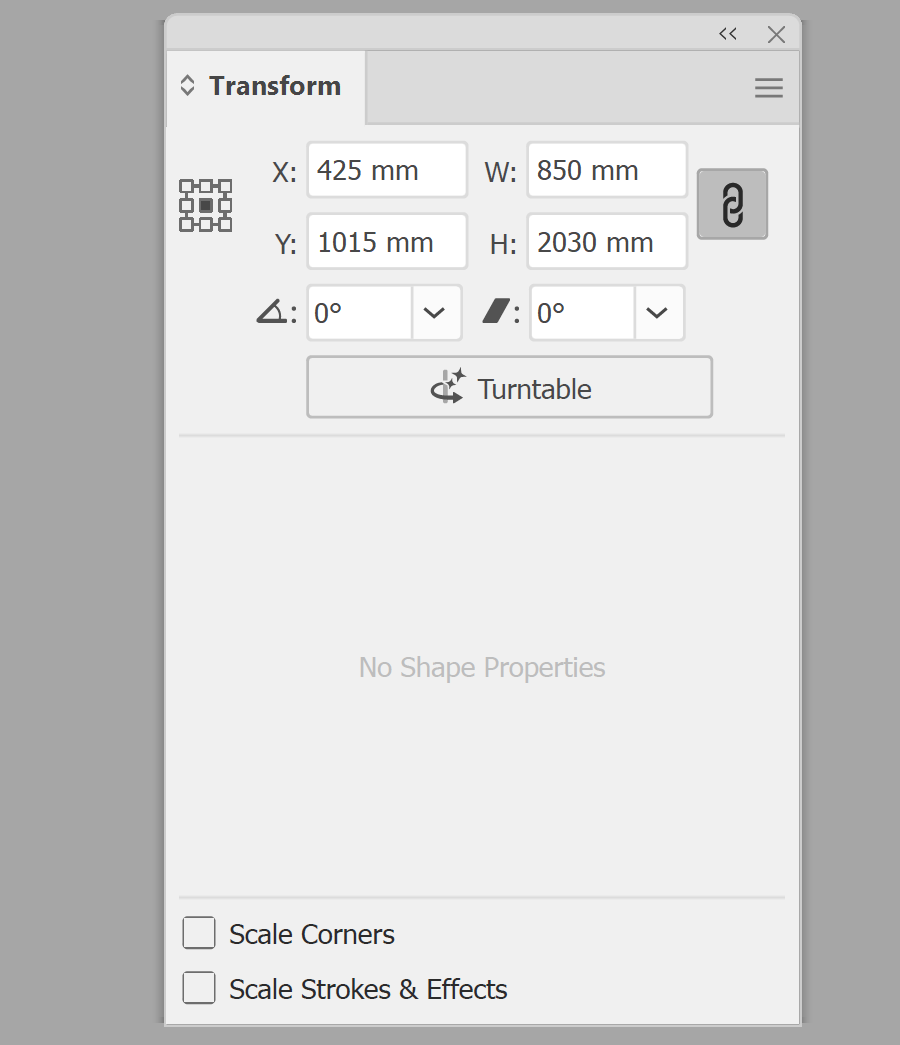
6. Scale the artwork in proportion, if the new banner is a different height. In the main menu, go to Window > Transform. With your artwork selected (Select > All won't pick up the locked template), click the lock proportions icon beside W and H, and tick Scale Strokes & Effects and Scale Corners at the bottom of the panel. Then type the new height in the H field. The width changes to match.
IMPORTANT: Never type separate W and H values with lock proportions turned off. That's what stretches your artwork.
7. Extend the background to fill the new artboard. Drag the sides of a colour or pattern background out to the edge of the bleed. For a photo, hold down Shift and drag a corner handle until the photo covers the whole artboard, then reposition it.
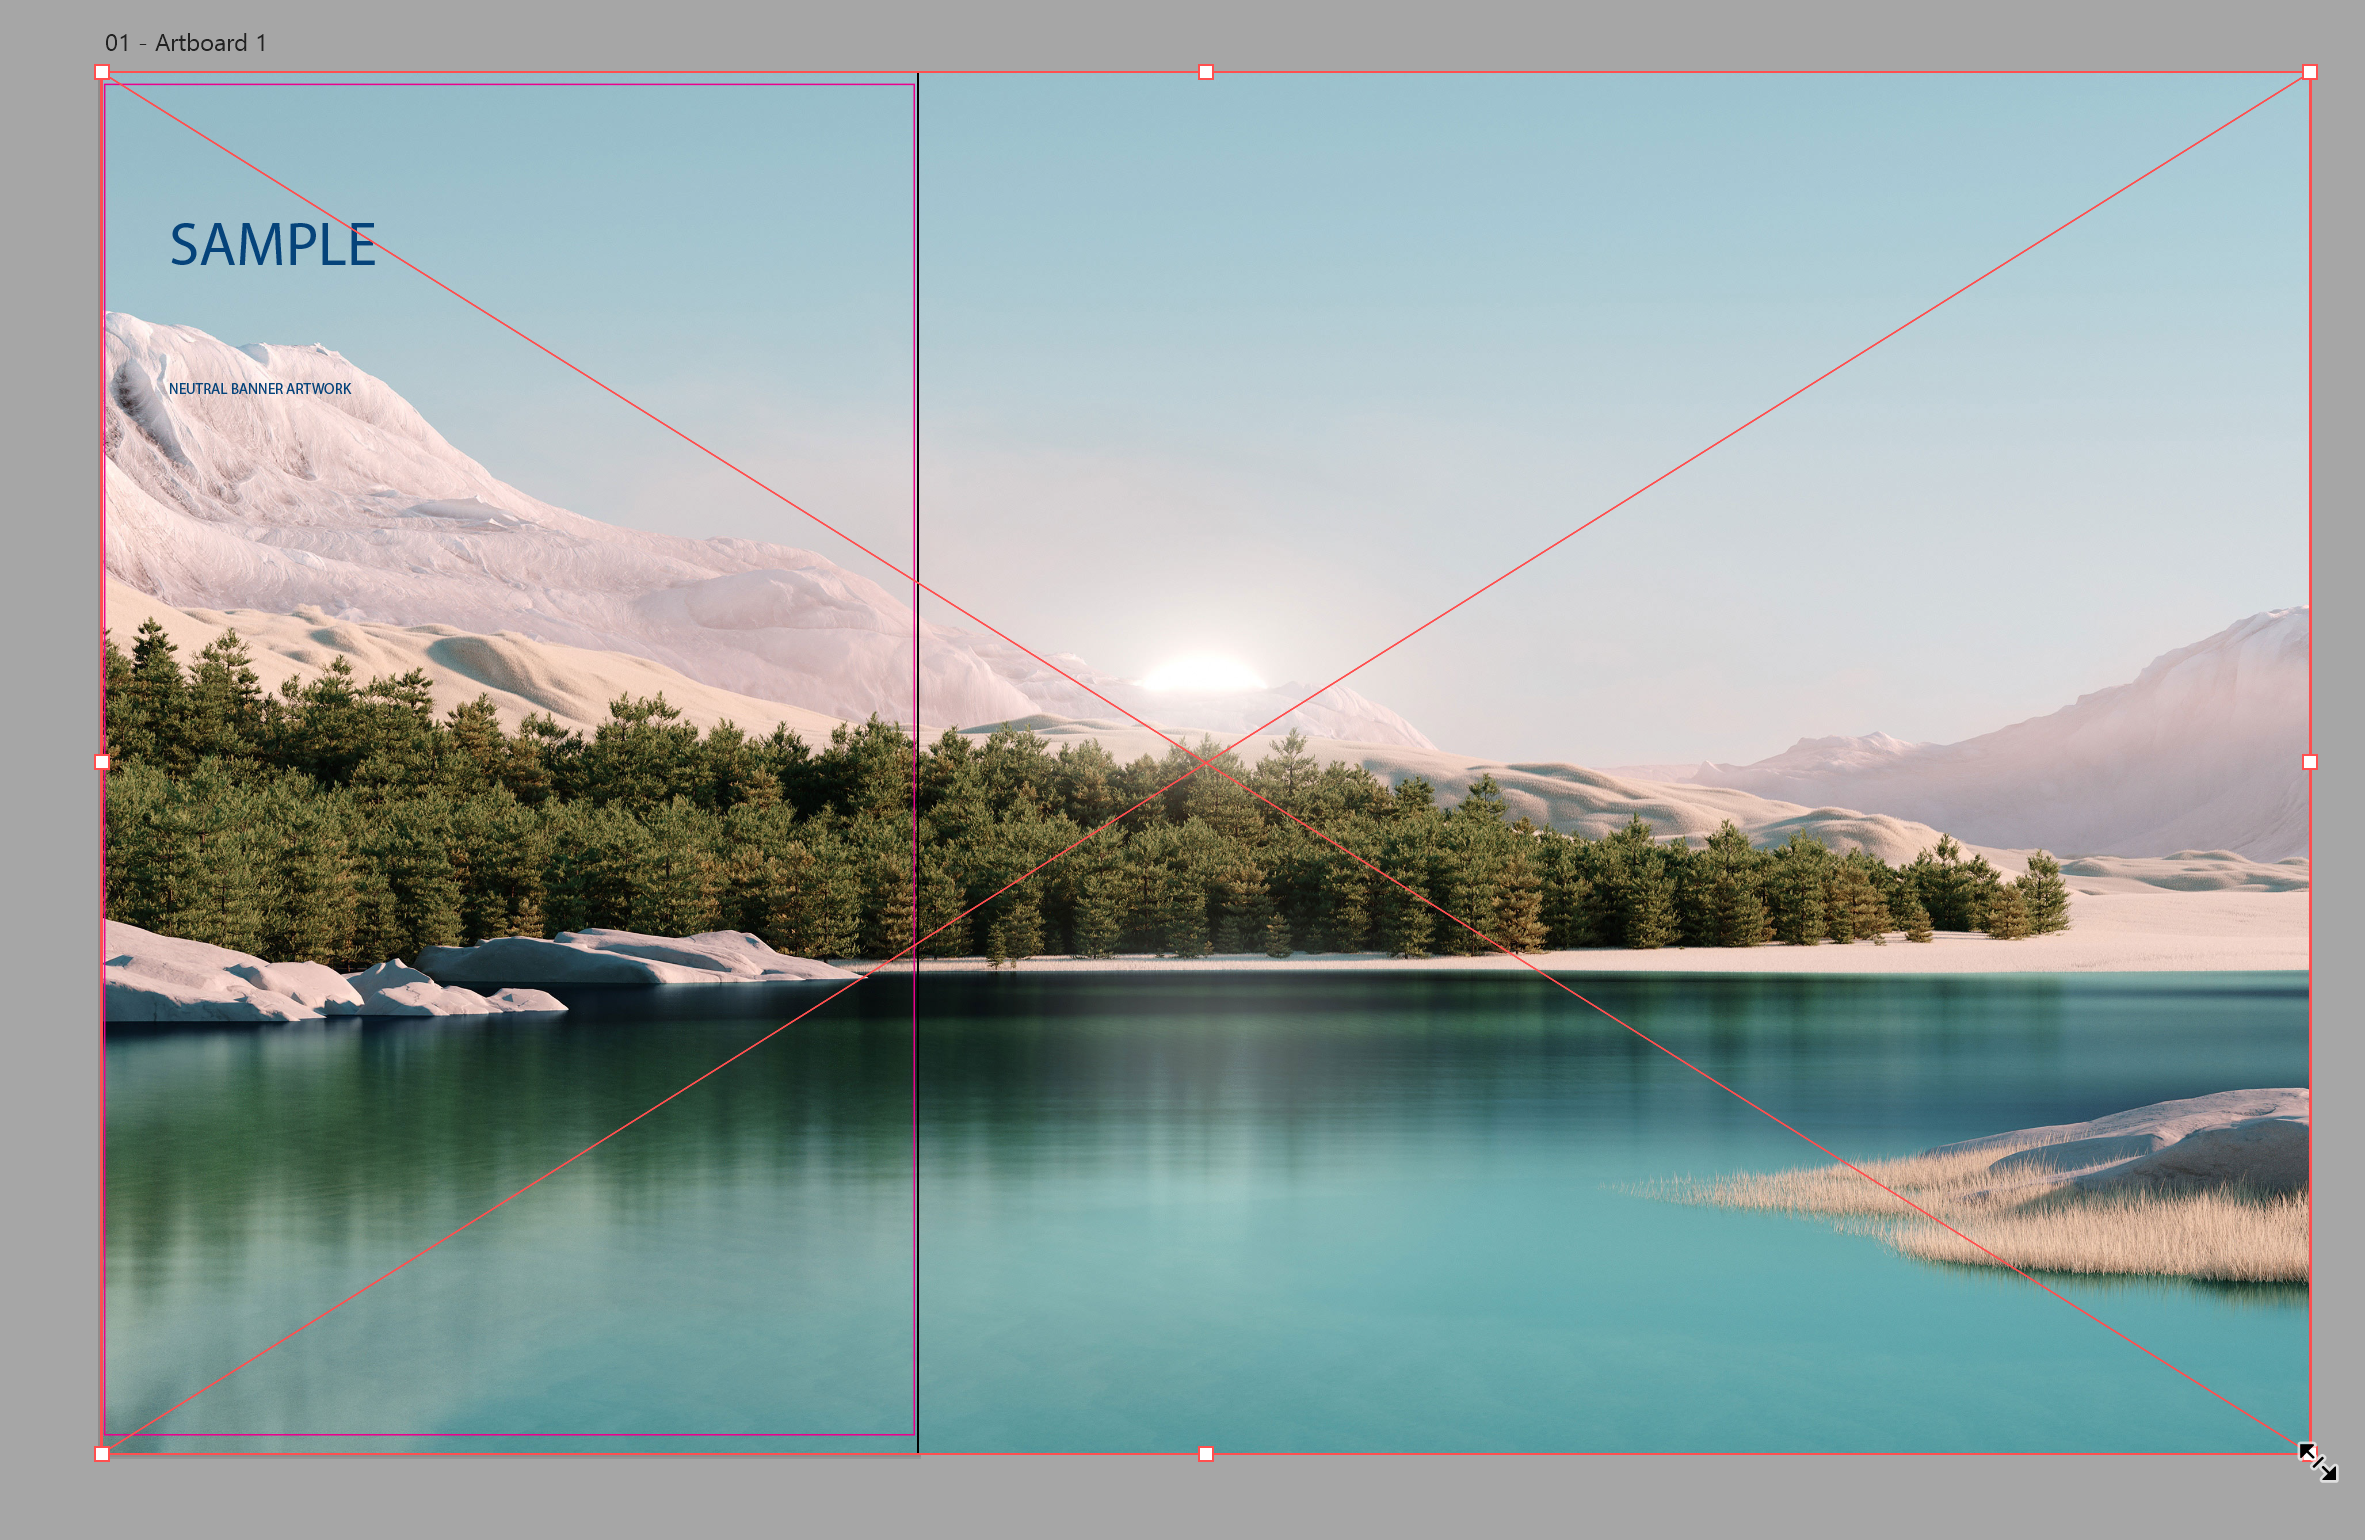
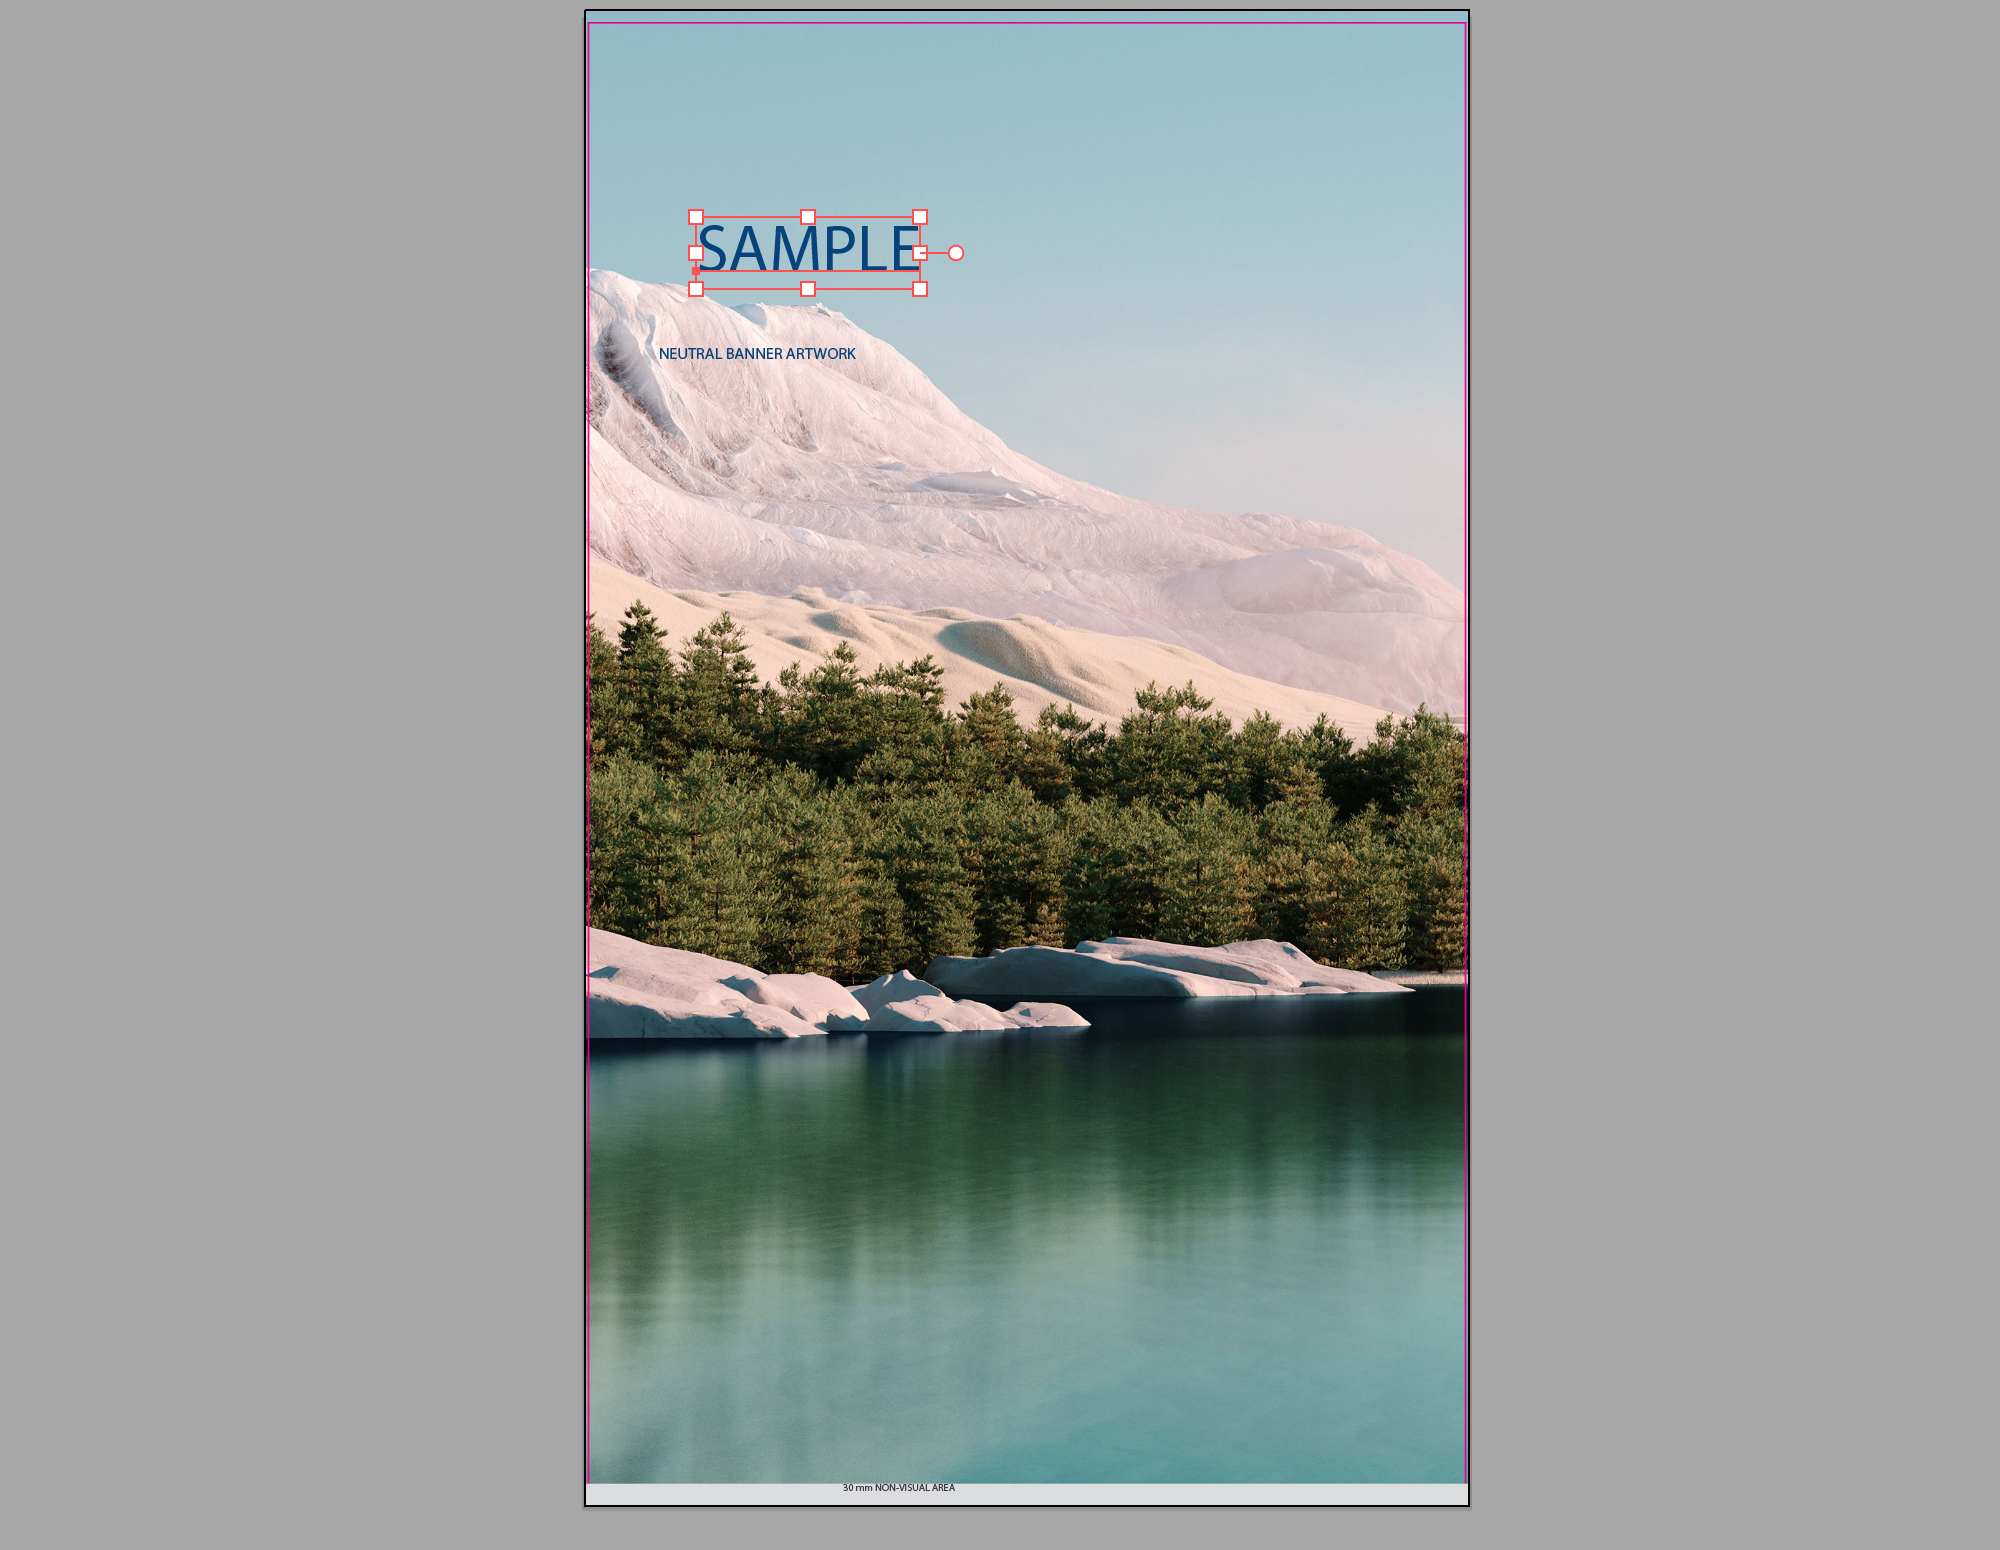
8. Move your logo, headline and key details back inside the magenta trim line. Rearrange them to suit the new shape, rather than scaling each one up.
Note: Check the template for any non-visual area. On a Quickscreen template, the bottom 30mm is marked as a non-visual area, so keep important details above it.
9. Check the resolution of your photos. In the main menu, go to Window > Links, then double-click the image in the Links panel. The PPI field shows the effective PPI at its current size.
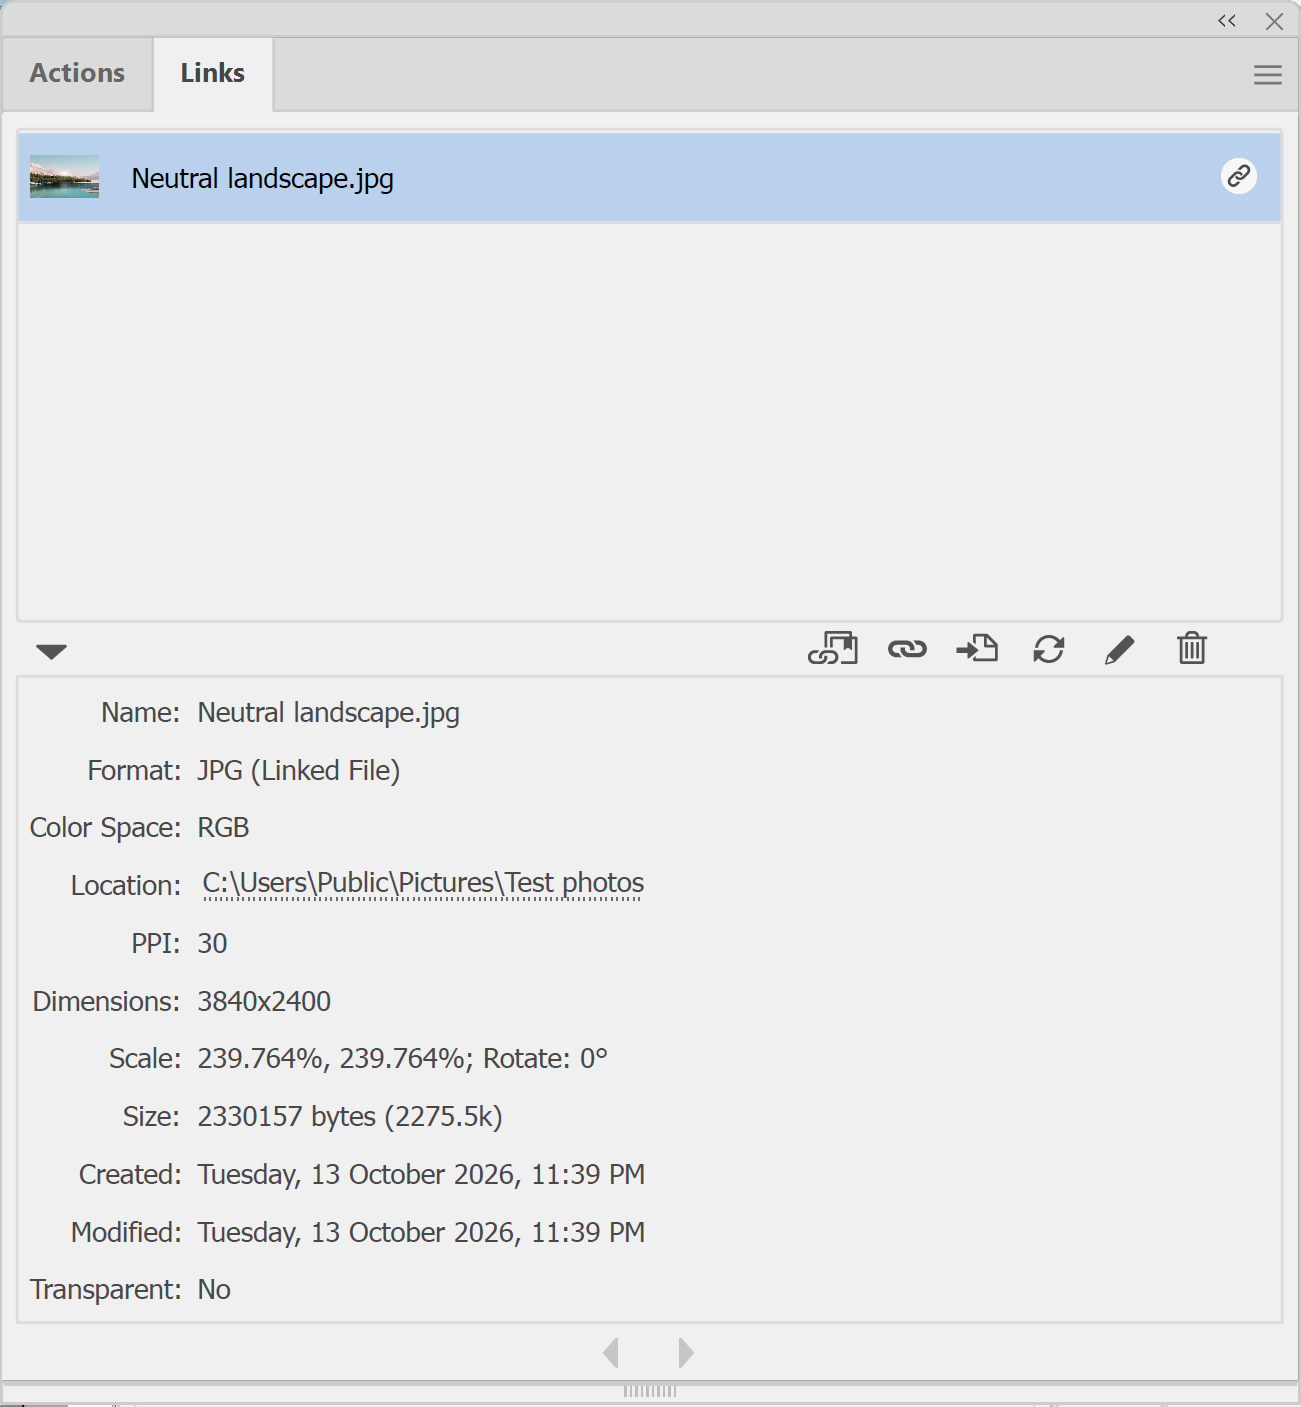
IMPORTANT: If you work at 50% of finished size, double the figure you need. Your image needs 300ppi in the file to print at 150ppi.
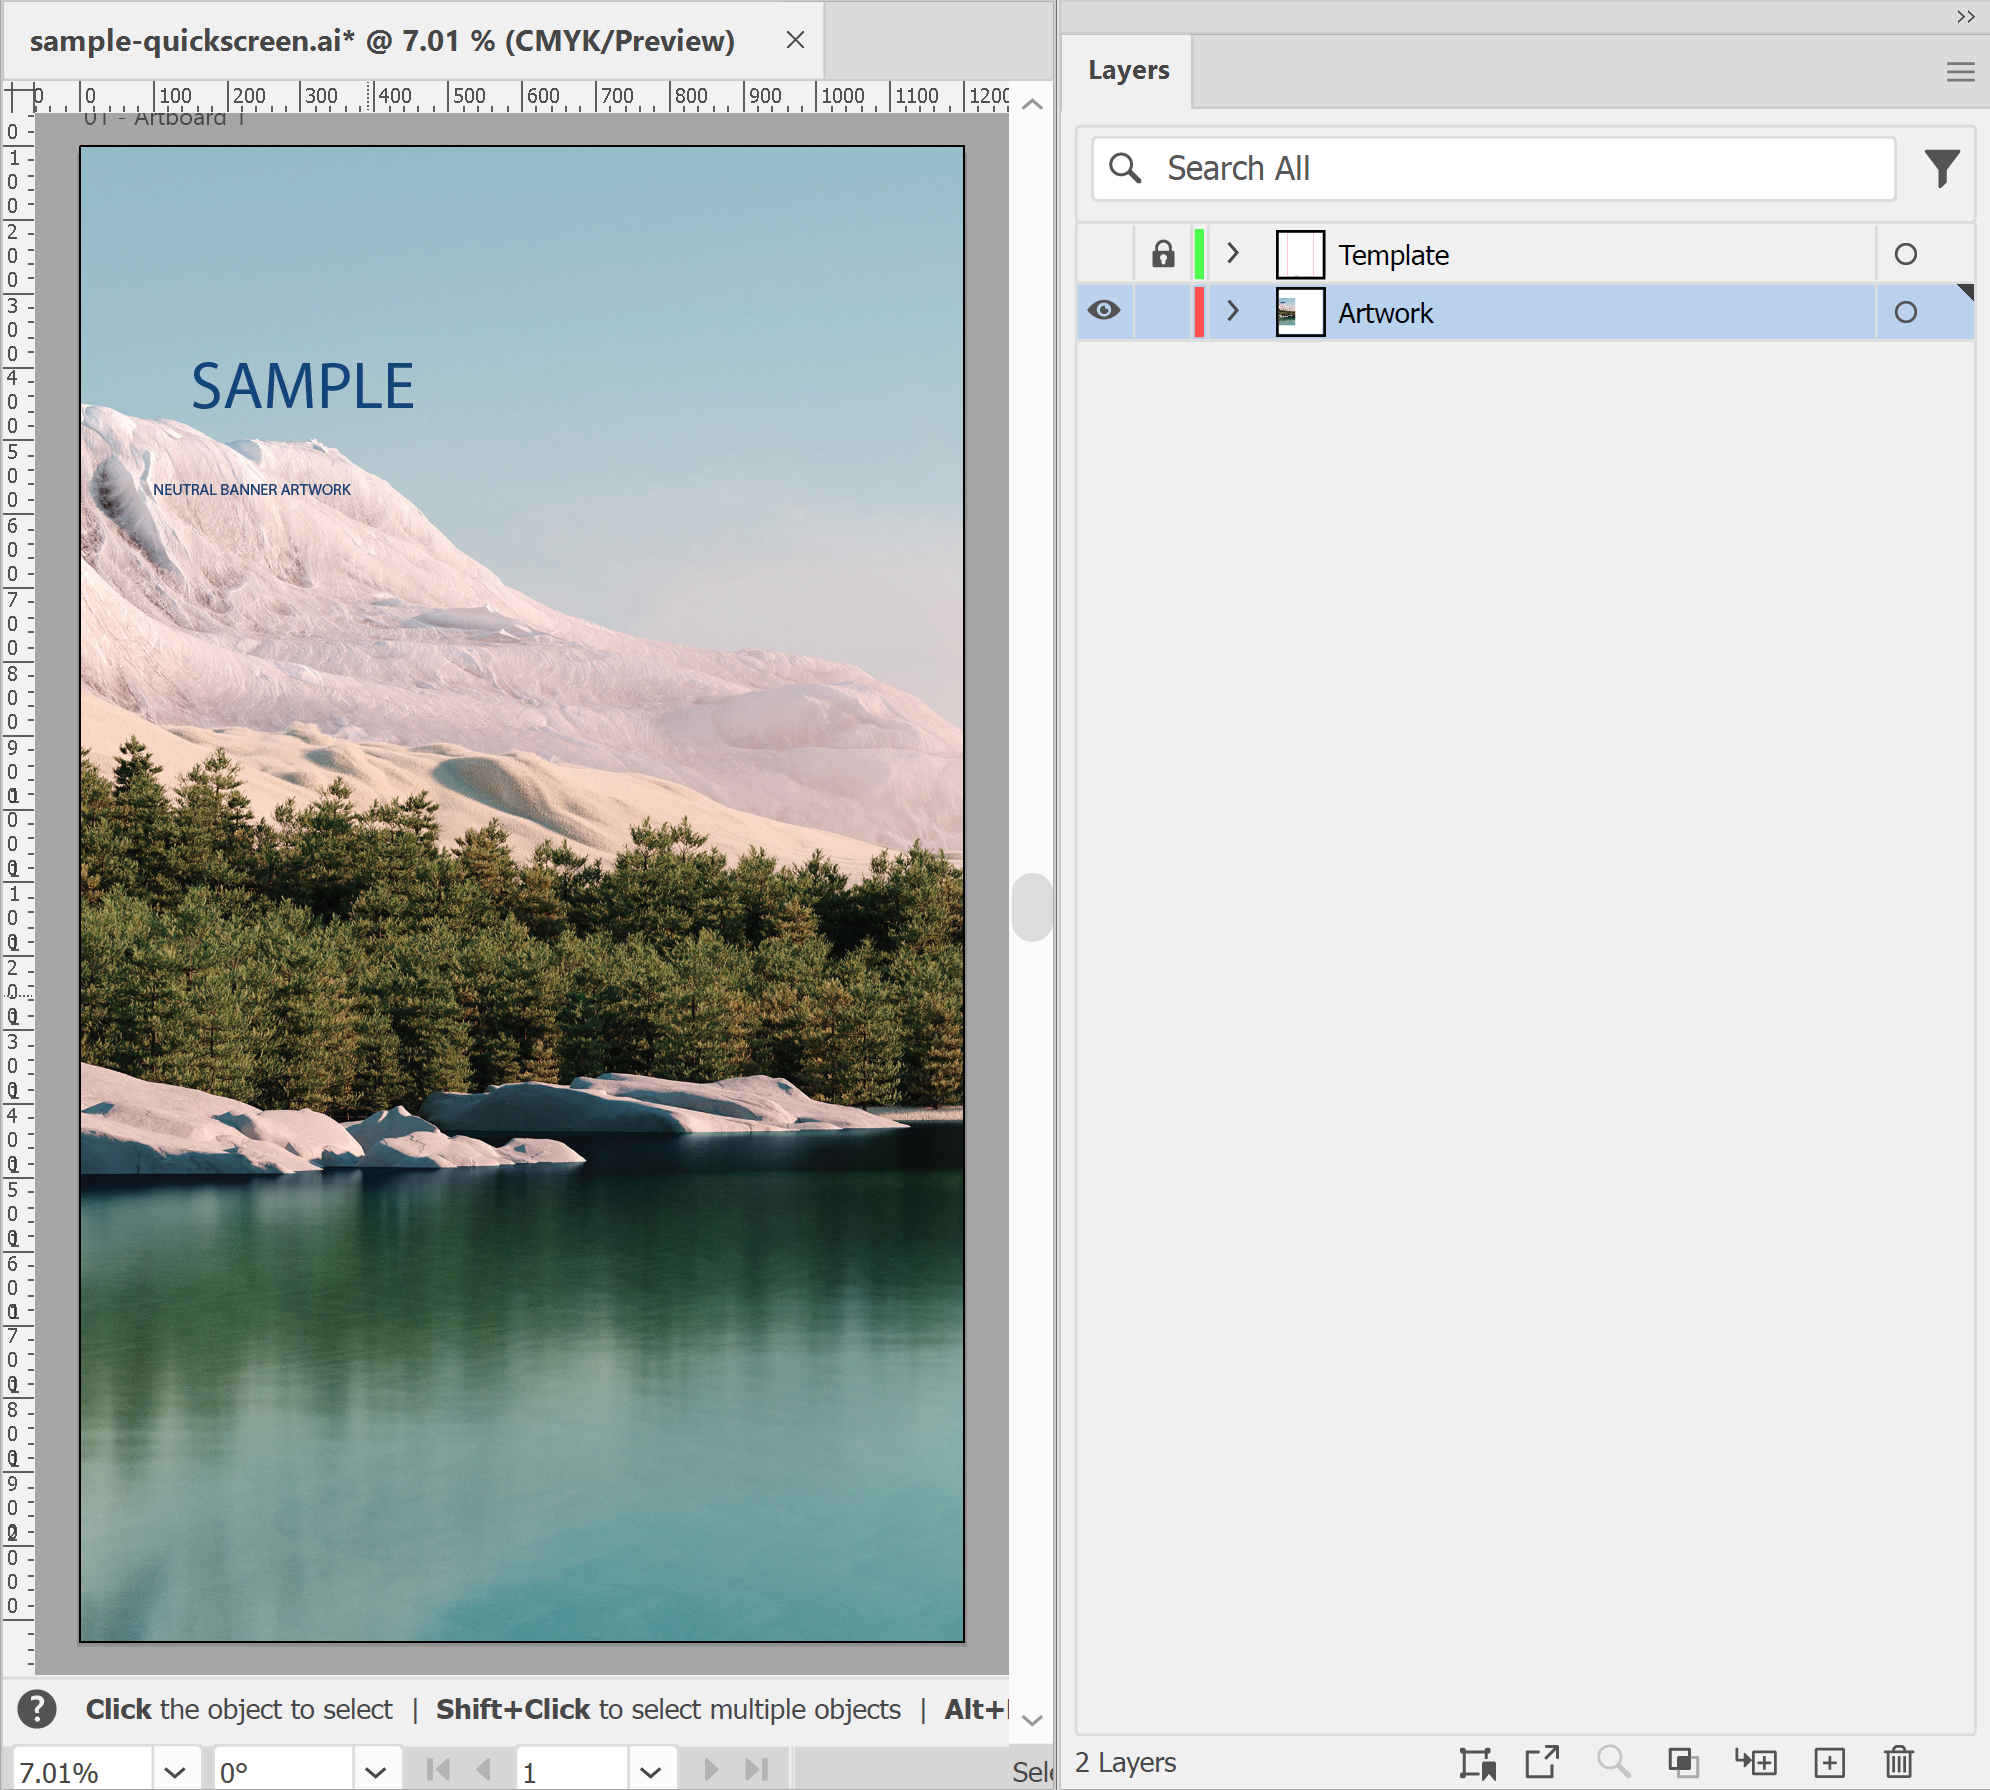
10. Hide the template layer before you save. In the Layers panel, click the eye icon on the template layer.
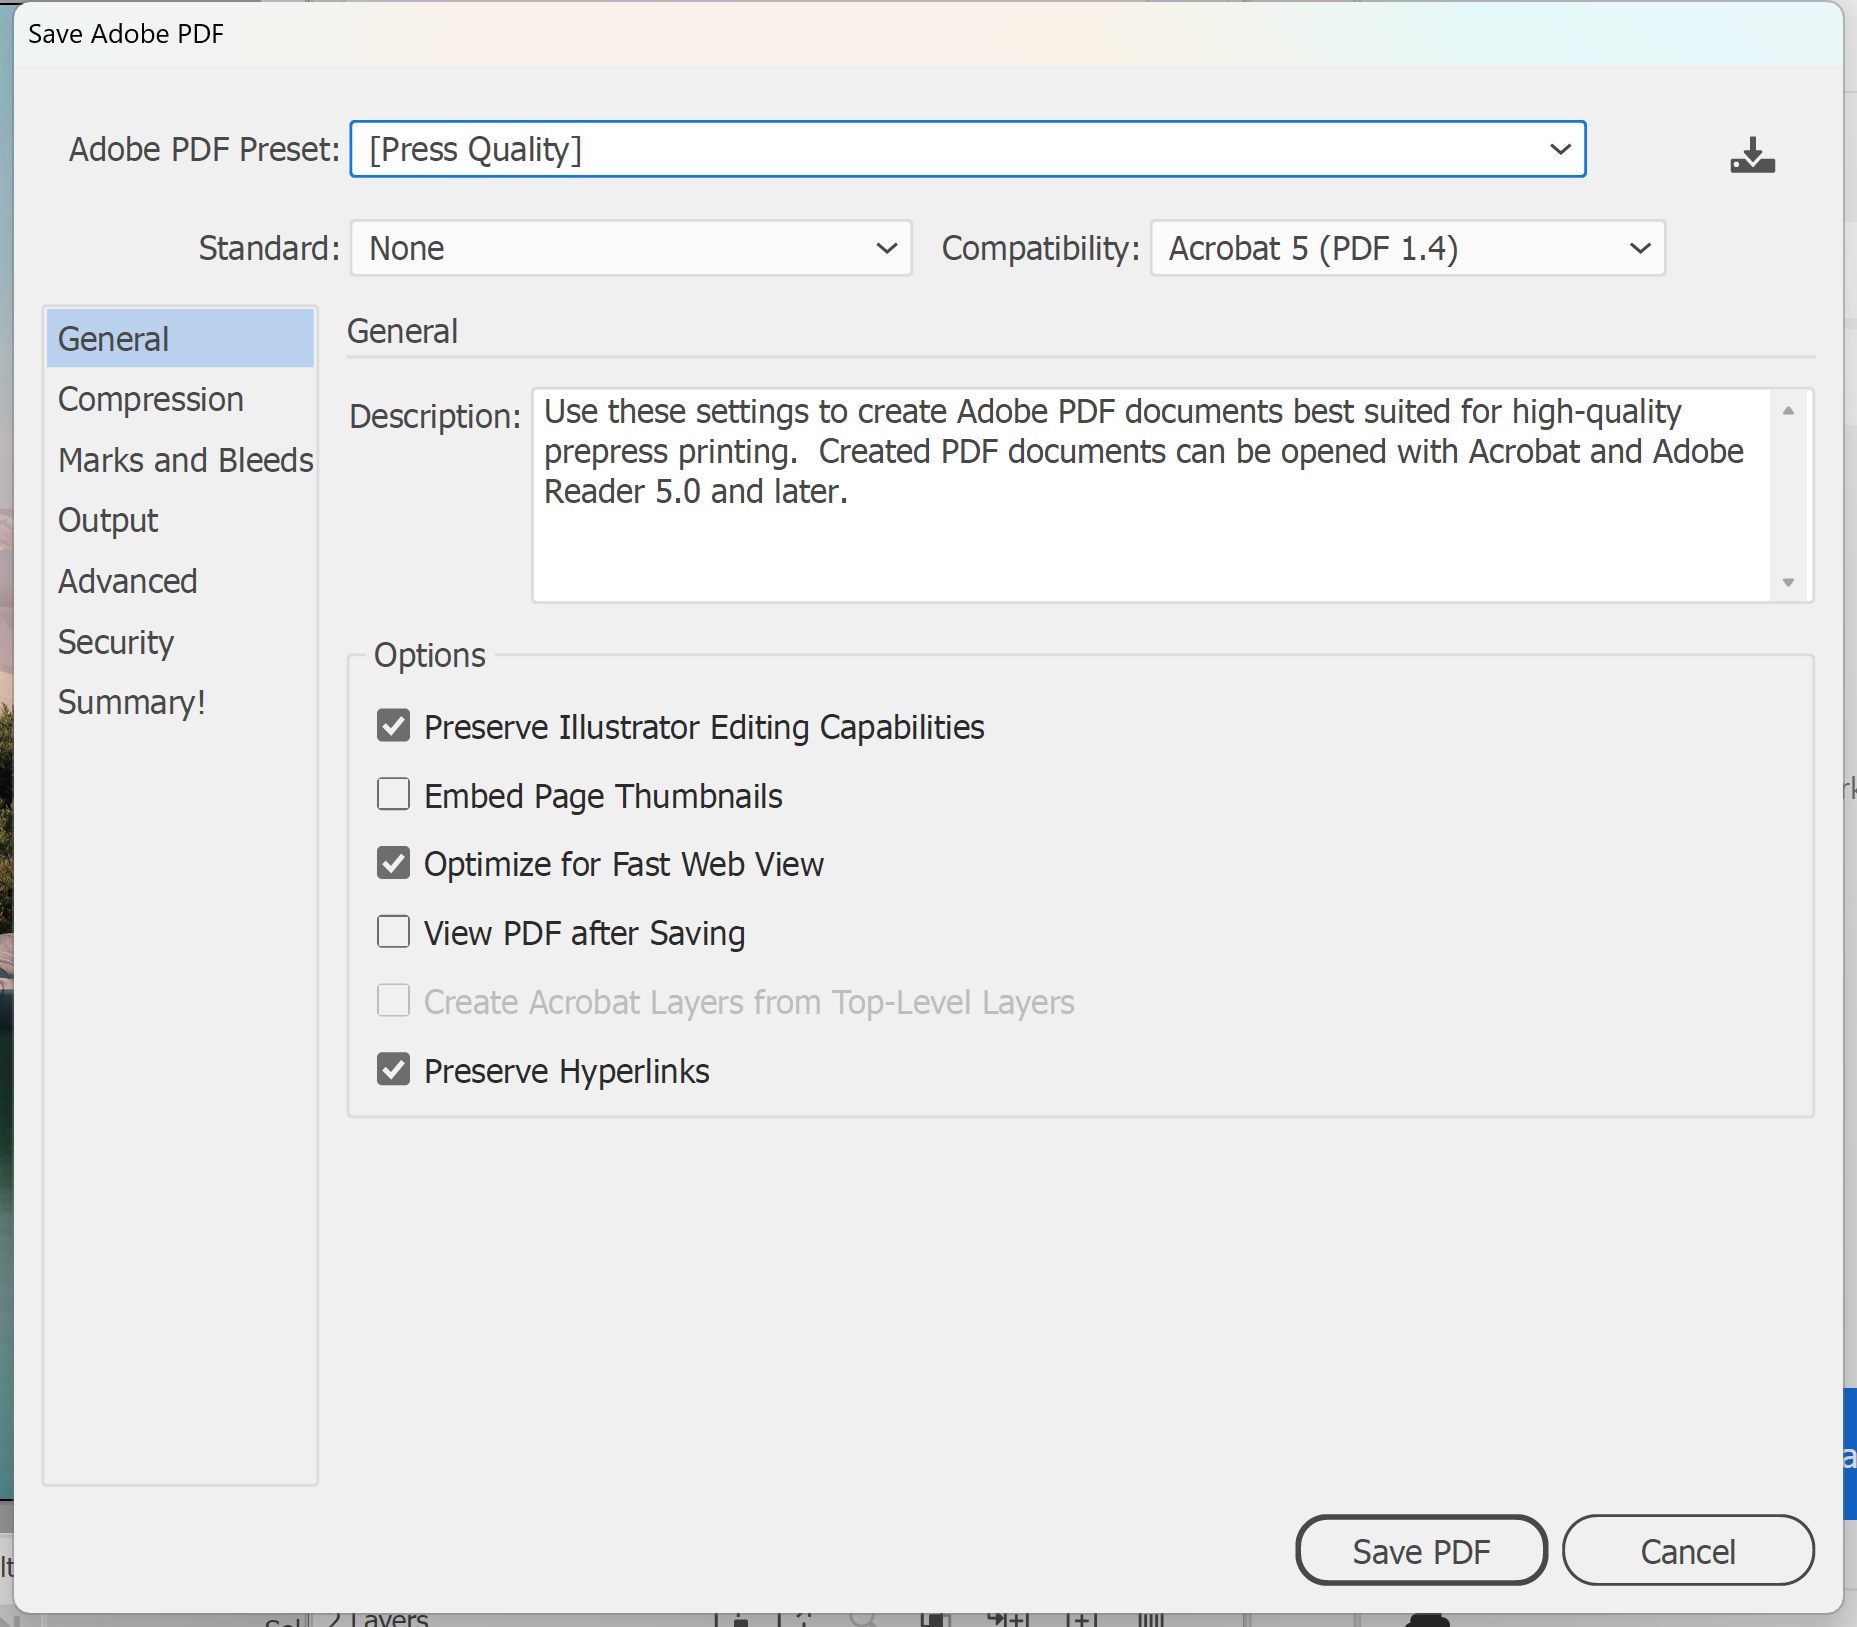
11. Save a print-ready PDF. In the main menu, go to File > Save As. If the Save to Adobe cloud storage dialog box appears, select On your computer. Choose Adobe PDF (*.PDF) and click Save. In the Save Adobe PDF dialog box, choose Press Quality from the Adobe PDF Preset menu, untick Preserve Illustrator Editing Capabilities to keep the file smaller, and click Save PDF.
12. Finally, check your PDF against our artwork specifications and email it to sales@displays2go.com.au. You're done!
If your photo is now too low in resolution, you'll need a larger original. If the file has grown too big to email, see our guide to making a PDF file smaller.
Need some help?
We're here for you
If you're needing some advice or just a helping hand, please get in touch with our team, by clicking this button. Complete the enquiry form and one of our specialists will call you back as soon as we can.