

YOUR CART IS CURRENTLY EMPTY
How do I set up a portable bar for an event?
What is a portable bar?
A portable bar is a branded serving counter on castors, so you can wheel it into position at an event and move it again afterwards. Our portable bars are supplied fully assembled, with your branding printed on the front and sides.
The standard bar is 1200mm wide x 600mm front-to-back and 1270mm high. There's a top serving area of 1200mm x 200mm and a lower work area of 1200mm x 600mm. At the back, the left section is sized for a standard 130L bar fridge and the right section has two shelves.
Why does set-up need planning?
Because the bar arrives in one piece, there's nothing to assemble on the day. The work is in getting it to the right spot and loading it so it's safe and easy to serve from. A few minutes of checking before the event saves a bar stuck at a narrow door, or an overloaded shelf.
Bars can be built to order with options such as internal ice trays, sinks and taps, eskies, fridges and cook tops, so check which features your bar has before you plan the day. If you're still choosing a bar, our guide to portable bars for brand activations covers sizes, options, liquor licences and venue approvals.
Use the following steps to set up a portable bar
1. Check the route in before the day. Measure the doors, goods lifts and your vehicle against the bar's size: 600mm deep and 1270mm high (1200mm wide).
Note: If your bar was built to a custom size, measure against that instead.
2. Wheel the bar into place. The castors are 50mm swivel-type, so the bar is easy to manoeuvre. Stand it on a firm, level floor with the branded front facing your guests and the open back facing your serving area.
IMPORTANT: The bar isn't for permanent outdoor use. Don't leave it out in the sun and rain when it's not in use, because over time both can damage it.
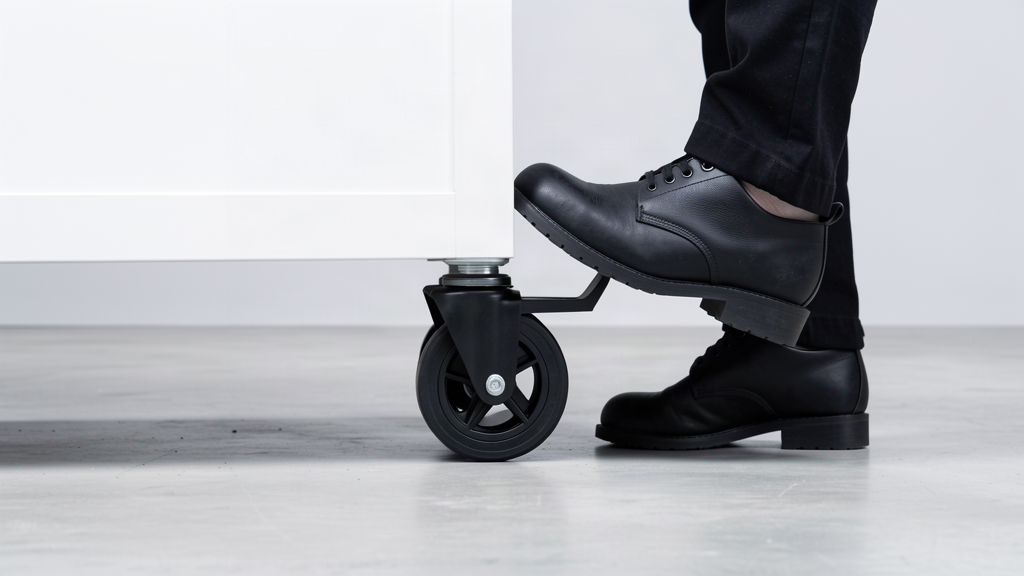
3. Lock the bar in position. One castor has a foot brake: press it down so the bar can't roll while you're loading or serving.
4. Load the fridge or esky into the left section. It's 625mm wide x 935mm high x 625mm front-to-back, with a shelf at the bottom only, to fit a standard 130L bar fridge.
Note: Using your own fridge? Check its size against the left section before the event. Unless you ordered them as built-in options, the bar comes with its graphics, castors and shelves only: no fridge, esky, glassware or trays, so arrange these yourself.
5. Stock the right section. It has two shelves, each 500mm wide x 445mm high x 625mm front-to-back, for glassware, bottles, bins and spares.
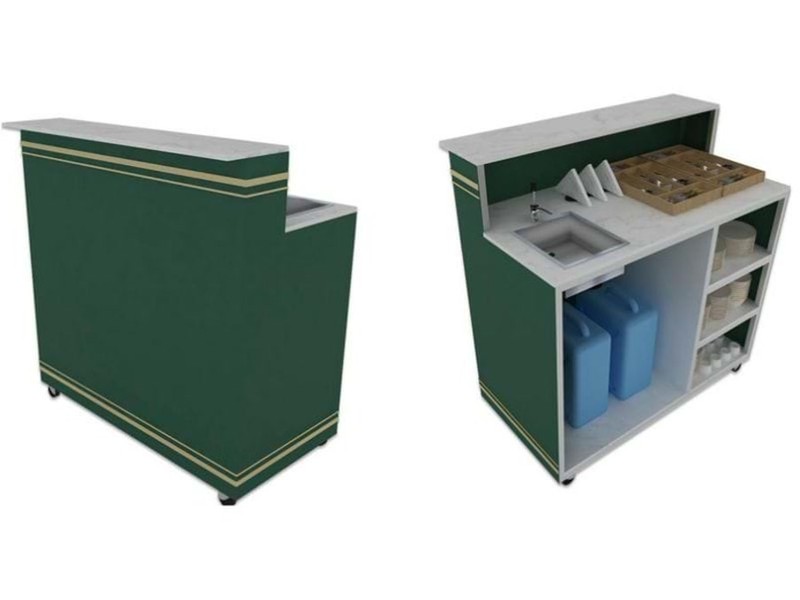
6. Keep an eye on the load. The bar can support up to 100kg in total extra weight, and a fridge, ice, stock and glassware add up quickly.
7. Connect power and water. A fridge or blender needs power, and a bar with a sink needs a water supply and somewhere for waste water to go. Arrange these with the venue before the day. If your bar has internal cable management, run the cords through it so they stay out of sight.
IMPORTANT: Serving alcohol? Confirm well before the day that a liquor licence (yours or the venue's) covers your bar. Even free drinks can need a licence if guests pay anything for entry or a package, and the rules differ by state, so check with the state liquor regulator and the venue.
8. Set the top. Put the drinks being served and anything guests reach for on the top serving area, and keep the lower work area behind it for preparing drinks. Branded bar mats put your logo where the drinks are served.
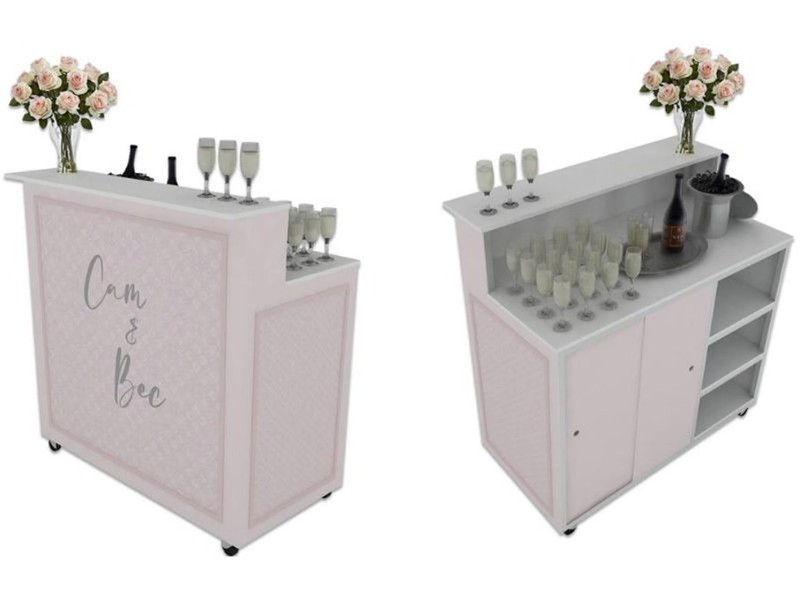
9. Finally, after the event, empty the bar, clean and dry the inside, release the brake and wheel it out. Store it indoors, out of the sun and rain, and you're done!
Need some help?
We're here for you
If you're needing some advice or just a helping hand, please get in touch with our team, by clicking this button. Complete the enquiry form and one of our specialists will call you back as soon as we can.