

YOUR CART IS CURRENTLY EMPTY
How do I set up pull-up banner artwork?
What size should pull-up banner artwork be?
Our pull-up banner product pages list an artwork guide for each banner size, and the guide always wins. Each one is a PDF set at the final artwork size, with the bleed already included. For example, our Premier 850mm x 2.1m guide is 850mm wide x 2030mm high, and it shows three things:
- The visual area (magenta line): 840mm wide x 1985mm high. This is what people see.
- Bleed (green line): 5mm left and right, 15mm at the top and 30mm at the bottom.
- The 30mm at the bottom is the non-visual area. It isn't seen once the banner is up, so never put anything important there.
The Premier comes in 500, 850, 1000 and 1200mm widths, and the Quickscreen in 600, 850, 1000 and 1200mm. Download the guide for your exact width and height from the product page.
Why do I need to use the template?
The bleed is built into the page size, so you don't add any bleed or printer's marks of your own. Design to the lines and the banner prints with no white edges and nothing lost into the base. Keep logos and key copy well inside the magenta line.
Steps to set up pull-up banner artwork in Illustrator or InDesign
1. Download the artwork guide for your banner from the product page and check its finished size. The second page of the PDF is the template.
Note: If page 2 doesn't match your banner size, ask us for the right guide.
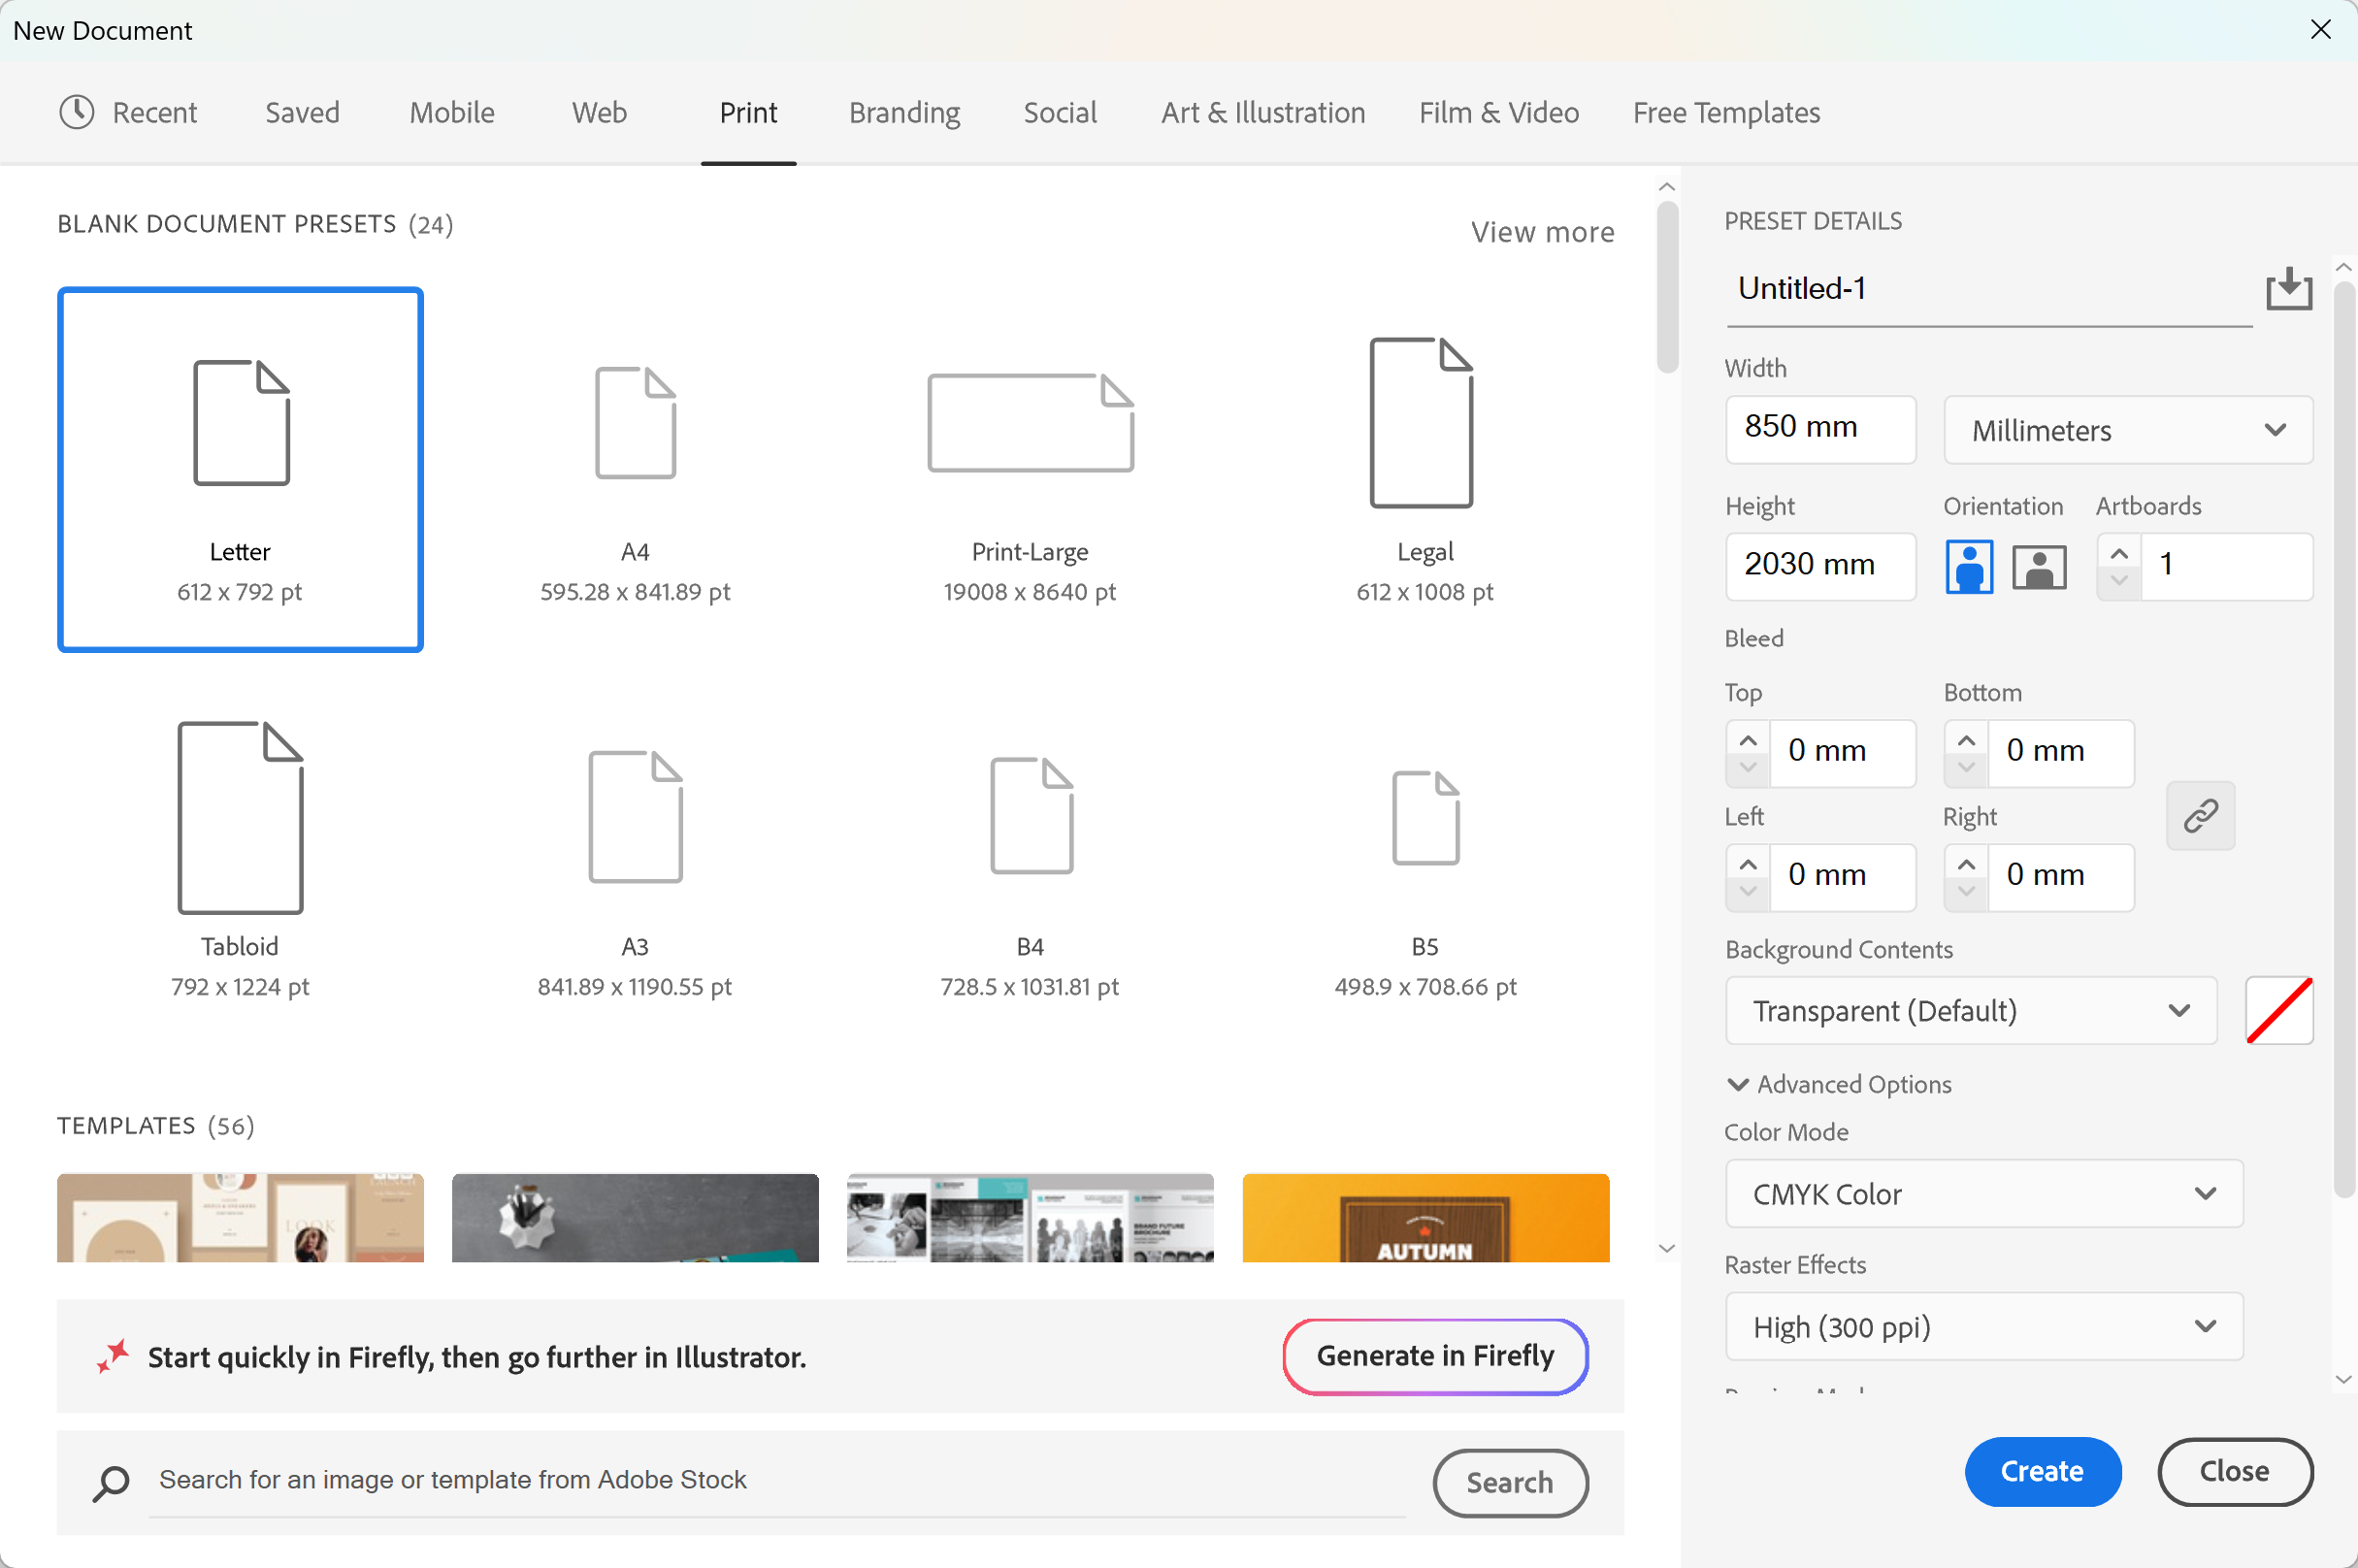
2. Create a new document at the template size. In Illustrator, go to File > New. In the Preset Details pane, choose Millimeters from the units menu, then enter the Width and Height (850 and 2030 for the Premier 850 x 2.1m). Set Bleed to 0 and, under Advanced Options, set Color Mode to CMYK Color, then click Create.
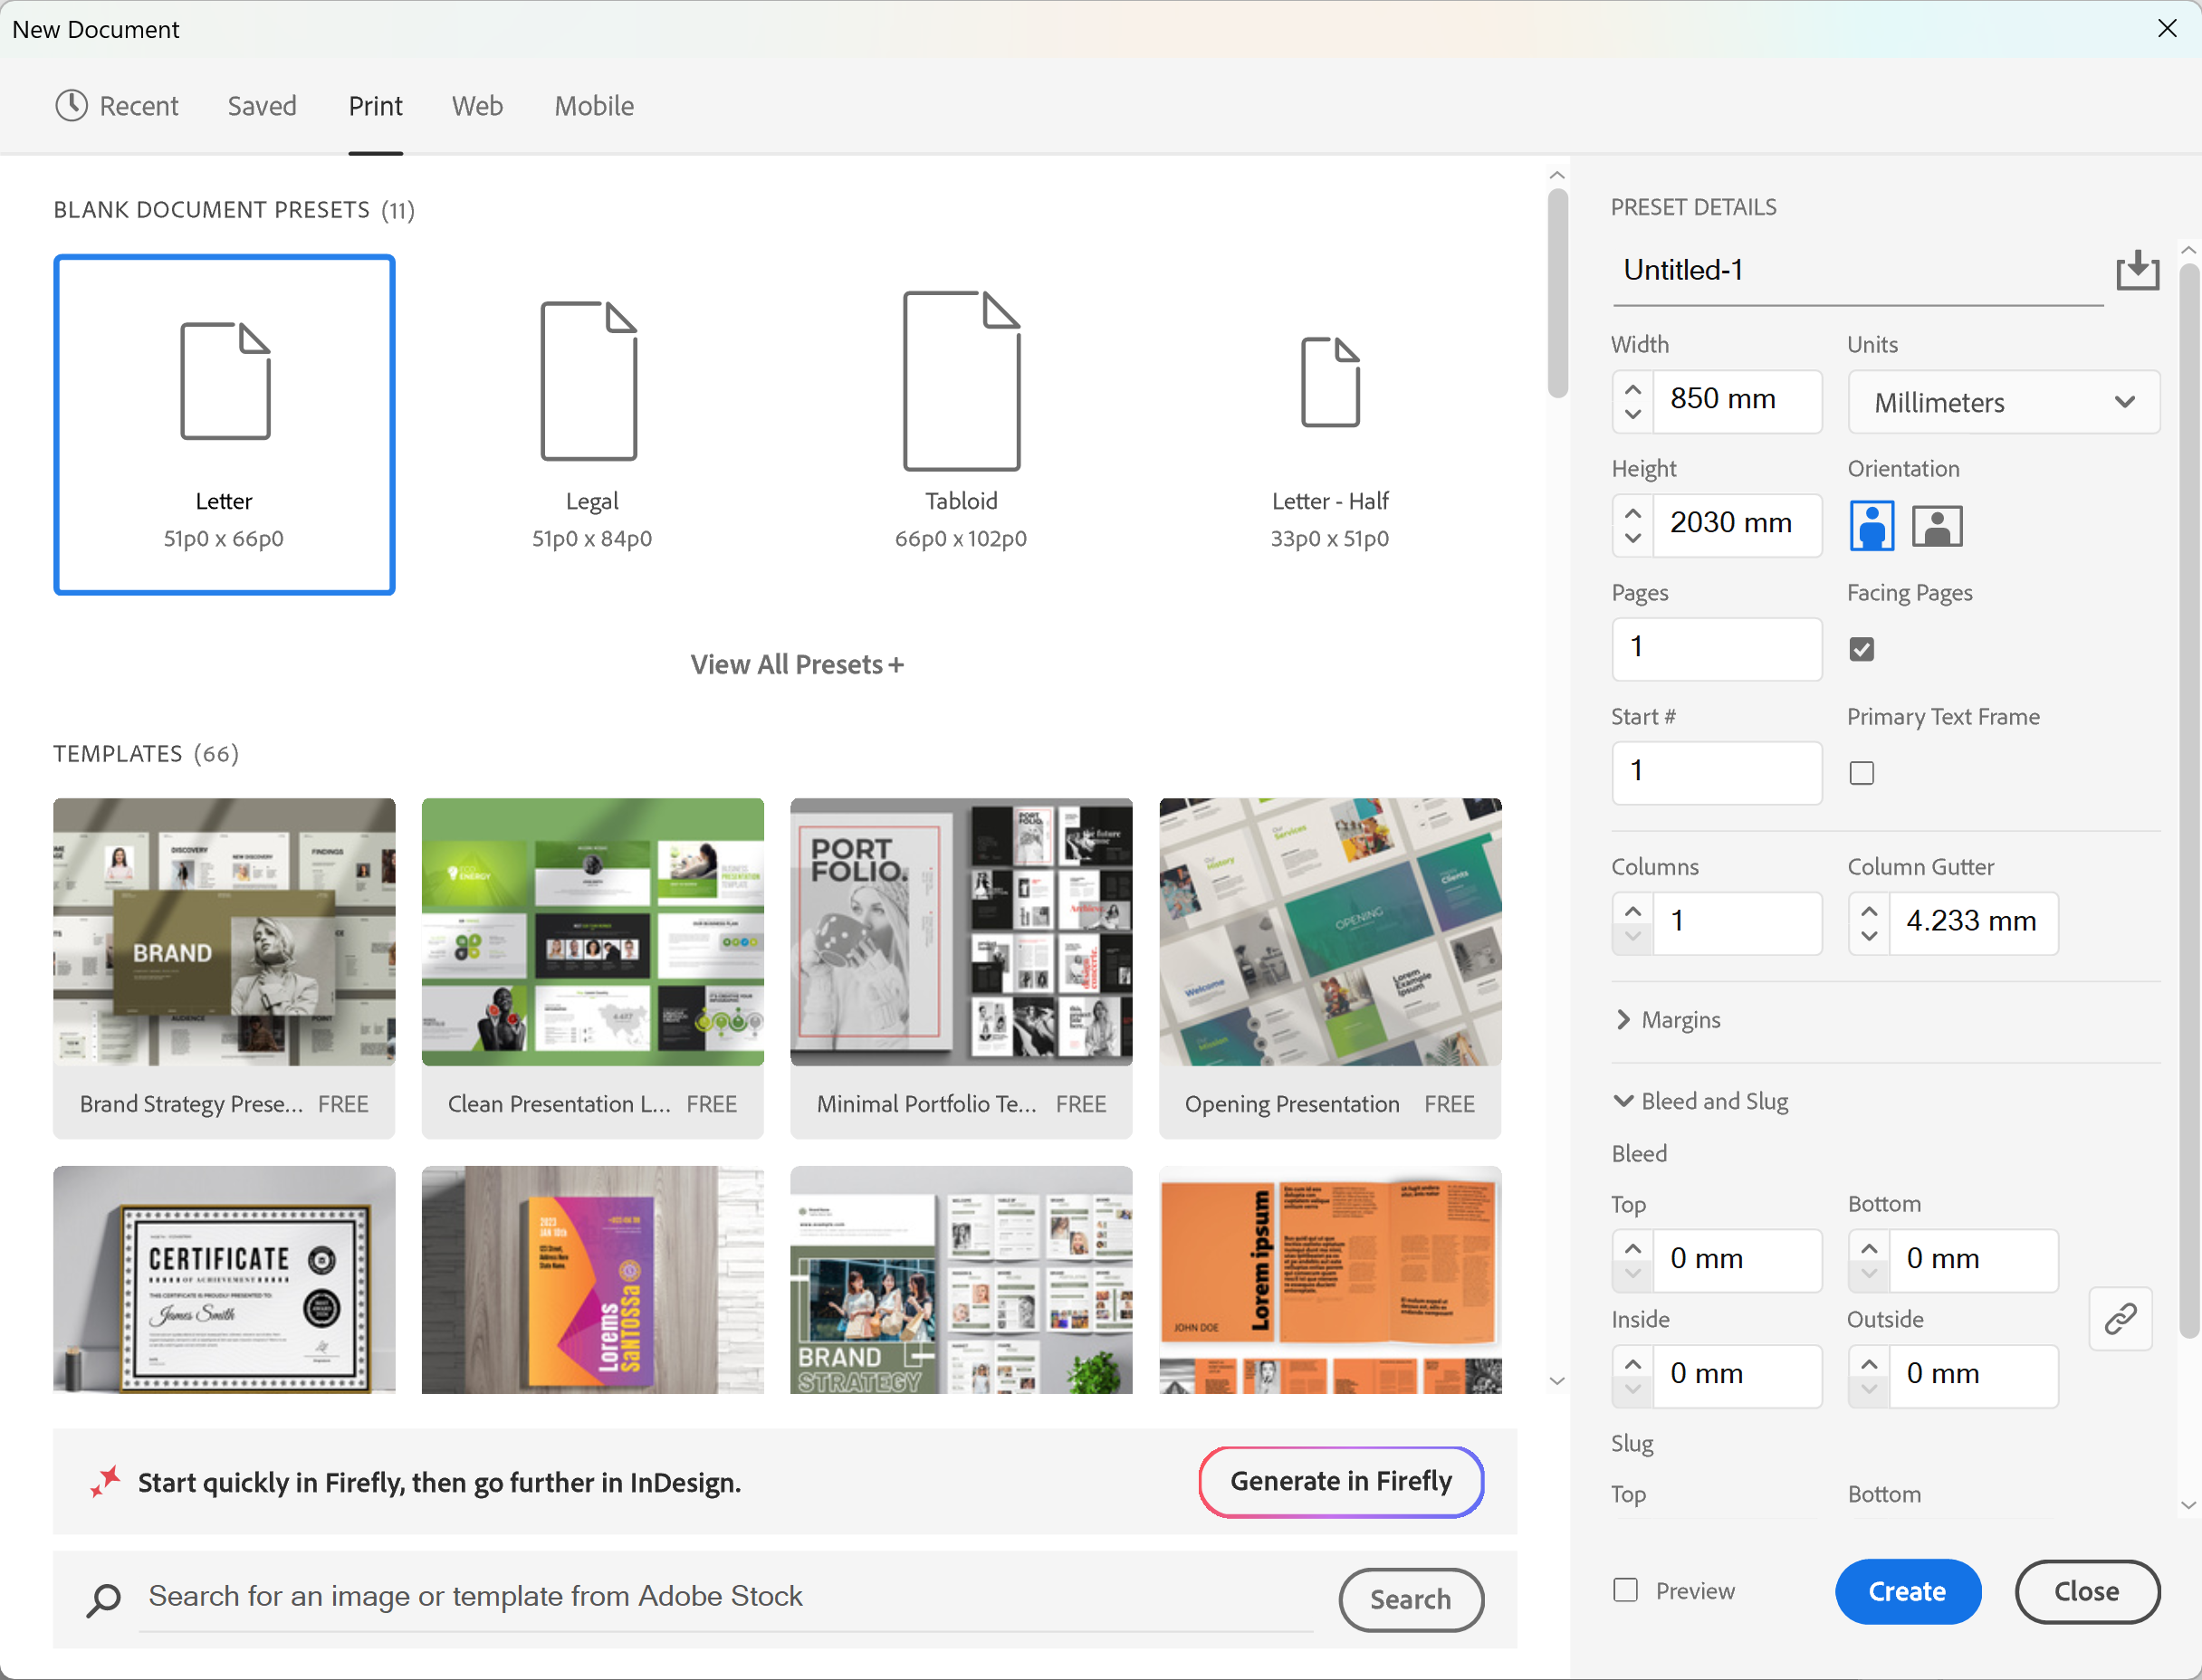
In InDesign, go to File > New > Document and select the Print tab. Enter the Width and Height (typing 850mm works in any unit), and set all four Bleed values to 0. Click Create.
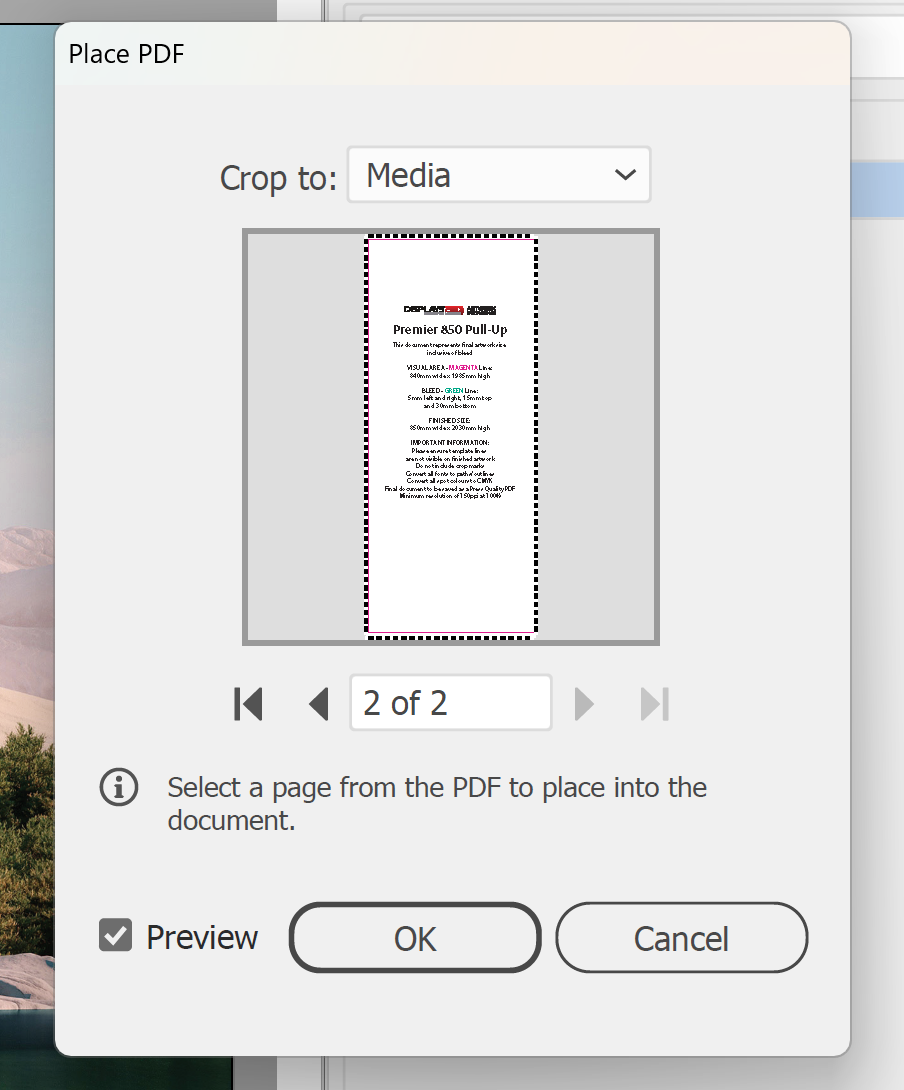
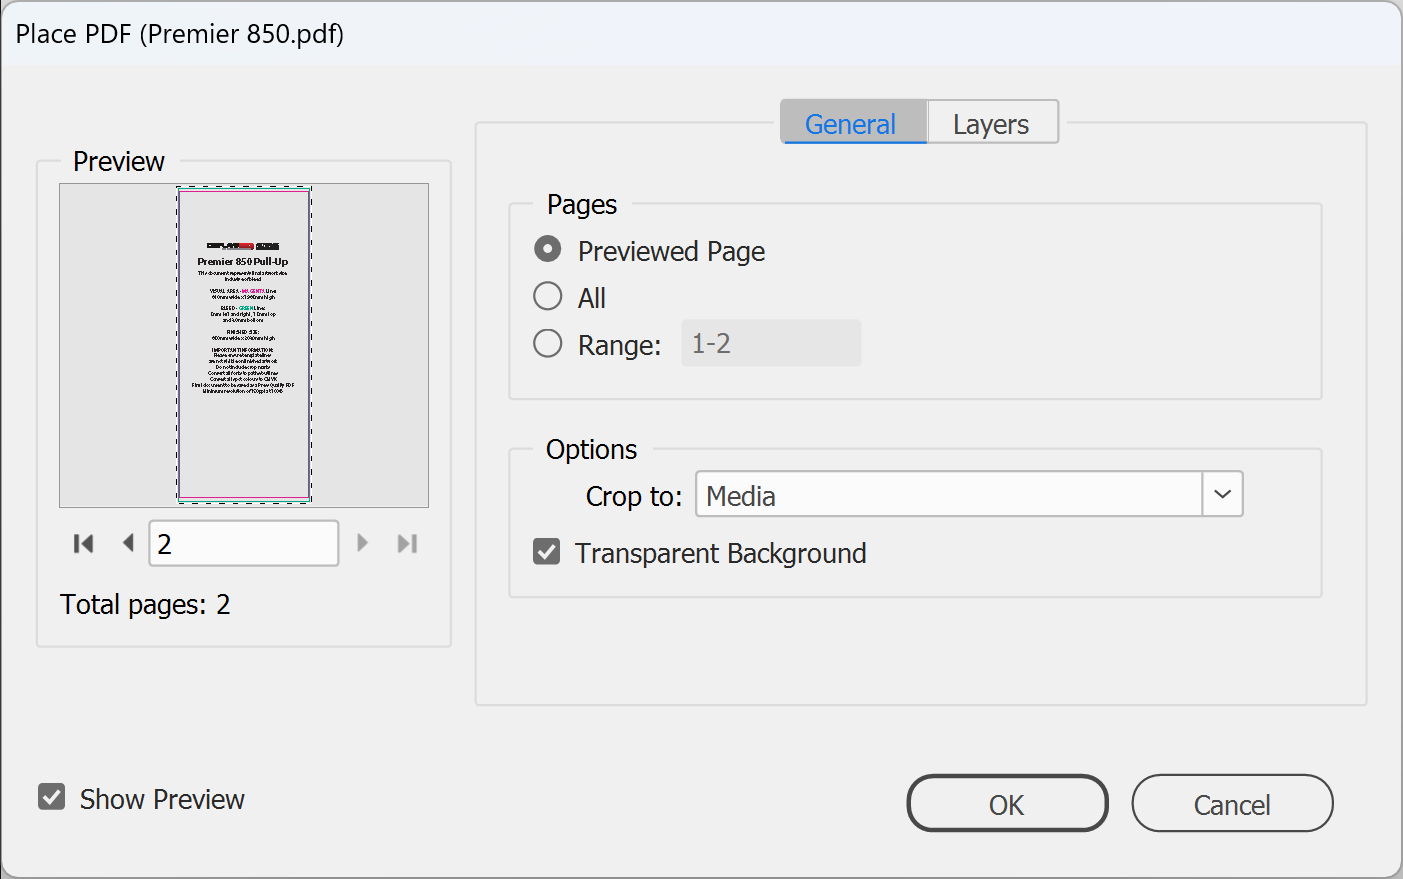
3. Place the template on its own layer. Go to File > Place, select Show Import Options, choose the artwork guide PDF and click Open (InDesign) or Place (Illustrator). In the Place PDF dialog box that opens, select page 2, choose Media from the Crop To menu so the template comes in at full page size, then click OK. Line it up with the edges of the page and lock the layer.
4. Design your banner on a new layer underneath. Run background colours and images out to the edges of the page, and keep text and logos well inside the magenta line. Use CMYK colour, images of at least 150ppi at 100% size, and outline or embed all fonts.
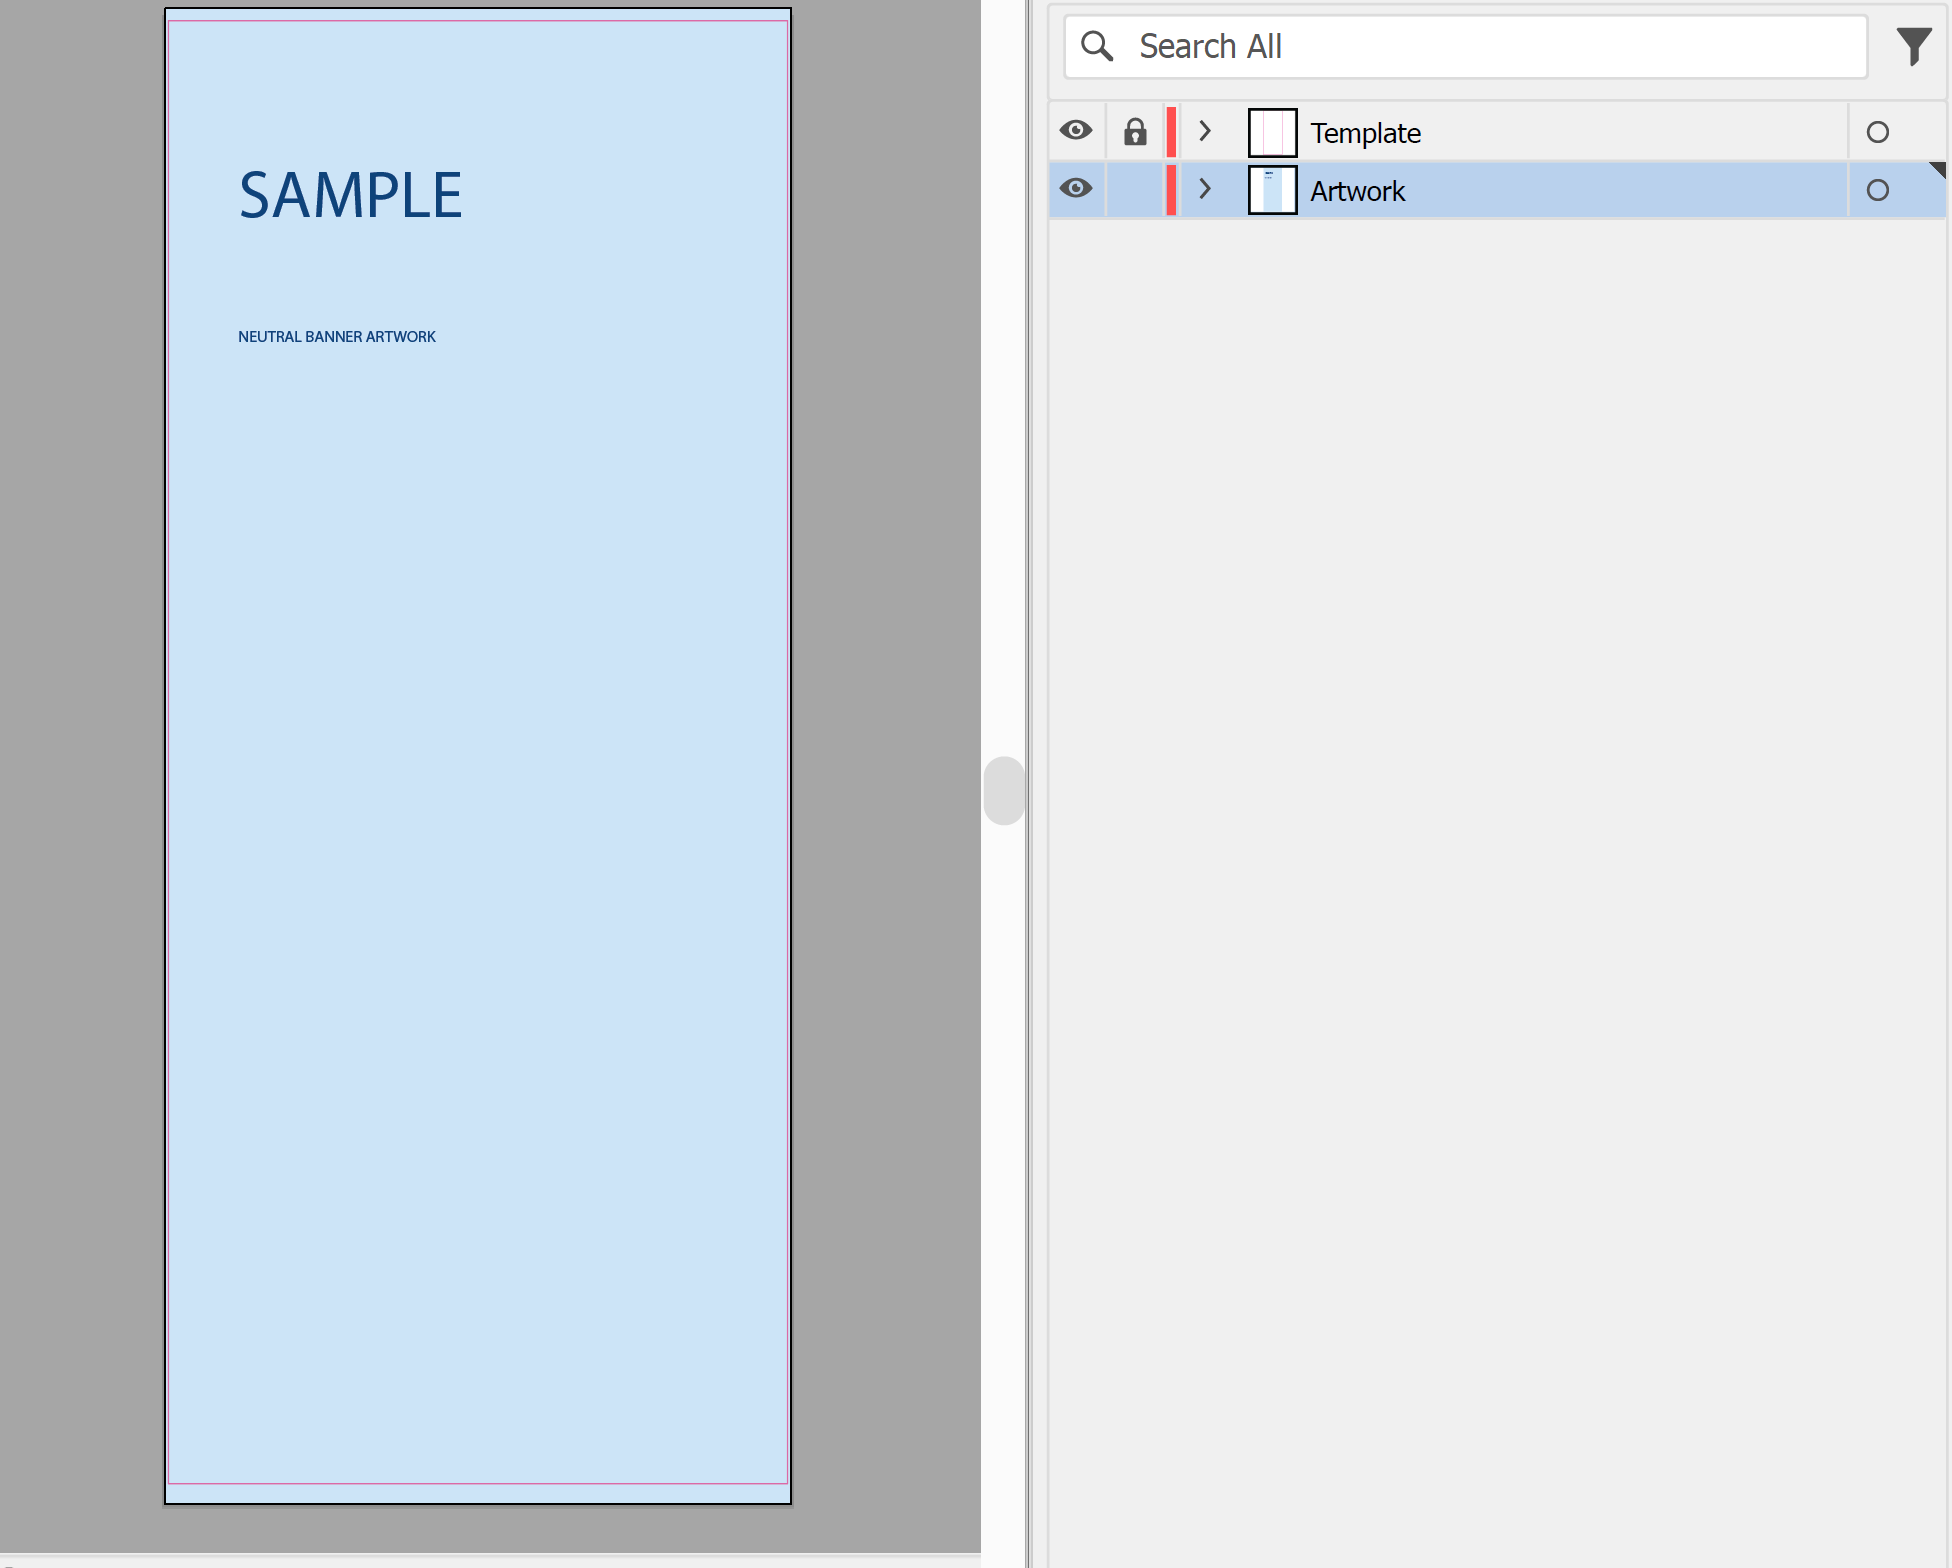
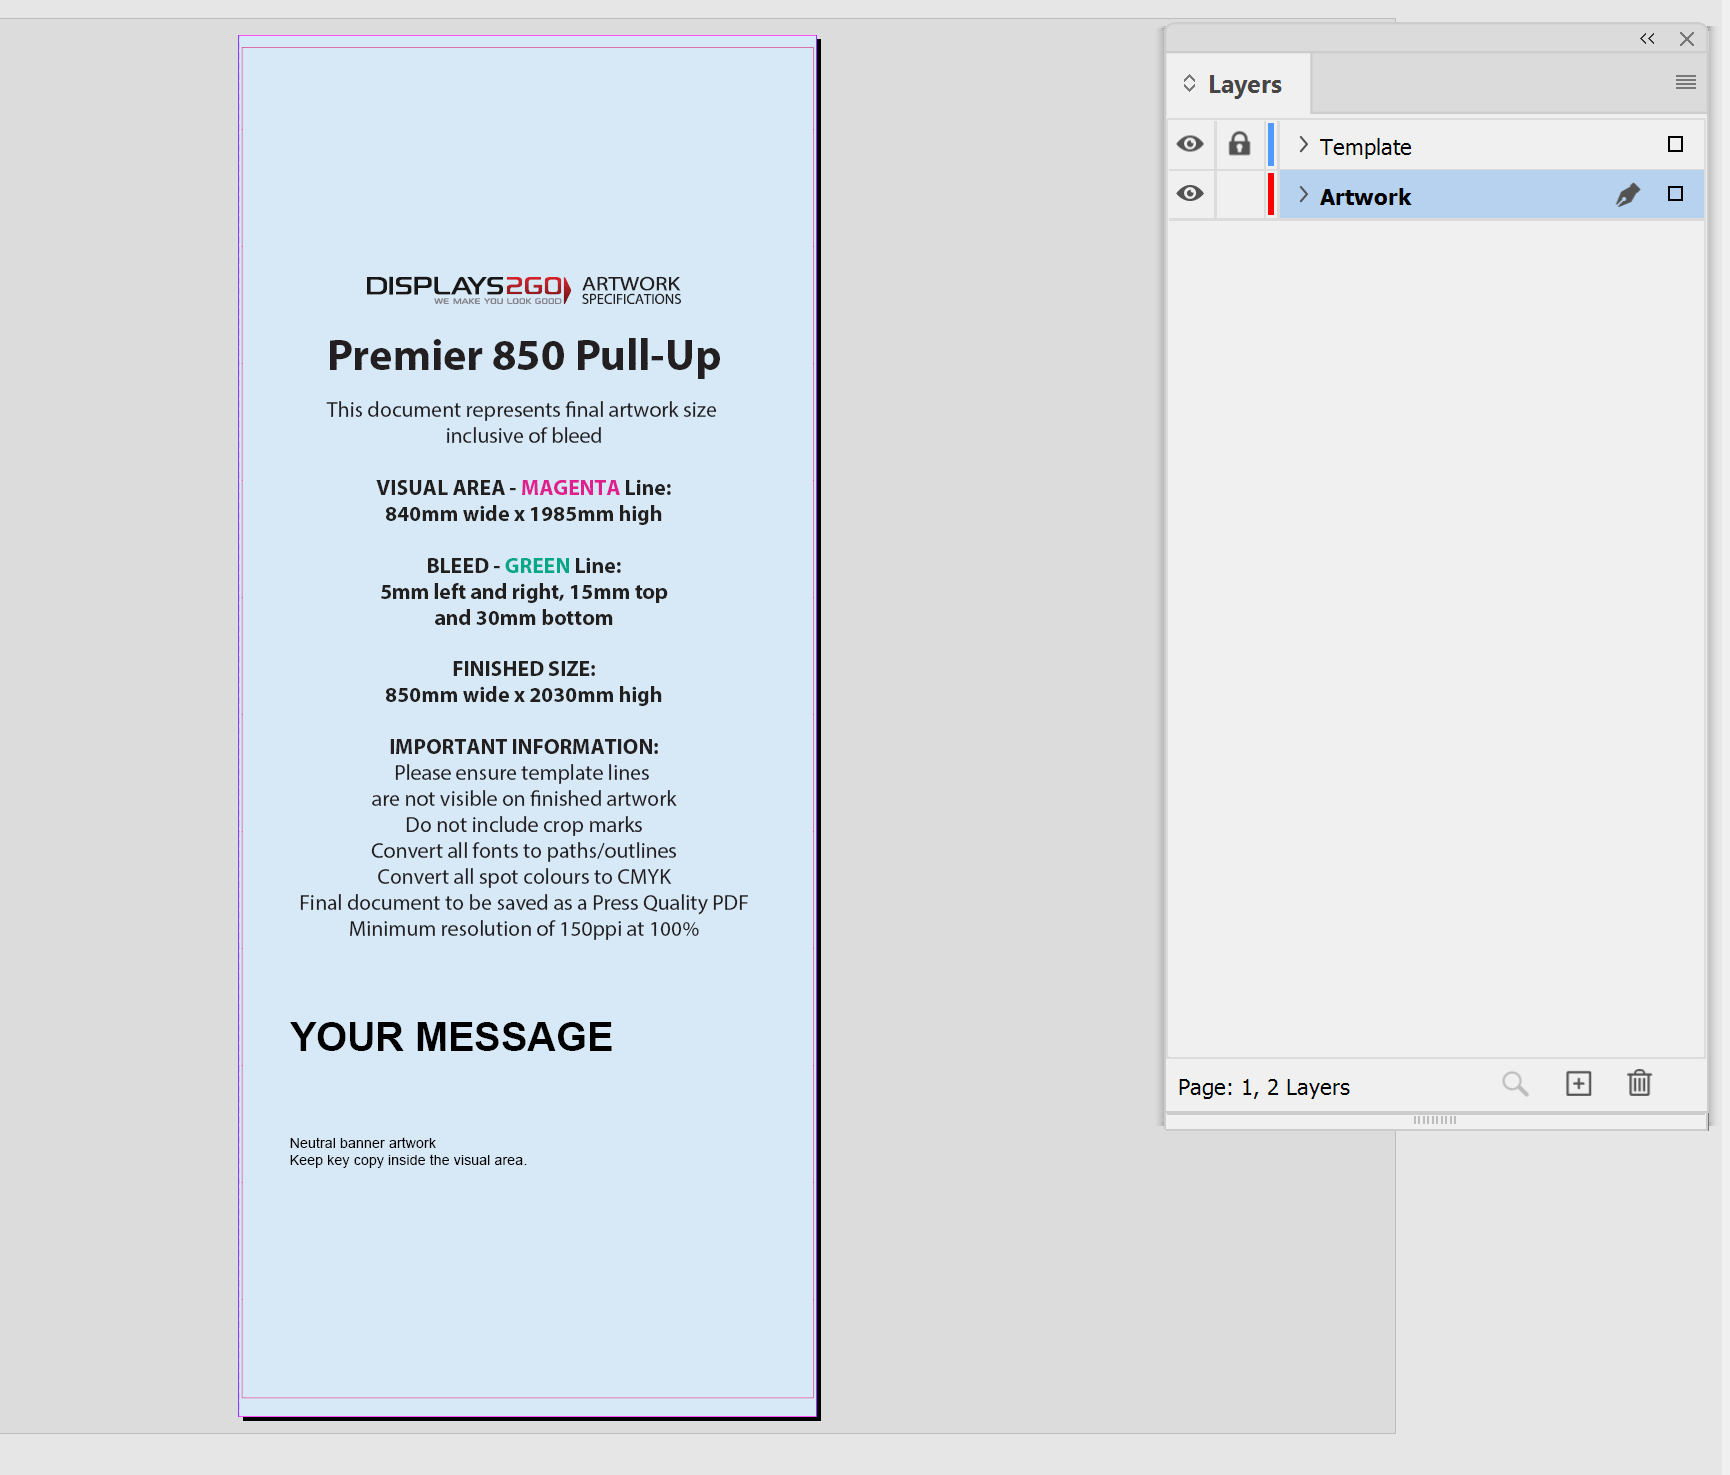
IMPORTANT: Before you save, delete the template layer, or hide it in InDesign (hidden layers don't print or export). Template lines must not be visible on the finished artwork.
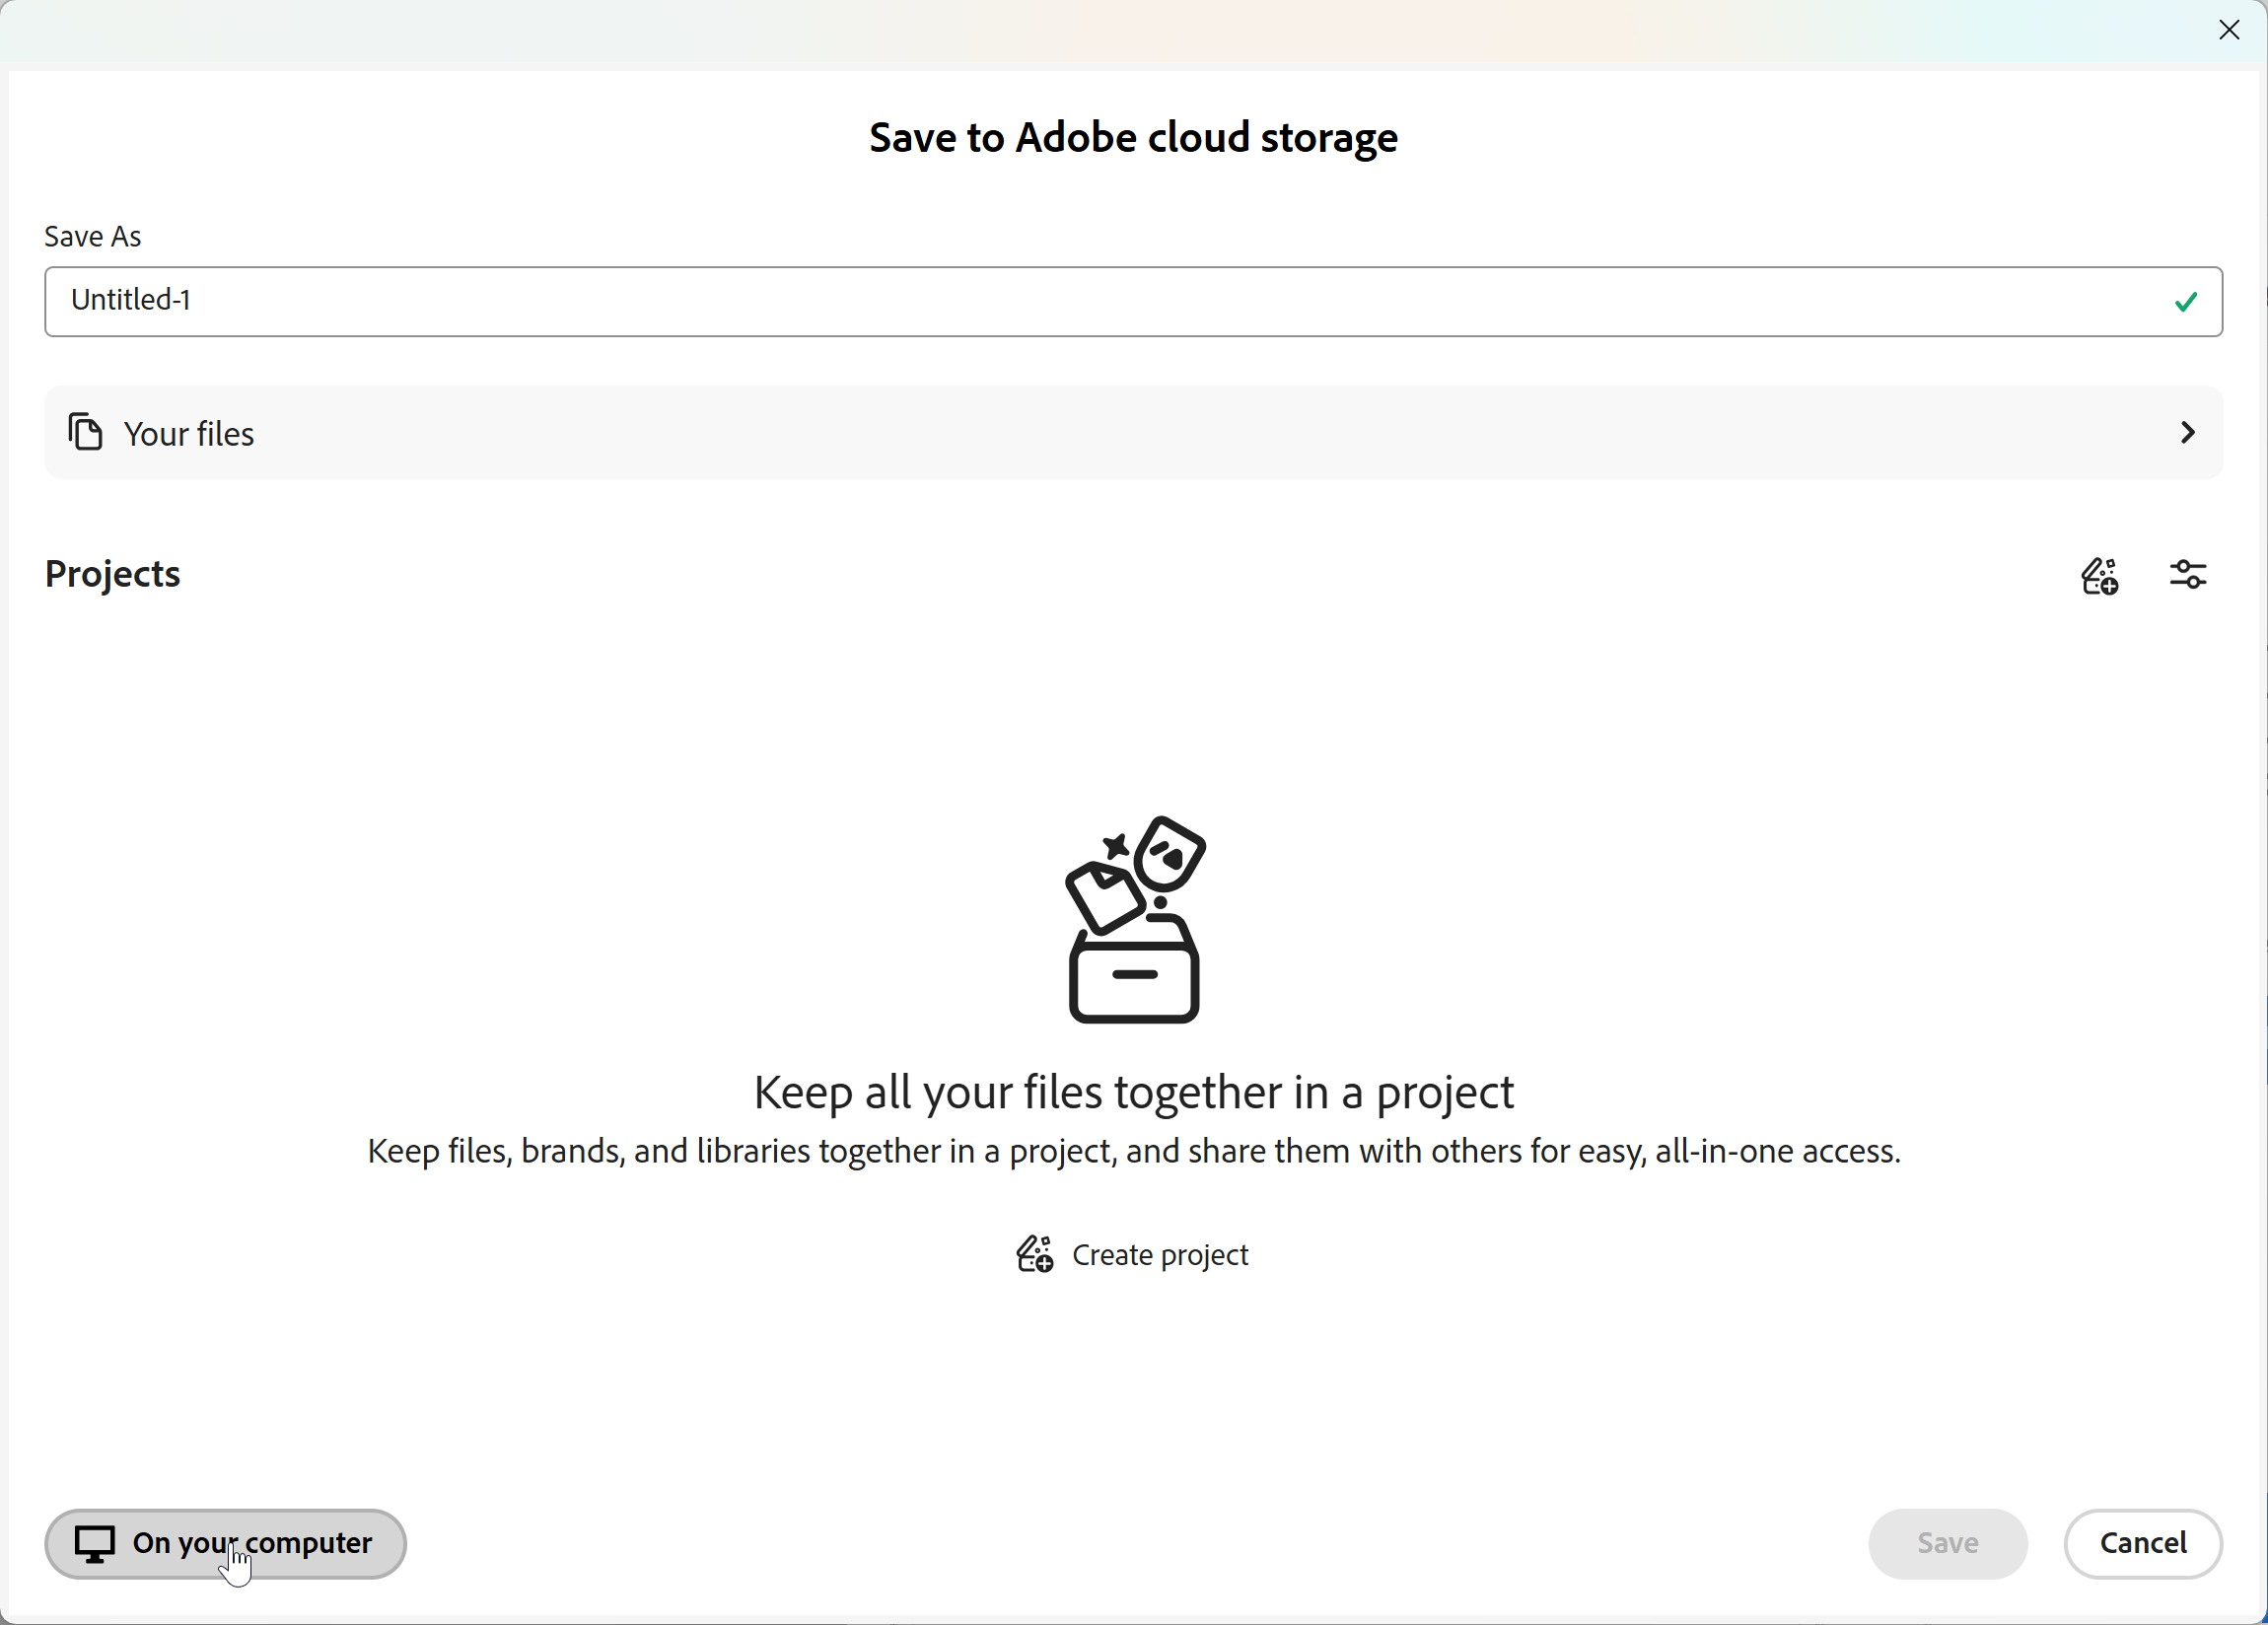
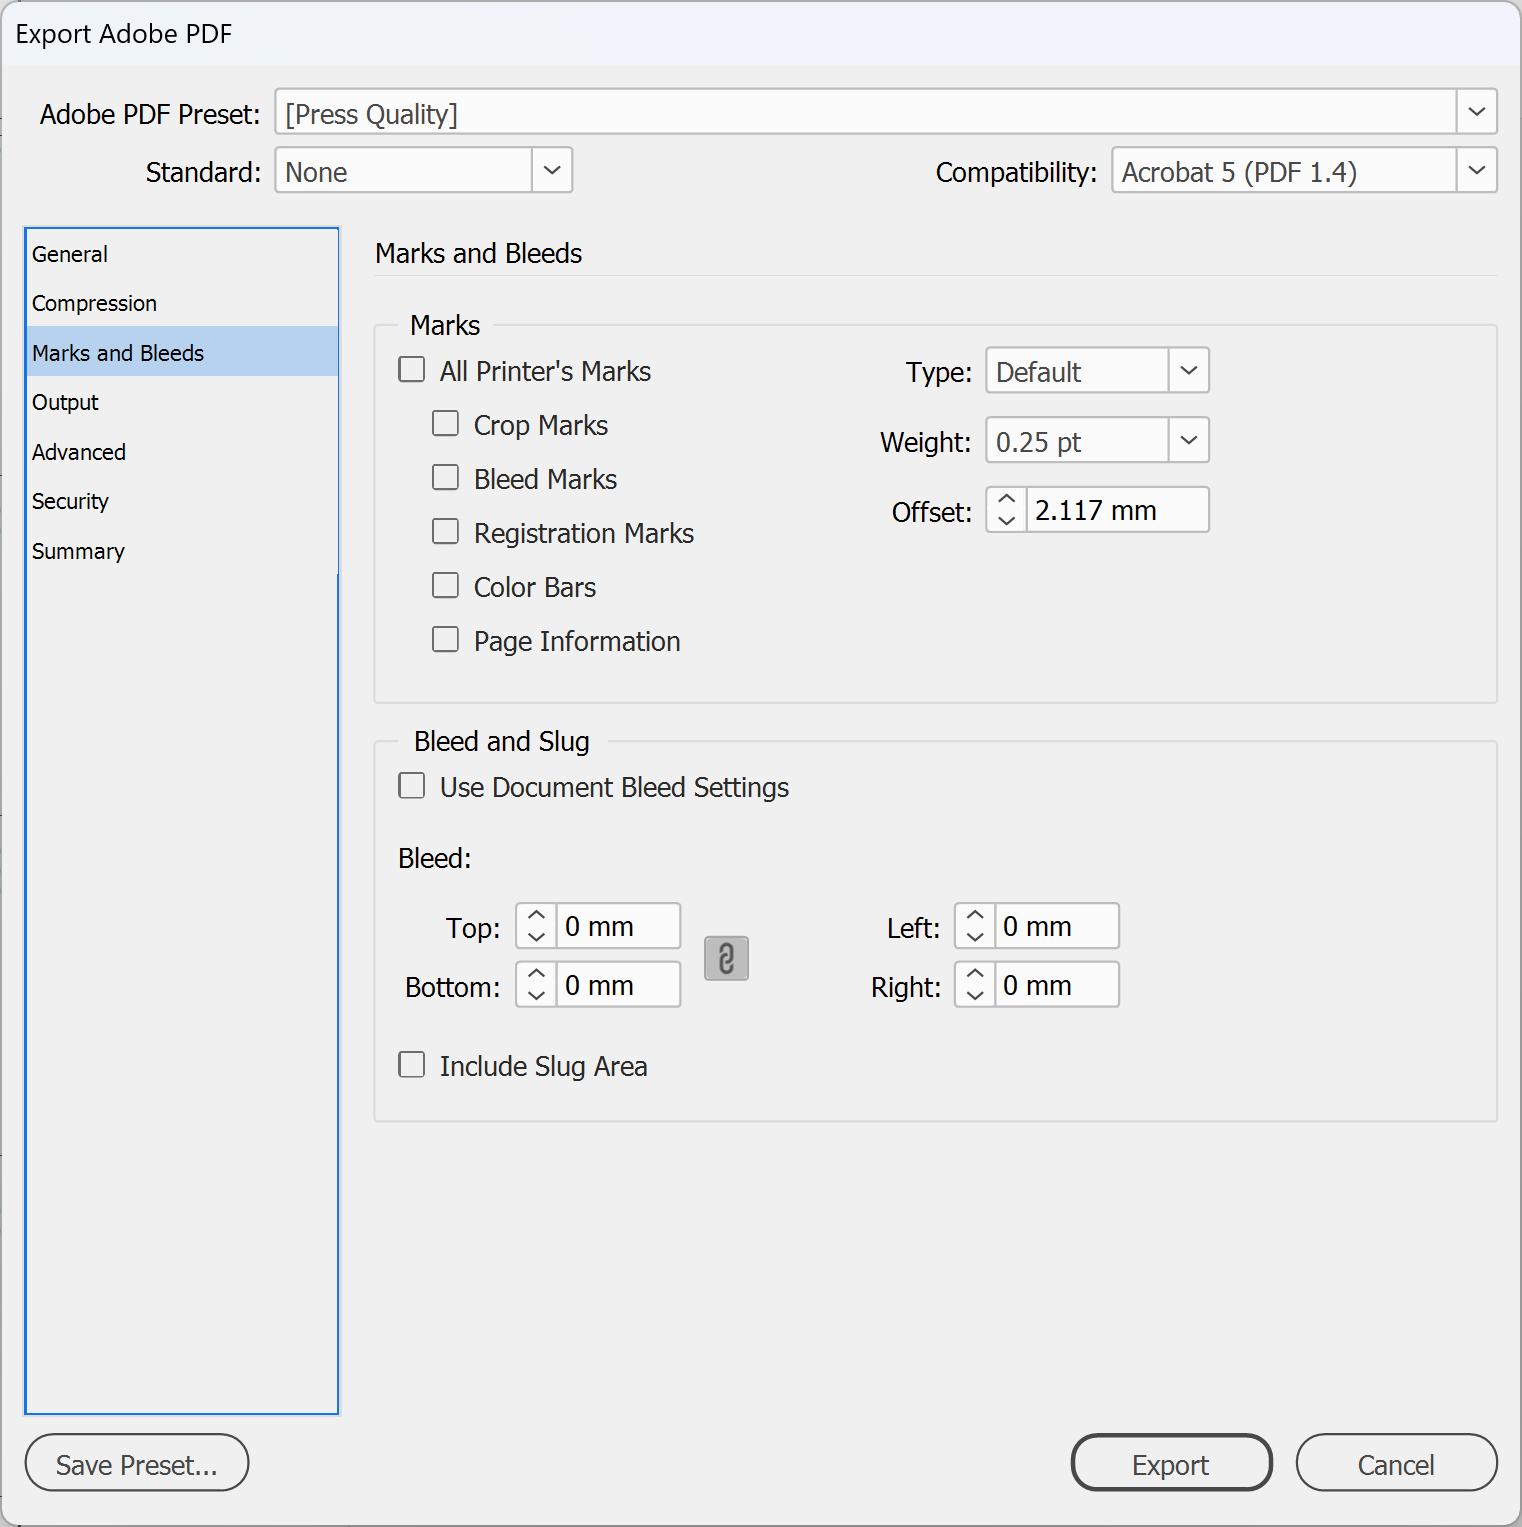
5. Save a print PDF. In Illustrator, go to File > Save As. If the Save to Adobe cloud storage dialog box appears, select On your computer. Choose Adobe PDF (*.PDF) as the file type and click Save. In the Save Adobe PDF dialog box, choose [Press Quality] from the Adobe PDF Preset menu and untick Preserve Illustrator Editing Capabilities to keep the file smaller. The preset then shows as [Press Quality] (Modified). In InDesign, go to File > Export, choose Adobe PDF (Print), click Save, then choose [Press Quality] from the Adobe PDF Preset menu.
Note: Leave all printer's marks off. We don't need crop marks, because the bleed is already inside the page.
![Illustrator Save Adobe PDF dialog showing [Press Quality] (Modified) with Preserve Illustrator Editing Capabilities unticked](/media/a0agvanh/howto-3001-illustrator-save-adobe-pdf-dialog-showing-press-quality-modi.png)
Designing in Canva? Canva isn't suited to preparing wide format print files, so talk to us before you send it.
Need some help?
We're here for you
If you're needing some advice or just a helping hand, please get in touch with our team, by clicking this button. Complete the enquiry form and one of our specialists will call you back as soon as we can.