

YOUR CART IS CURRENTLY EMPTY
Planning a product launch event: six steps, brief to follow-up
Published
Quick answer
Plan a product launch event backwards from one objective. Set the objective and how you will measure it, choose a format and venue that put the right people in the room, then build the guest list, the run sheet and the reveal. Display the product so it reads from across the room and in photos, and follow up within days while interest is high. Brief your display supplier early, because custom builds take longer than catalogue items.
Before you plan the event: is the product ready to launch?
A launch event can't fix a product or a business that isn't ready. Three checks come before any venue booking:
- Can the business support demand? Staff, production, stock and customer service need to be in place before the first order arrives.
- Has the product been tested? Teams close to a product tend to rate it highly. Make sure that view is backed by consistent test results.
- Does the research really support the launch? People tend to look for evidence that confirms what they already believe. Read the market research honestly, including the parts you don't like.
Then confirm the basics of the launch plan: who the target buyer is, how the product compares with what is already on the market, and which channels will carry the launch beyond the event.
If any answer is unclear, move the date. You get one launch, so it pays to get it right.
Step 1: Set the objective and the measure
Every later decision (format, guests, budget and kit) depends on what the launch is meant to achieve. Pick one main objective and decide how you will count it before anything is booked.
| Objective | What to measure | How to capture it on the day |
|---|---|---|
| Media coverage | Articles, broadcast mentions, social posts by attending media | Media sign-in, photo point, press kit downloads |
| Trade orders or ranging | Orders placed, ranging meetings booked | Order forms, meeting bookings on a tablet |
| Consumer demand | Pre-orders, registrations, samples given | Registration station, QR code, sample count |
| Leads for a sales team | Qualified leads, demos booked | Lead capture with agreed qualifying questions |
| Internal alignment | Staff briefed, sales team ready to sell | Attendance, follow-up product training |
Your launch marketing strategy decides the channels around the event. The event itself should do one job well.
Step 2: Choose the format and venue
The format follows the audience. A product launch for media looks very different from one for retail buyers or the public.
| Format | Suits | Typical display kit |
|---|---|---|
| Media or press launch | Consumer products that need coverage | Media wall, hero plinth, demo area |
| Trade or partner launch | Retail buyers, dealers, distributors | Product plinths, demo counter, meeting space |
| Public launch or pop-up | Consumer products people want to try | Backdrop walls, sampling counter, registration point |
| In-store launch | Products already ranged in a retailer | Demo table, point-of-sale display, header sign |
| Launch at a trade show | B2B products with a captive audience | Exhibition stand with a reveal area |
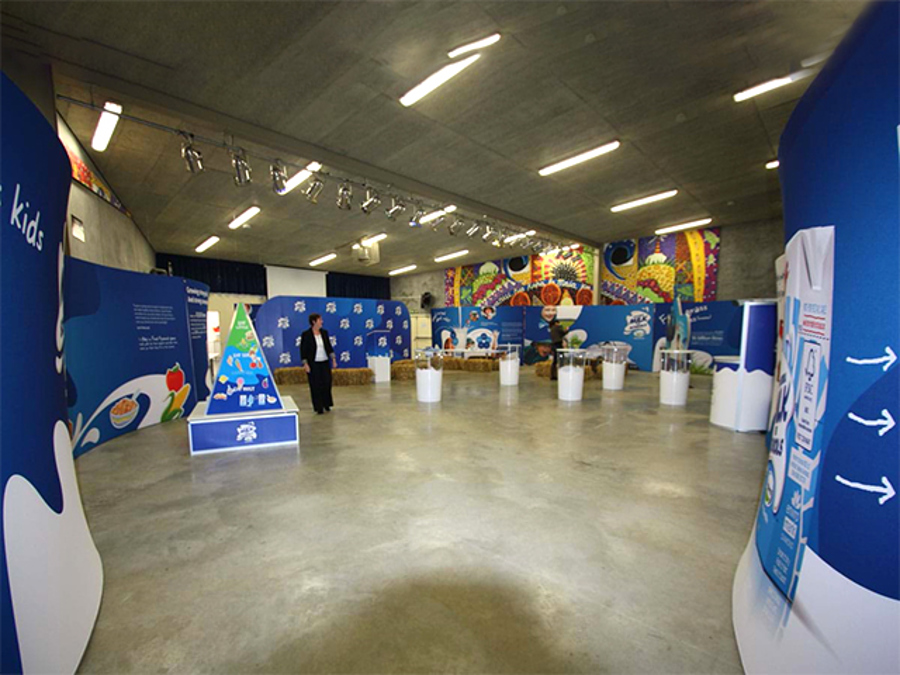
When you shortlist venues, check the practical details as well as the room: loading access, power, ceiling height, what can be fixed to walls, and the bump-in and bump-out windows. Shopping centres and venues set their own rules, so ask for their current conditions in writing before you design anything. For a launch in a public space such as a street or park, check with the local council about permits before you commit to the site.
Step 3: Build the guest list and invitations
Write the guest list from the objective, not from a general database. For a trade launch that means buyers and decision makers. For a media launch it means the editors, journalists and specialists who cover your category.
- Promote early. Send a save-the-date well ahead, and give your name and launch date time to circulate. Previewing the product with selected media or specialists under embargo builds interest before the day.
- Ask for registration. It tells you who is coming and gives you a contact list for follow-up.
- Get privacy and consent right. If the Privacy Act covers your organisation, the Office of the Australian Information Commissioner (OAIC) says you must take reasonable steps to tell people about the collection "before, or at the time" you collect their details. Under the Spam Act, the ACMA says you need consent before you send marketing emails or messages, and every marketing message must identify you as the sender, give your contact details and include a clear way to unsubscribe. Add a clear notice and a consent tick box to the registration form, and keep a record of consent. Your legal or privacy team owns the wording.
Step 4: Plan content, the reveal and the run sheet
A launch event runs to a written run sheet, timed to the minute, with a named owner for every cue. A typical order:
- Arrival, registration and welcome drink
- Short welcome from the host
- One or two speakers on why the product matters (keep speeches short)
- The reveal: the moment the product is first seen
- Demonstrations and hands-on time
- Photos at the media wall
- Close, with take-home information and the next step for each guest
Plan the reveal as a sequence: lighting change, music or video cue, cover lifted, product turning on its plinth. Rehearse it on site, because reveals that fail usually fail on timing. Have product videos and images ready to publish as the reveal happens, so attending media and guests have something to share.
Step 5: Display the product with staging, plinths and a media wall
The product is the centre of the event, so stage it the way you want it photographed.
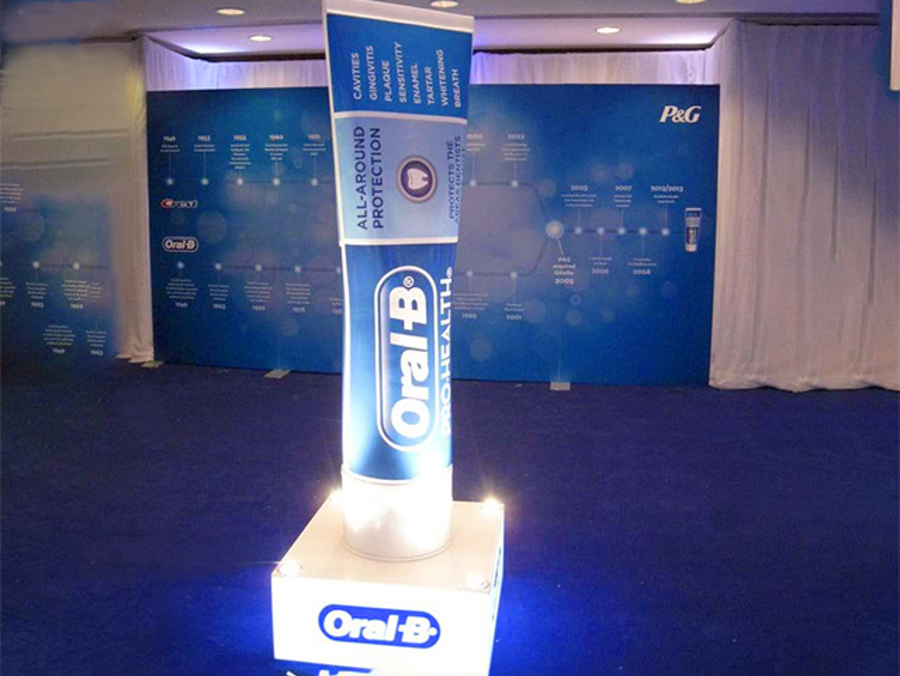
- Lift it to eye level. Display plinths put a product at eye level with clear space around it. For a range, a plinth kit gives you matched plinths in different heights, so no item hides behind another. A plinth with a showcase on top protects a prototype or a high-value product.
- Keep it moving. Display turntables give 360-degree views of smaller items. Our catalogue models are 150mm and 160mm in diameter, from $58 excluding GST and freight. Check the weight capacity on the product page before you choose one.
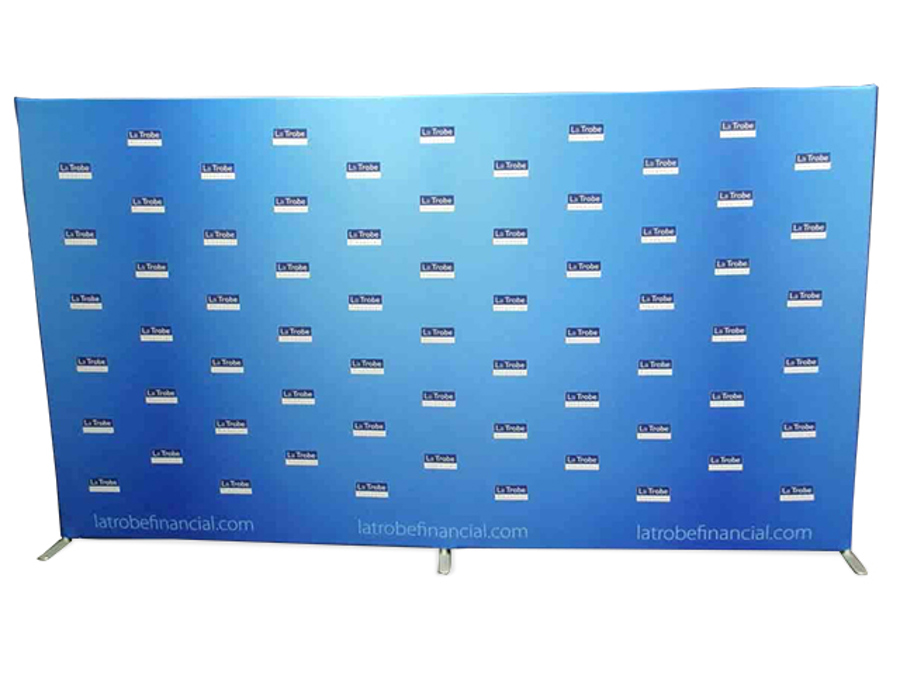
- Build a media wall. A SuperWall media wall is a fabric backdrop on a tool-free aluminium frame. Popular sizes include 3m wide x 2.25m high, with 1.5m-high versions for shopping centres. One person should be able to put it up in under 10 minutes. A full-height wall starts from $1,731 (2.4m wide, printed one side; from $1,467 at shopping centre height), excluding GST and freight, and standard production is 1.5 weeks from order and print-ready artwork.
- Light it. A dark room with a lit product draws the eye. An LED light kit (pair) is a $215 add-on for the SuperWall, excluding GST.
- Match the demo kit to the product. Decide early whether demonstrators move through the crowd or work from a fixed counter, and what preparation or cooking facilities they need. The right equipment makes the demonstration easier to run. If guests will taste food or drink, check food safety requirements with the local council, and the state's liquor licensing rules for any alcohol.
For more on choosing displays for live events, see our brand activation planning guide.
Step 6: Follow up and measure
The launch event starts demand. Follow-up turns it into results.
- Within days: thank guests, send the press kit and images, and give each person a next step, whether that is a product demo, a free trial, a sample or a meeting.
- Keep access easy. Product information, videos and demonstrations should be easy to find after the event, not only on the night.
- Measure against Step 1. Count the result you set at the start, and compare channels on cost and engagement to see which gave the best return.
- Debrief the team while it is fresh: what worked, what didn't and what to change for the next launch or roadshow.
- Check the kit. Inspect graphics and fixings before storage so displays are ready for the next event.
Product launch timeline: working back from the date
Use this as a guide, not a rule. Large venues, custom builds and busy event seasons need more time.
| Time before launch | What to have done |
|---|---|
| 12 weeks or more | Objective and measure agreed, budget set, format chosen, venue shortlisted |
| 10 weeks | Venue booked and its rules received, display supplier briefed with the live date |
| 8 weeks | Guest list built, save-the-date sent, speakers confirmed |
| 6 weeks | Display design approved, invitations and registration live |
| 4 weeks | Print-ready artwork supplied, run sheet drafted, media preview under embargo |
| 2 weeks | Final numbers, catering and staff briefed, freight booked |
| Launch week | Bump-in, full rehearsal of the reveal, kit checked |
| 1 to 2 weeks after | Follow-up sent, results measured against the objective, debrief held |
Catalogue items list their production time on the product page. Custom builds take longer: a custom brand activation build typically takes about five weeks. Include your launch date in the brief and we will tell you what can be delivered by then. Our project management team can coordinate design, production, freight, installation and dismantling through one contact.
Next step
See how we support brand activations, then talk to us about staging, plinths and media walls for your launch. Call 1300 240 250 or send a brief through any product page.