

YOUR CART IS CURRENTLY EMPTY
How do I add hems, eyelets and pole pockets to banner artwork?
What are hems, eyelets and pole pockets?
They're the finishing on a PVC (vinyl) or mesh banner, the parts that let you hang it. We work with you to supply PVC and mesh banners, as well as our outdoor flags and banners.
- A hem is the edge of the banner folded back and stitched or welded, so it doesn't tear.
- Eyelets are metal rings punched through the hem, for rope, cable ties or hooks.
- A pole pocket (or sleeve) is a tube along one edge, so a pole or rod can slide through.
None of them are printed. They're added after printing, so your artwork only needs to leave room for them.
Why do they matter for my artwork?
Anything printed where the hem folds, an eyelet is punched or a pocket is sewn will be hidden or cut through. A logo near the edge can lose a letter to an eyelet, and a pole pocket can swallow a headline.
Council street banner specifications show how much room finishing takes. The City of Perth's street-wide vinyl banner note asks for 12mm eyelets 500mm apart, 30mm from the top edge to the top of each eyelet, with a 10mm hem. Central Coast Council's street banner guide uses a 60mm open pocket and a 10mm fold and hem all round, and keeps text and images 150mm from the top and 50mm from the sides and bottom.
Your banner's own size and fixing decide the exact figures, so treat these as examples.
How far apart should the eyelets be?
It depends on the banner's size and where it hangs. Council specifications range widely:
- A 7.2m street-wide vinyl banner (City of Perth): 12mm eyelets every 500mm along the top.
- A 9m, 12m or 18m bridge banner (Brisbane City Council): eyelets every 1m along the top and bottom, plus wind vent holes about every 3m.
- A 3.2 x 1m civic centre banner (City of Greater Geraldton): four reinforced eyelets, one in each corner, with ropes stitched into the top and bottom hems.
Long banners and windy sites need more fixing points. If you're not sure, tell us where the banner will hang and talk to us before you finish the artwork.
Use the following steps to allow for hems, eyelets and pole pockets
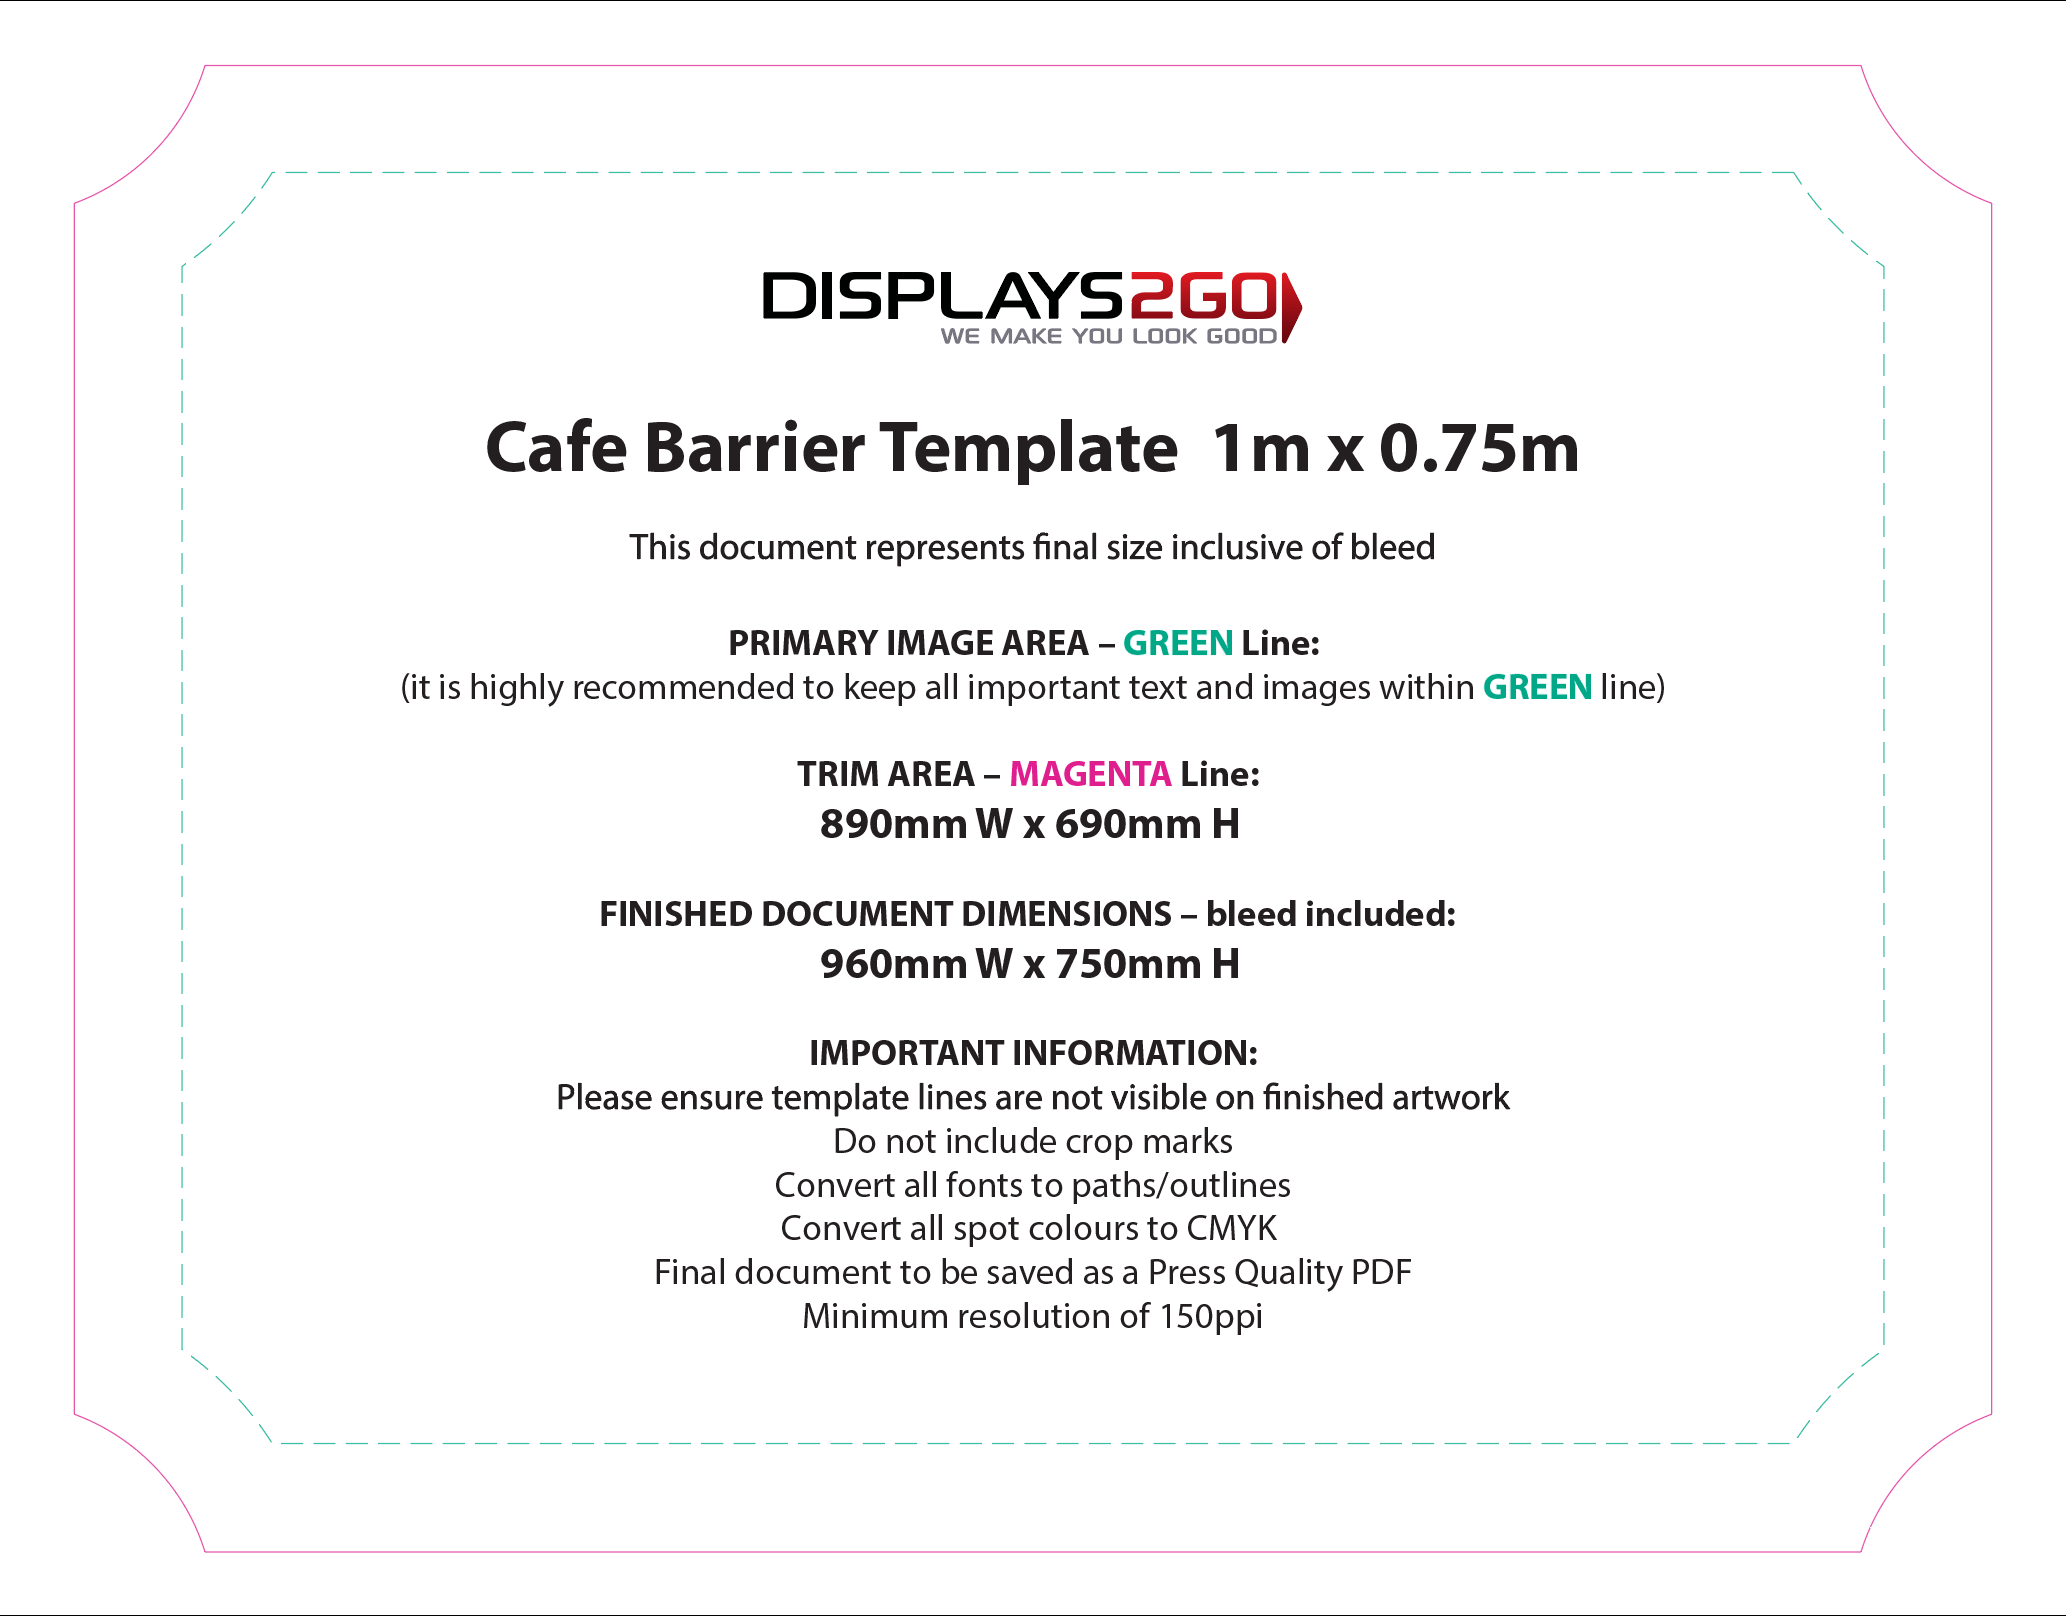
1. Start from the product template if there is one. A template always overrides the 10mm bleed default in our artwork specifications, and it shows where the graphic folds or sits in a frame. If you can't find one, ask us for the one that suits your product.
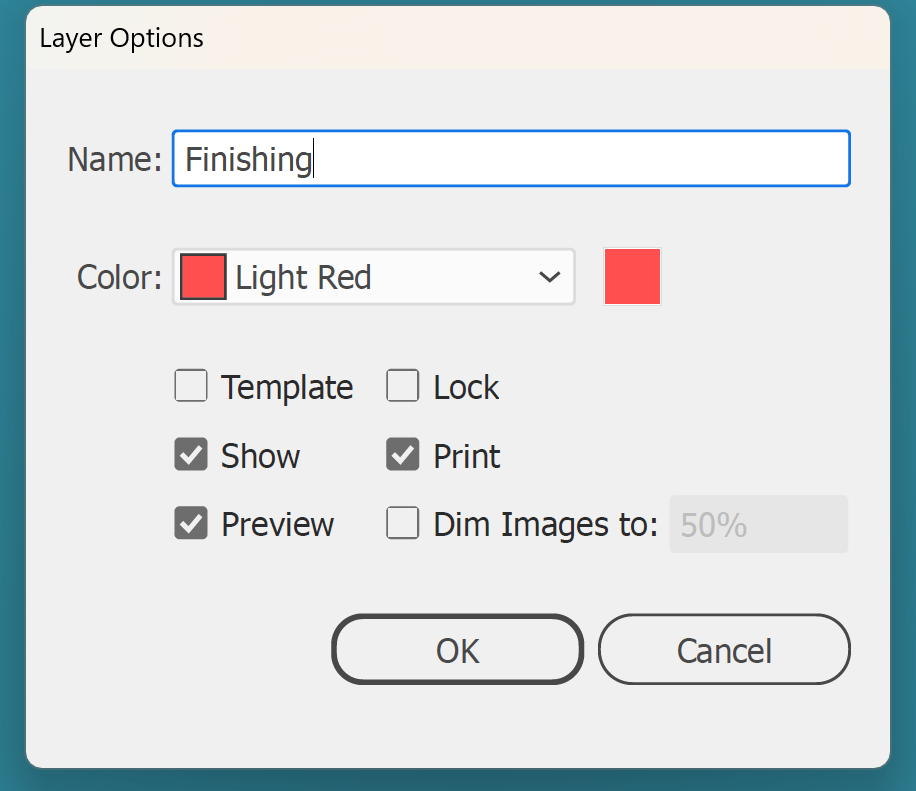
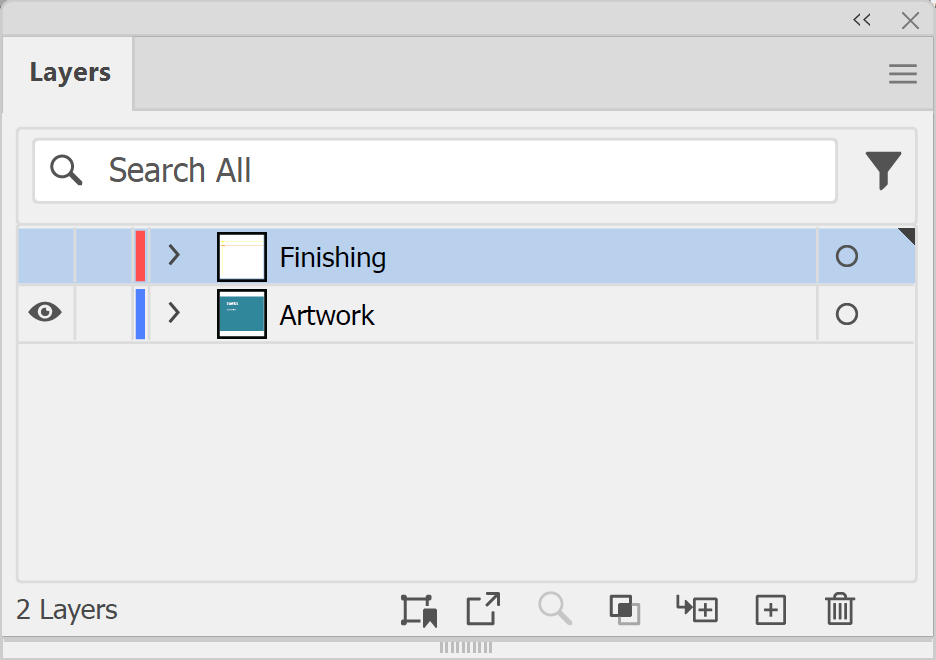
2. Add a new layer for the finishing marks, so they stay separate from your artwork. In the main menu, go to Window > Layers, then choose New Layer from the Layers panel menu. In the Layer Options dialog box, type "Finishing" in the Name field and click OK.
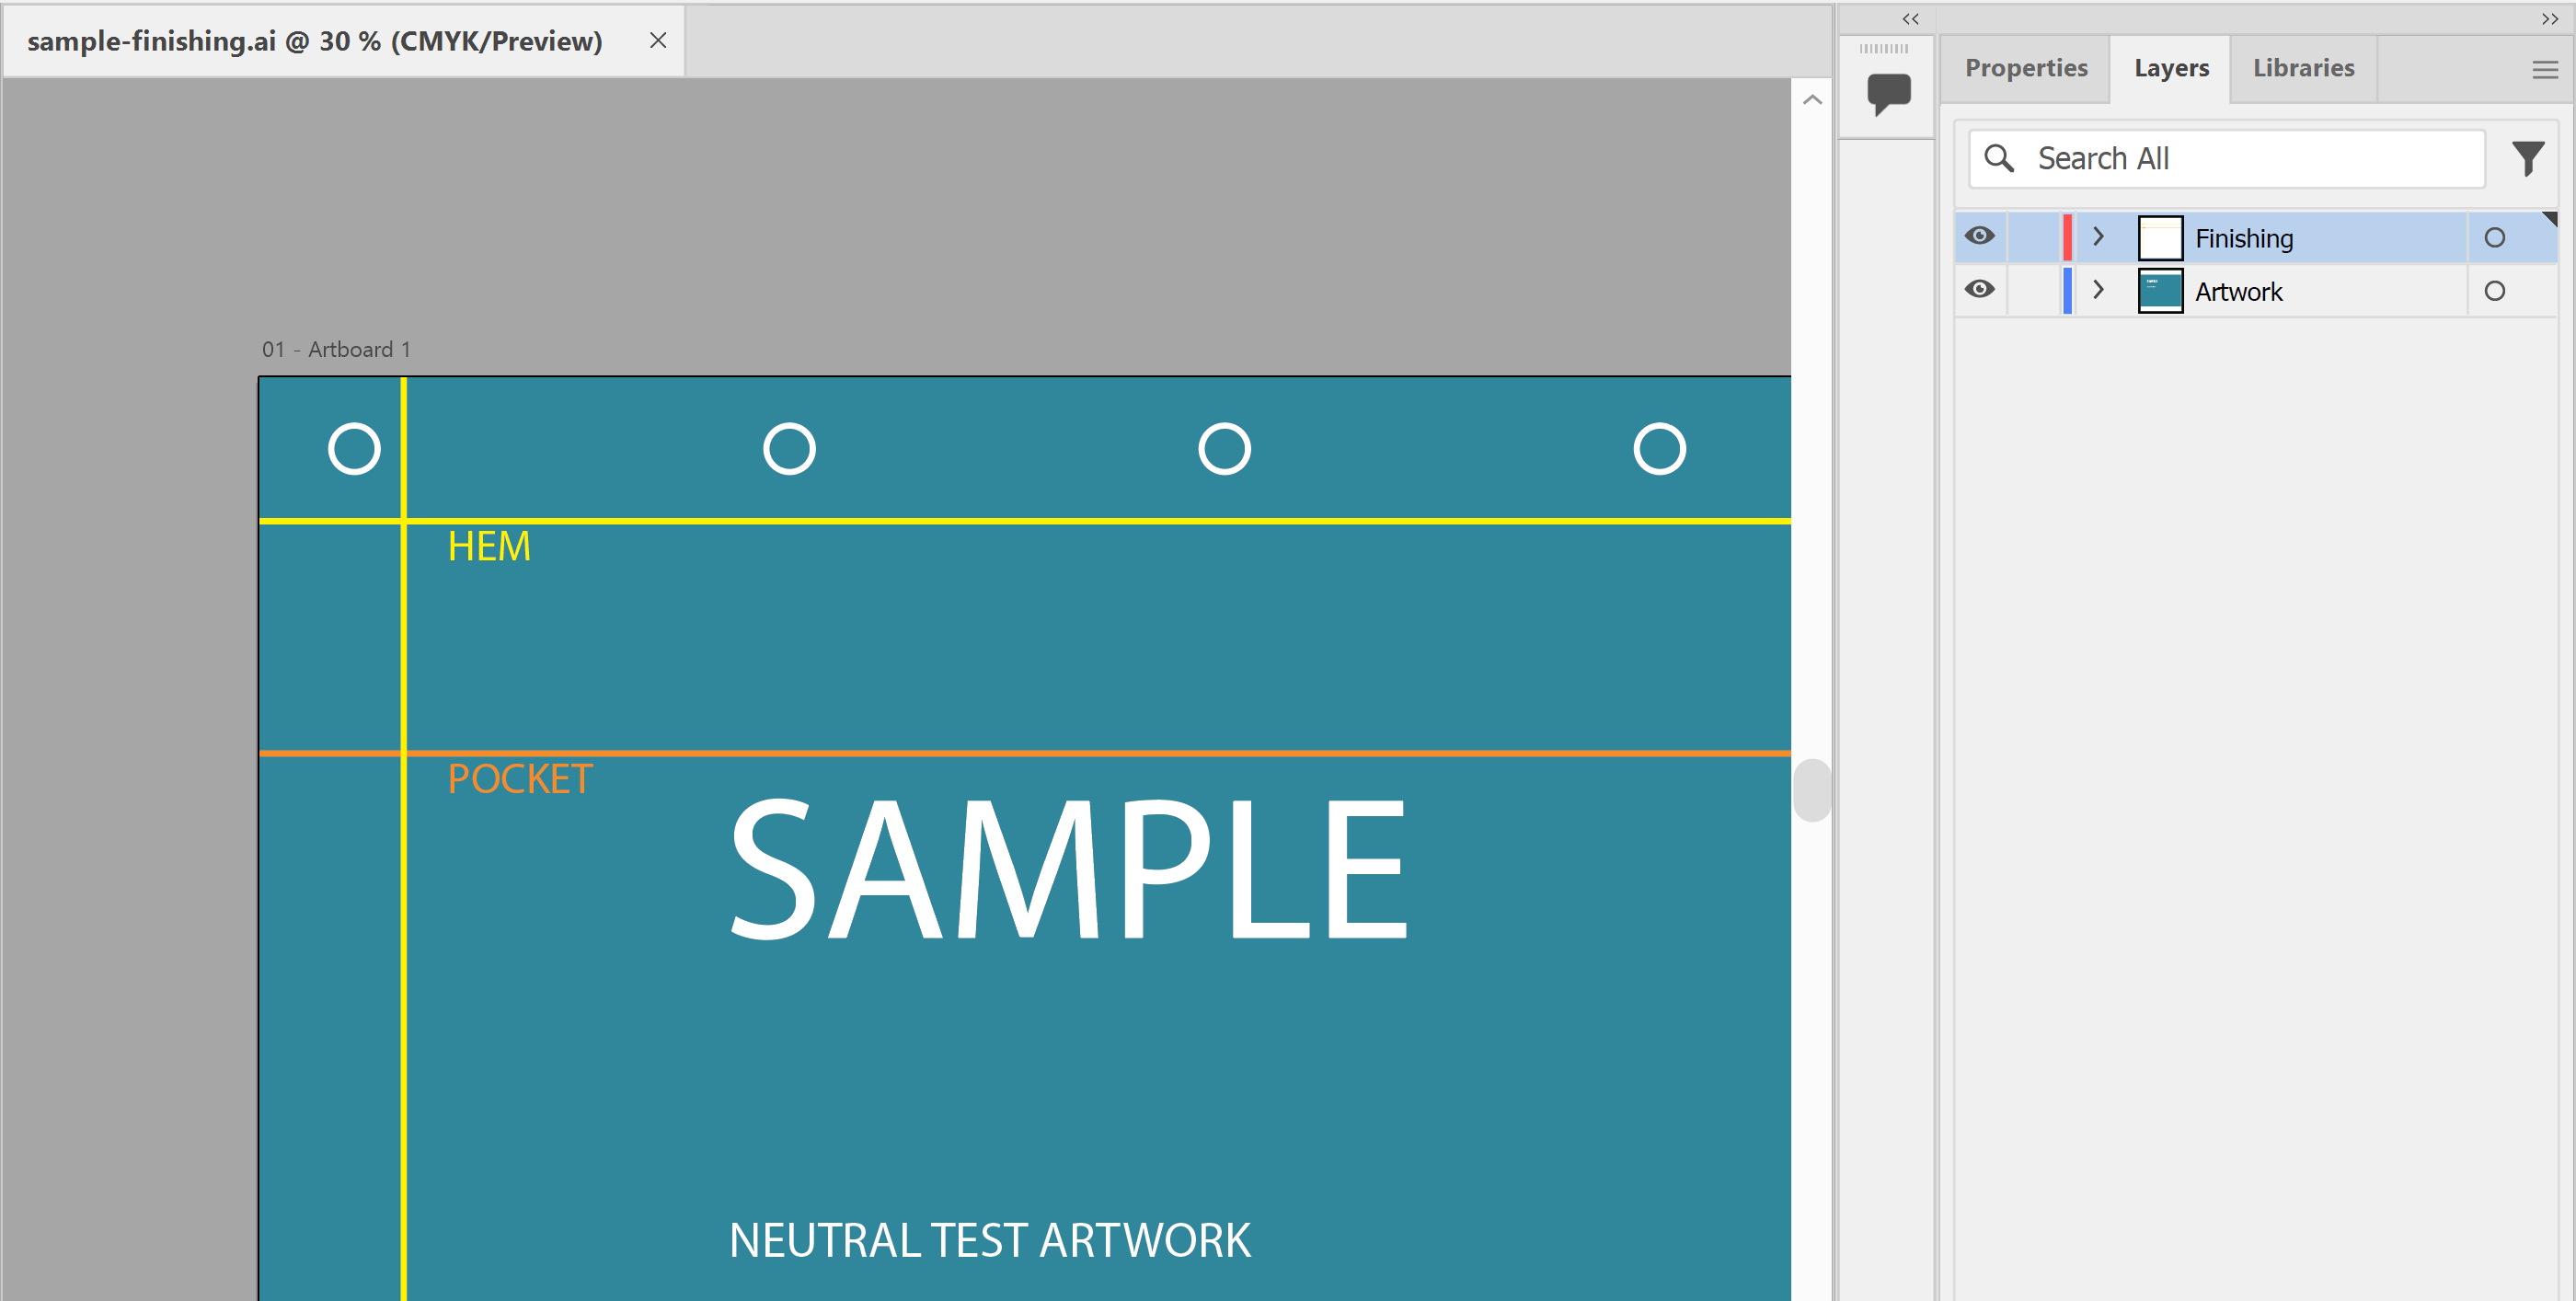
3. Draw the finishing on that layer. Use thin coloured lines for each hem and pocket edge, and small circles where the eyelets go. Take the sizes and spacing from the template, or confirm them with us first.
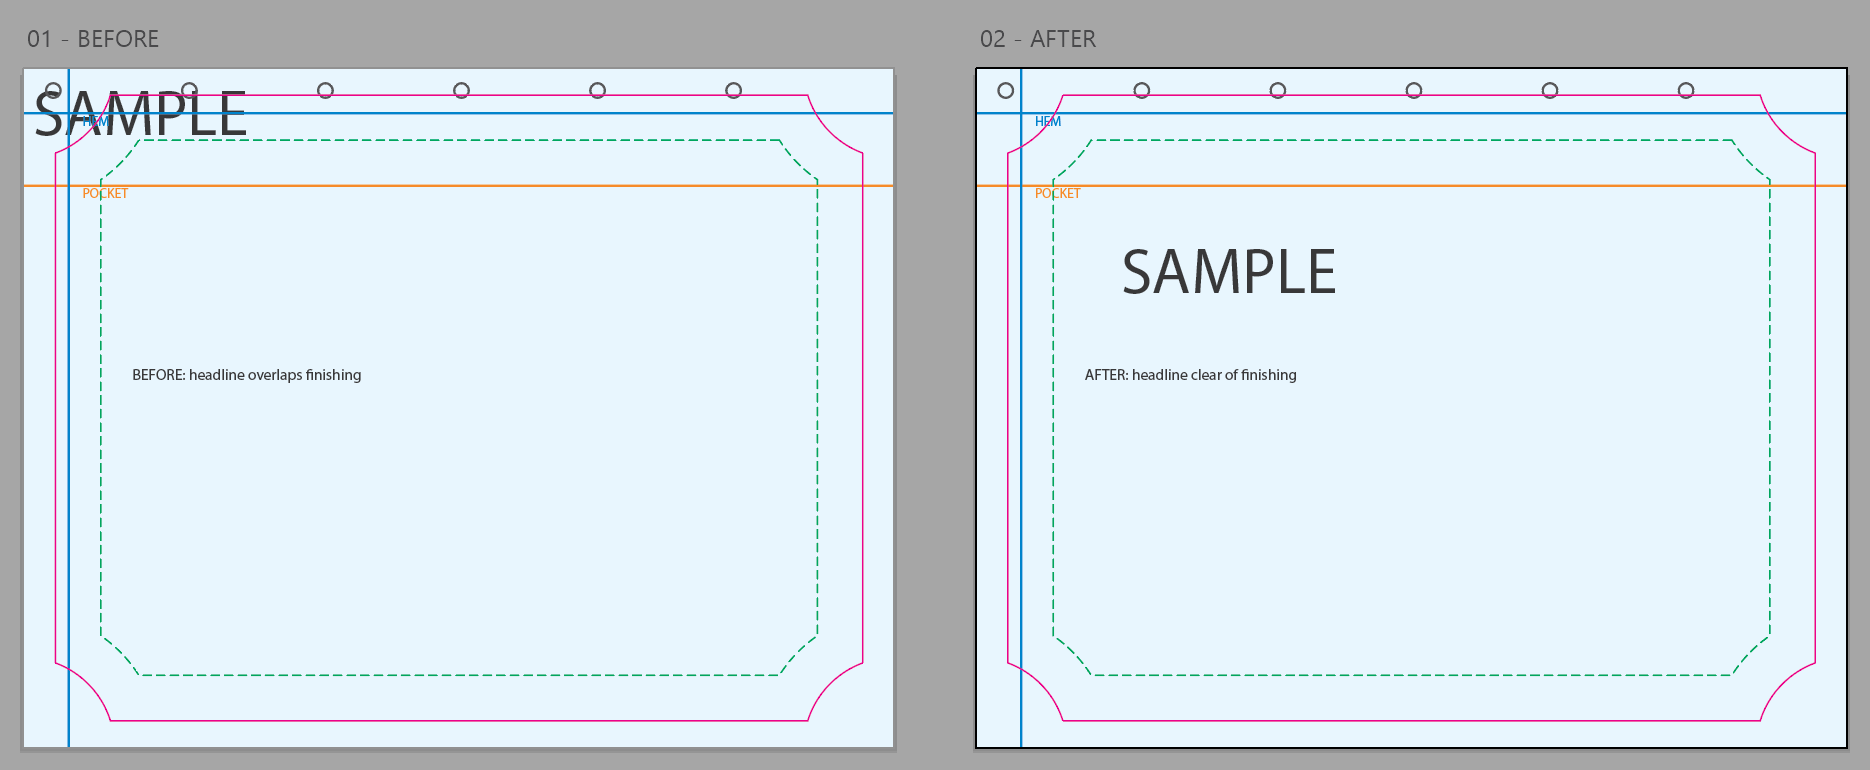
4. Move anything important clear of those marks. Keep logos and key copy well inside the trim, and away from every hem, eyelet and pocket.
IMPORTANT: Keep the whole pole pocket strip free of text and images you want seen. Anything printed inside the pocket is hidden once it's sewn.
5. Hide the finishing layer before you save. Our templates ask that template lines aren't visible on the finished artwork, and that you don't include crop marks. In the visibility column of the Layers panel, click the eye icon next to "Finishing", and do the same for the template layer if you're working on one.
6. Finally, save a Press Quality PDF and tell us how the banner will hang when you order (rope, cable ties, hooks or a pole, and on which edges), so we can confirm the finishing with you. Email it with your order, or see sending artwork for big files. You're done!
Need some help?
We're here for you
If you're needing some advice or just a helping hand, please get in touch with our team, by clicking this button. Complete the enquiry form and one of our specialists will call you back as soon as we can.