

YOUR CART IS CURRENTLY EMPTY
How do I set up a white ink layer for clear acrylic or coloured stock?
What is a white ink layer?
A normal CMYK print relies on a white surface underneath to make the colours look right. Clear acrylic (for example, graphics on a clear acrylic plinth), clear film and coloured or metallic stock don't have one. Printed straight onto clear material, CMYK inks look frosted and see-through, and on coloured stock the colour underneath changes them.
A white ink layer fixes that. It's a separate layer in your artwork that tells the printer where to lay down white ink, as a solid base under the colours or as white in its own right.
Why does it need its own layer?
The printer can't guess where you want white. White isn't part of CMYK, and white areas in a normal file simply print as no ink at all. So the white has to be drawn as its own shapes, in a spot colour the printer's software recognises by name.
We work with you to supply white ink printing on clear acrylic, clear film and coloured stock. Our artwork specifications ask you to convert ordinary spot colours to CMYK (see How do I convert spot colours to CMYK?), but white is the exception: a white ink layer only works if it stays a spot colour. So keep it as one, and tell us your file has a white layer.
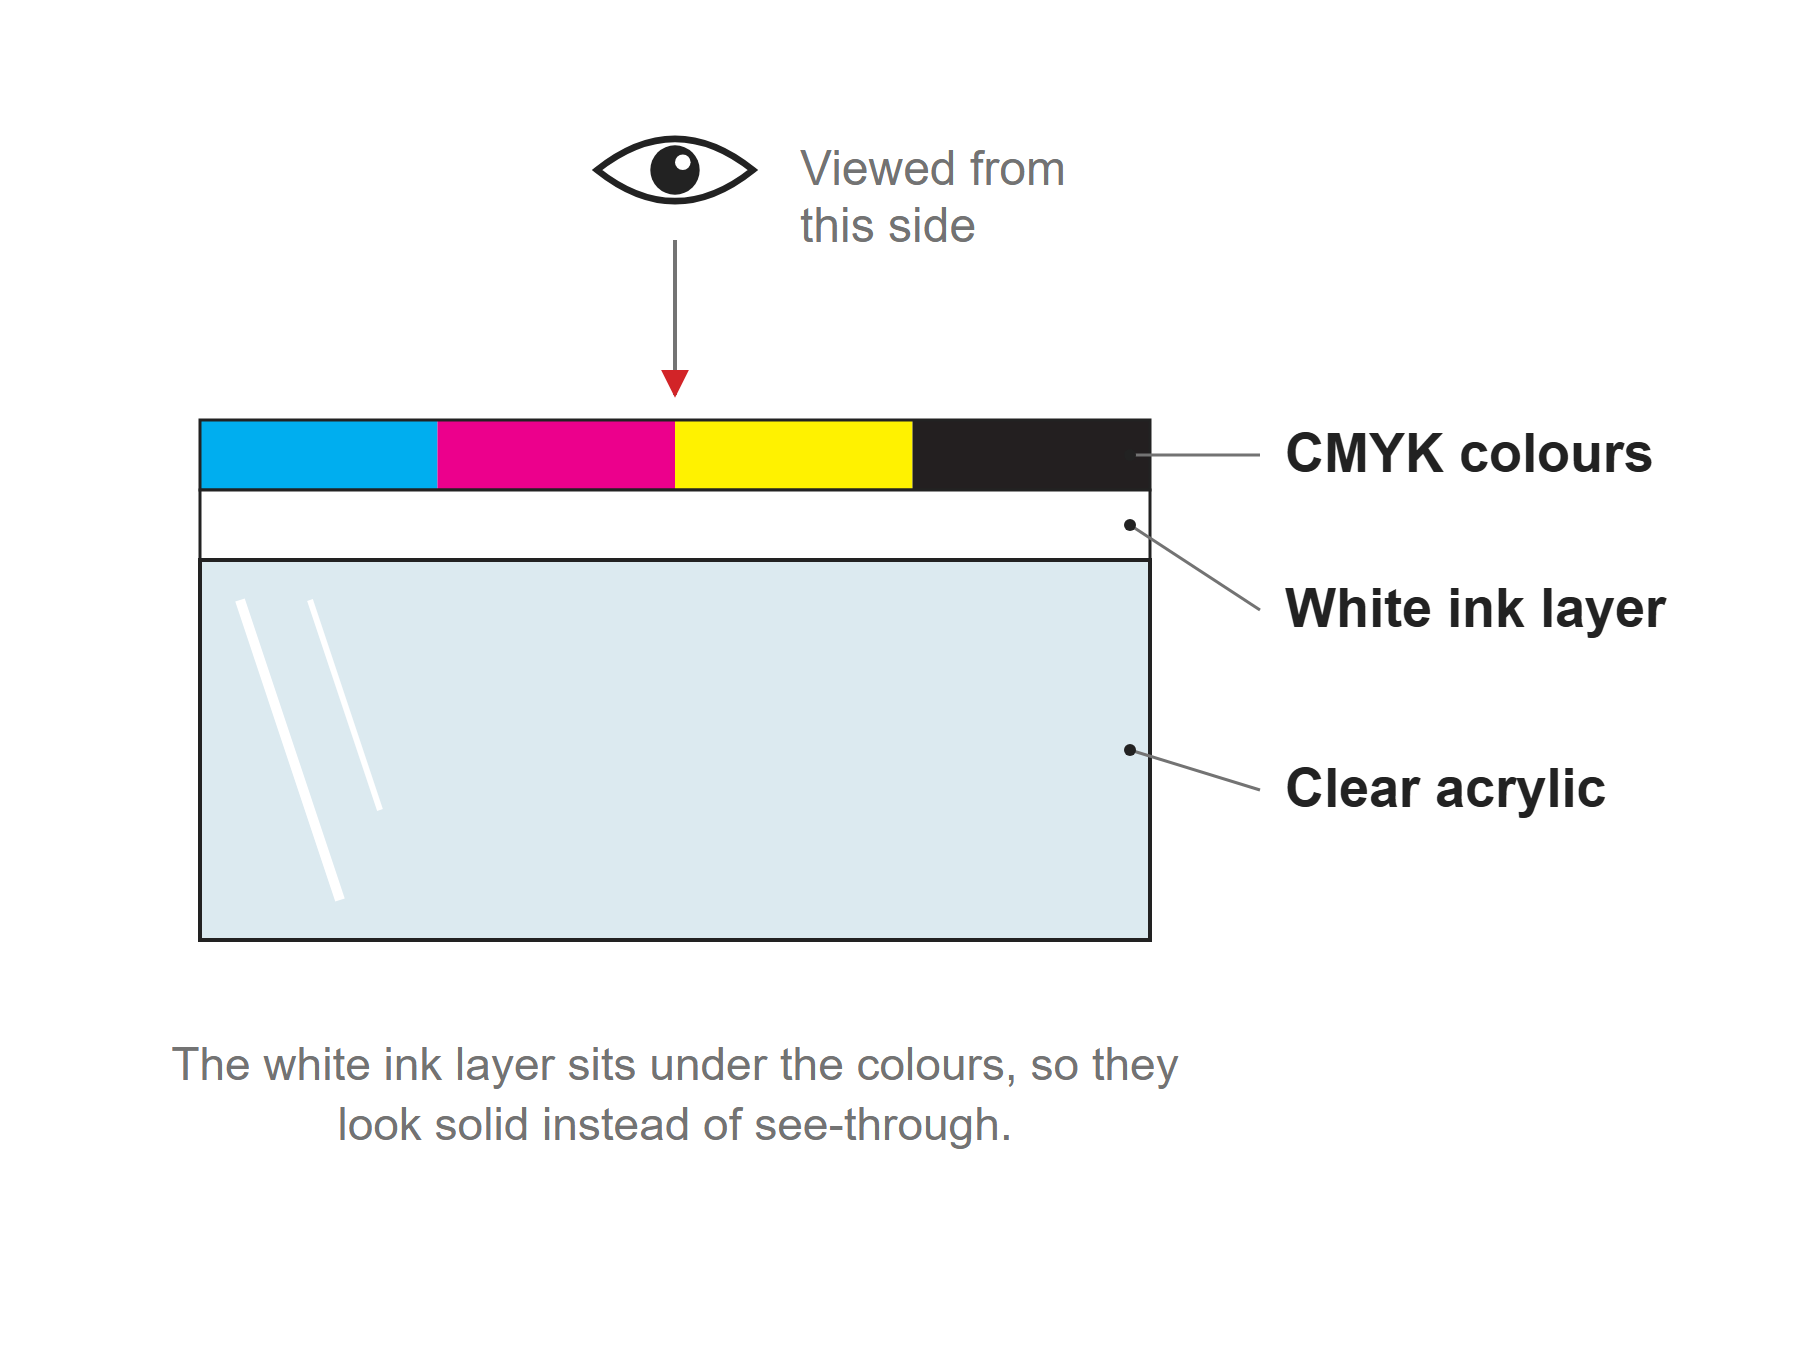
Use the following steps to set up a white ink layer in Illustrator
1. Decide the swatch name before you start. For a job we're supplying, name it exactly "White". Printing software looks for an exact spot colour name, and a different spelling may not print as white, so if another printer is producing your job, ask them for theirs.
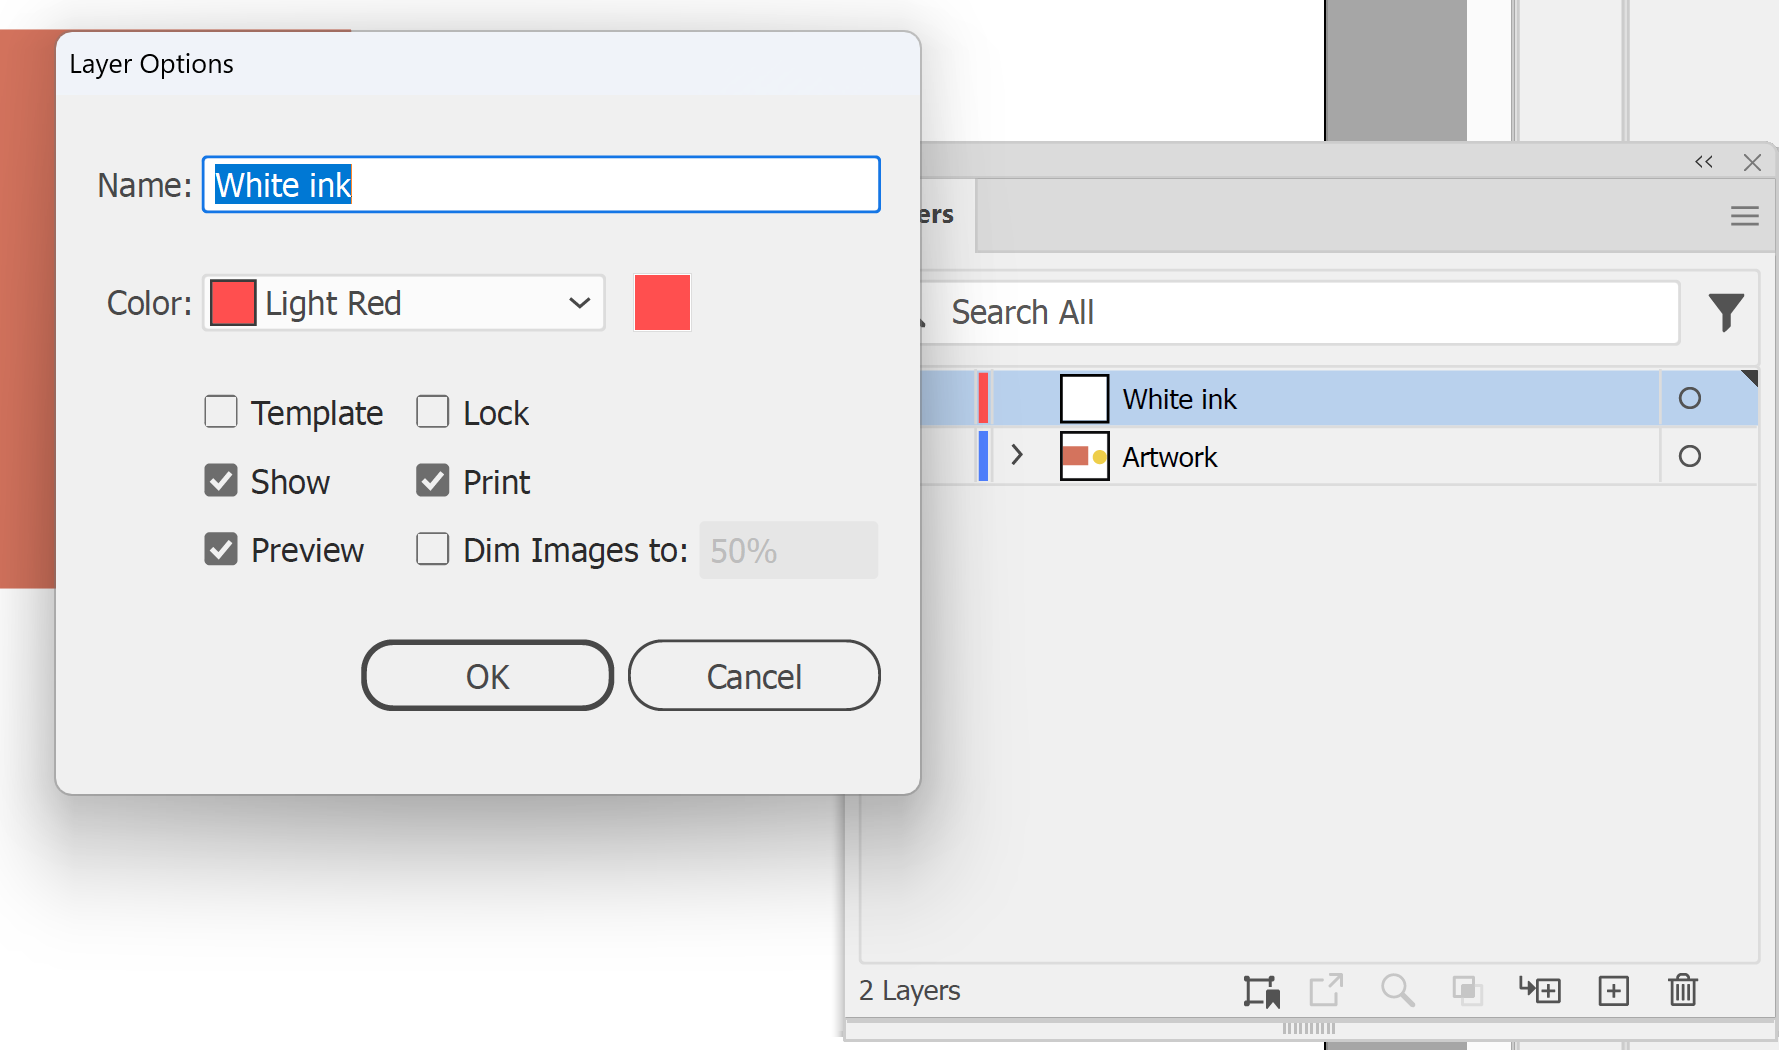
2. Add a layer for the white on top of your artwork. In the main menu, go to Window > Layers and click the Create New Layer icon. Double-click the new layer's thumbnail, type "White ink" in the Name box of the Layer Options dialog box, then click OK. Drag it to the top of the list.
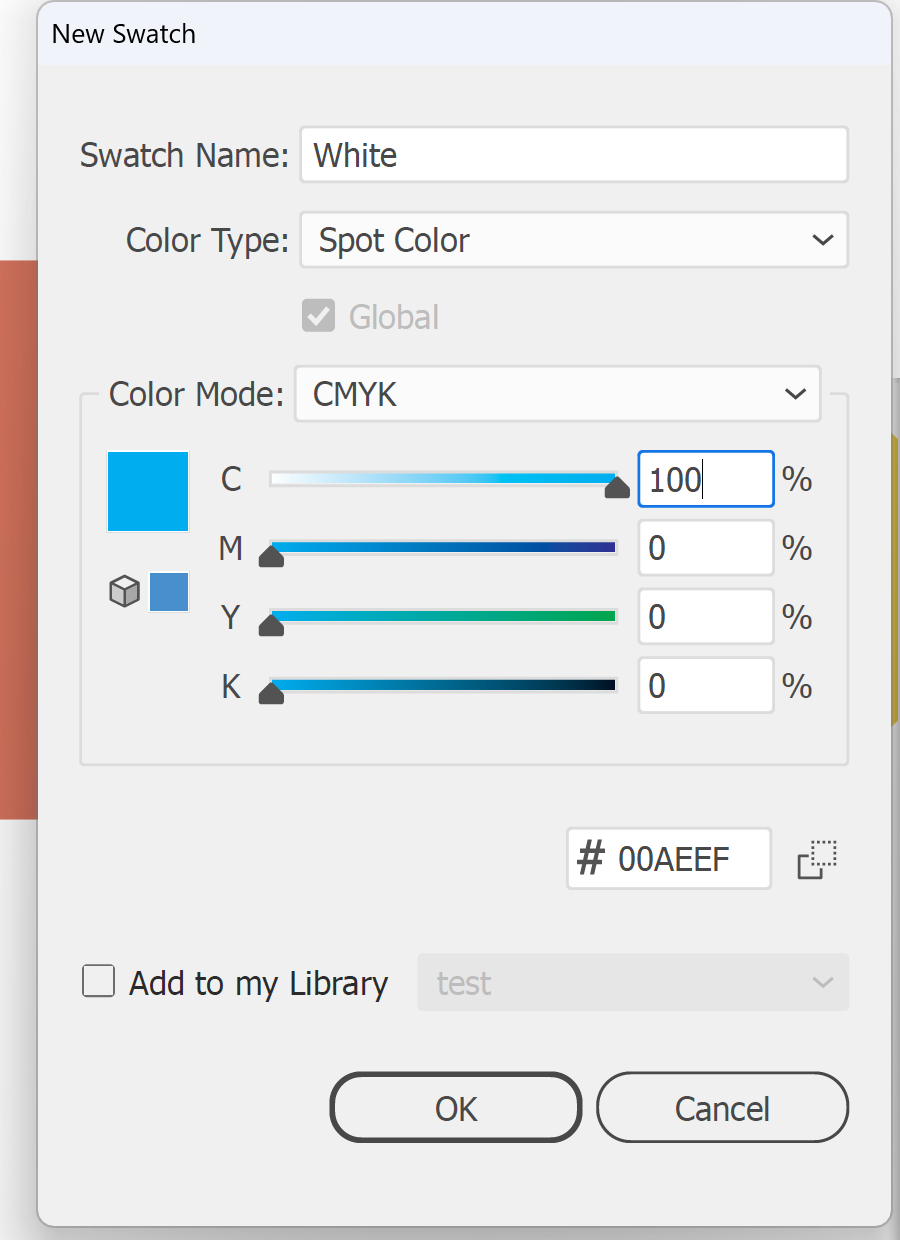
3. Create the white spot swatch. Go to Window > Swatches and click the New Swatch icon. Type White (or the name your printer gave you), choose Spot Color from the Color Type dropdown and pick a bright colour you can see against your design, such as 100% cyan. Click OK.
Note: The swatch colour only shows on screen. The printer reads the name and prints white.
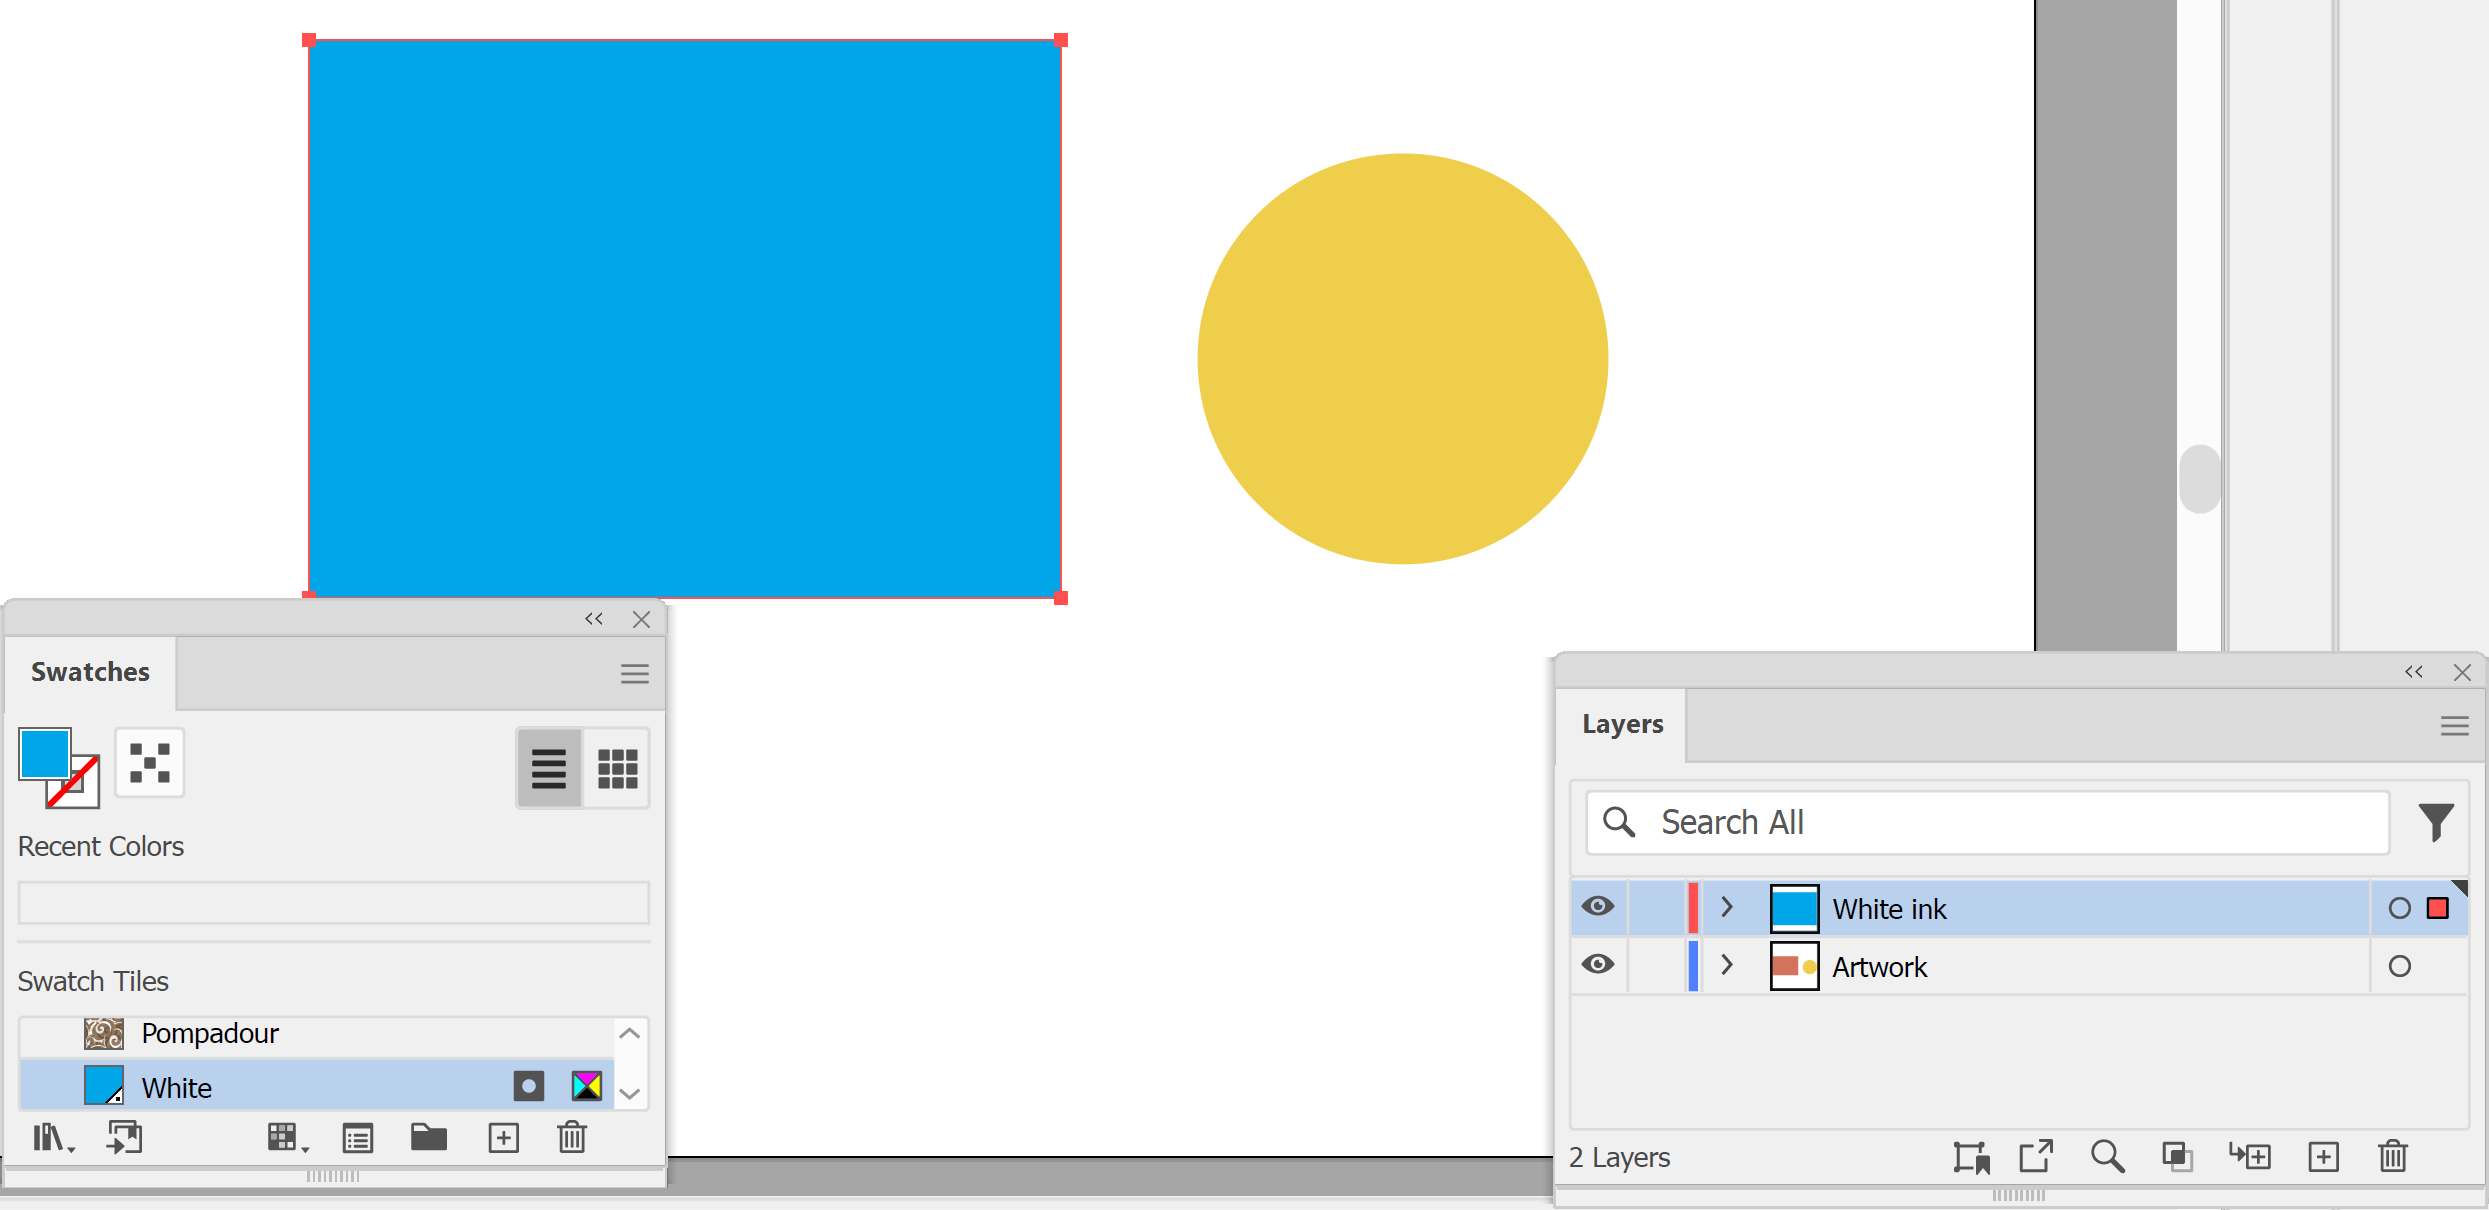
4. Copy the shapes that need white. Select the parts of your artwork that need a white base, go to Edit > Copy, click the White ink layer in the Layers panel, then go to Edit > Paste in Place. Fill the pasted shapes with the white spot swatch.
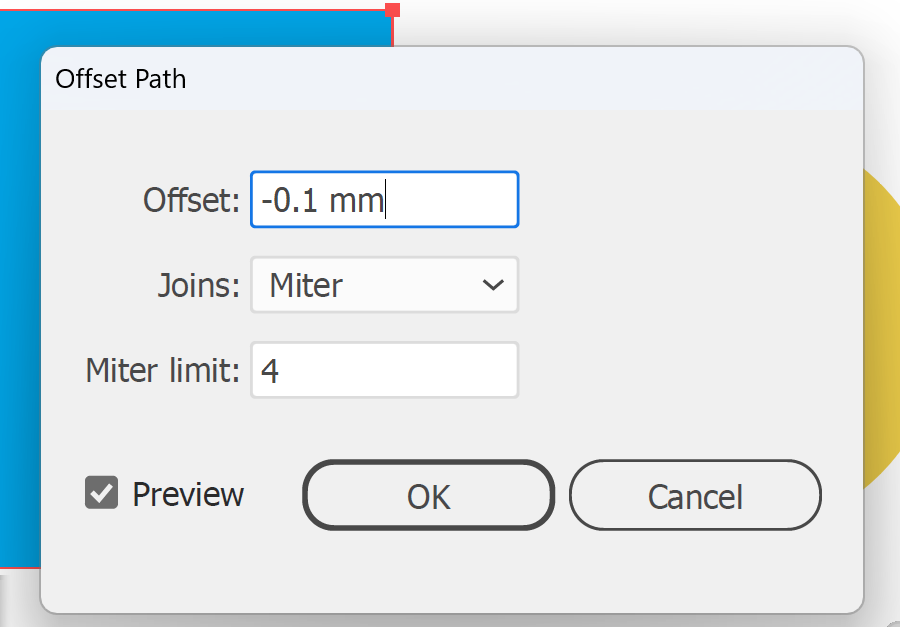
5. Shrink the white slightly so it doesn't peep out around the edges (this is called a choke). With the white shapes selected, go to Object > Path > Offset Path and enter a small negative Offset, such as -0.1mm. Click OK and delete the original, larger shapes.
Note: The right amount depends on the size of the finished print, so check it with us for very large or very small graphics. If your file is set up at a reduced scale, reduce the offset to match: at 10% scale, -0.1mm becomes 1mm at full size.
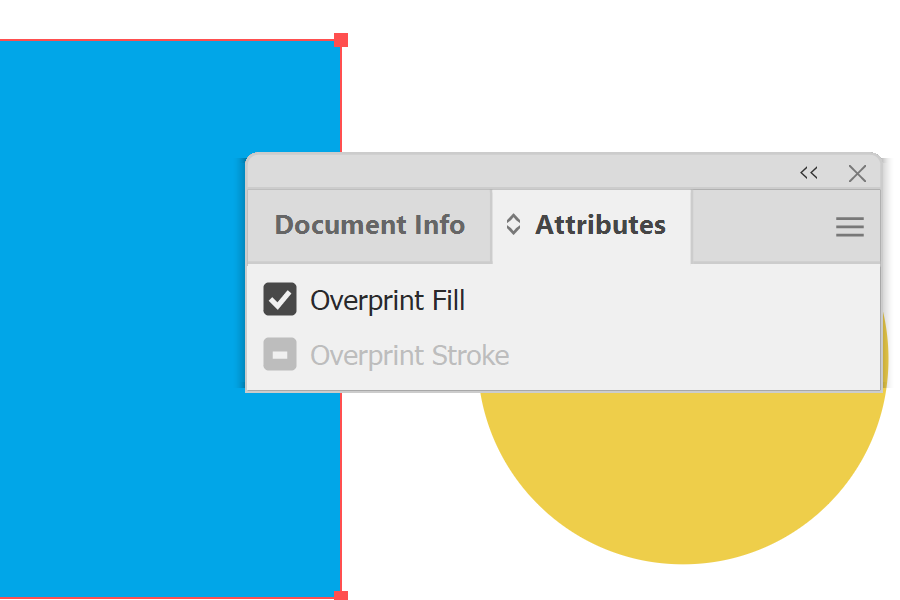
6. Set the white to overprint. With the white shapes selected, go to Window > Attributes and tick Overprint Fill. This keeps the colours underneath from being knocked out.
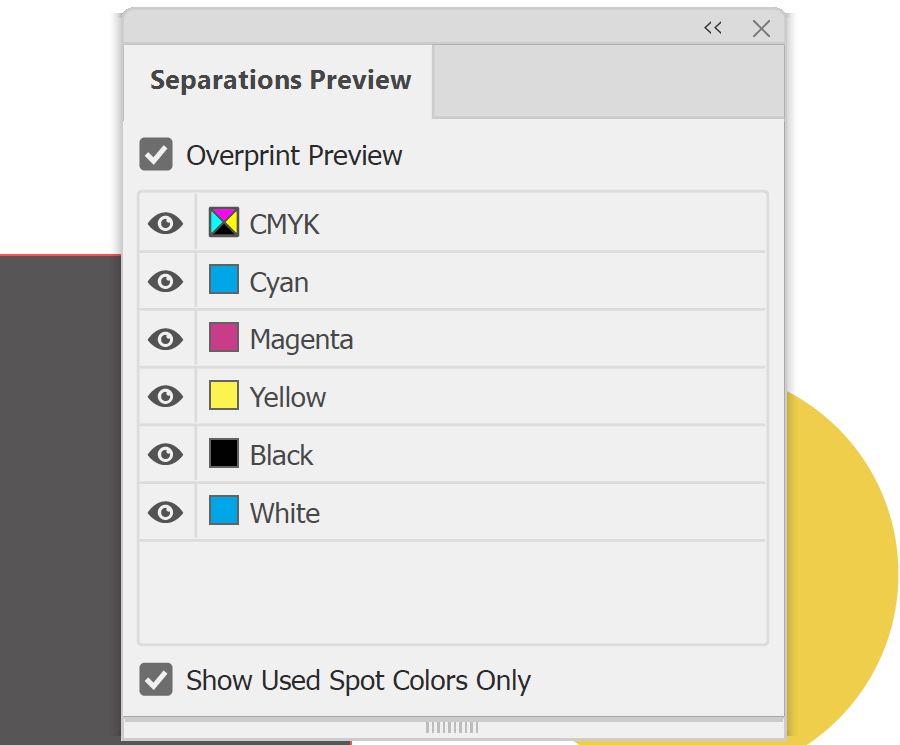
7. Check it. Go to Window > Separations Preview and tick Overprint Preview. Click the eye icon next to the white spot colour to hide and show it, and check that every coloured area that needs white has it.
Note: The Separations Preview panel only works in a CMYK document.
IMPORTANT: If the graphic will be read through the clear material, the artwork usually needs to be mirrored. Check with us before you flip anything.
8. Finally, save a high-resolution PDF (File > Save As > Adobe PDF, [Press Quality]) that keeps the white as a spot colour and send it with a note that it includes a white ink layer. If we're supplying it, check its size, bleed and resolution against our artwork specifications and email it to sales@displays2go.com.au, and you're done!
Need some help?
We're here for you
If you're needing some advice or just a helping hand, please get in touch with our team, by clicking this button. Complete the enquiry form and one of our specialists will call you back as soon as we can.