

YOUR CART IS CURRENTLY EMPTY
How do I set up and anchor an inflatable arch or tent?
What is an inflatable arch or tent?
An inflatable arch or tent is a printed fabric shape that holds itself up with air. Our outdoor inflatables range runs from tents and arches to armchairs, tables and counters, with the artwork printed across the whole shape. Inflatable gazebos come in 3m x 3m, 4m x 4m and 5m x 5m.
None of our inflatables need a blower running all day. Follow the instructions supplied with your arch or tent for its own inflation and valve steps.
Why does anchoring matter so much?
Wind can make an inflatable unsafe outdoors. Our display inflatables have no supplier wind rating. The wind-speed guidance for amusement inflatables, such as jumping castles, is not a safe limit for these displays. Follow the instructions supplied with your piece and the organiser's site rules.
Use the following steps to set up an inflatable arch or tent
1. Check the site rules before the day. Ask the organiser or council how structures must be secured. For events in the City of Sydney's parks and open spaces, the council's guidelines say structures must be weighted and not pegged, and none may stand beneath the dripline of a tree. The council also requires structural and wind specifications; ask what it will accept for an unrated display before booking. Other sites set their own rules.
2. Plan your anchoring for the surface. On grass, pegs or stakes may be allowed. Where pegging is prohibited, ask the organiser what anchoring and weights it will accept; don't assume a weight type alone is enough. If you do peg, ask the site owner first where pipes and cables run underground. Secure every anchor point.
3. Lay the inflatable out flat where it will stand, printed side the right way round, with every anchor point free and the valve where you can reach it.
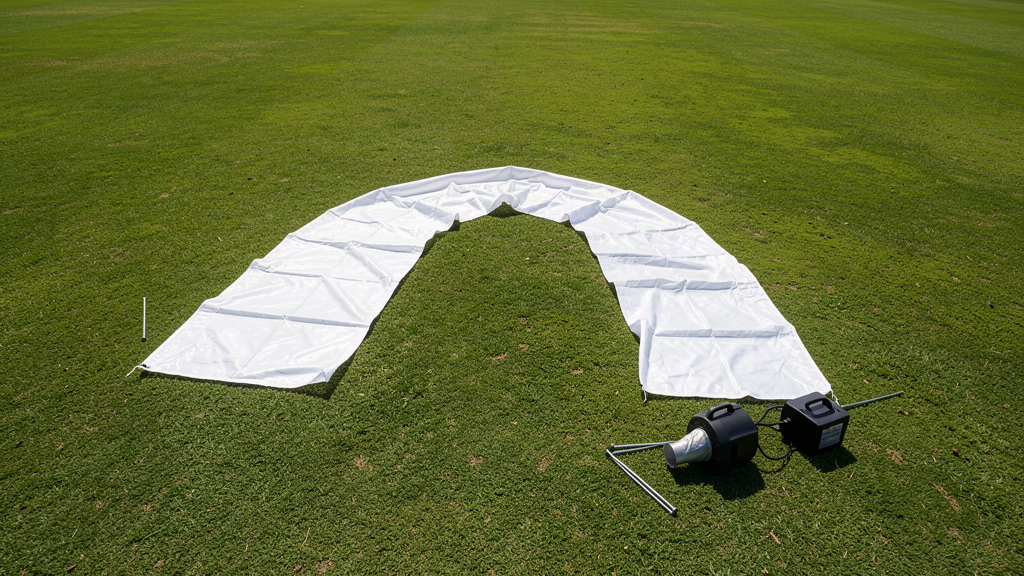
4. If your arch or tent uses a pump and valve, connect them and inflate the piece as directed in its supplied instructions.
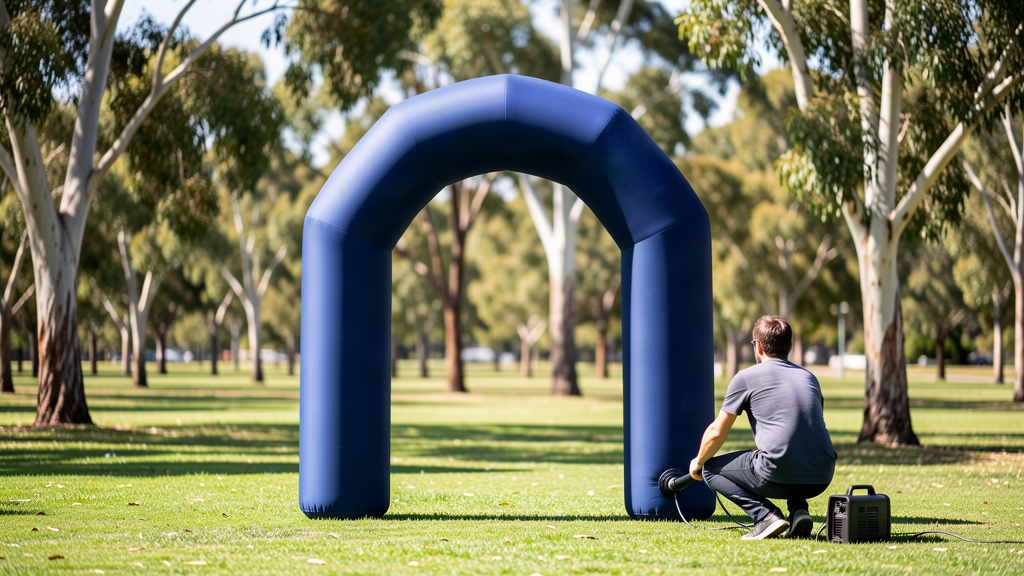
5. Close the valve and disconnect the pump as directed for your model. Keep the pump with the piece if one was supplied.
6. Anchor at every anchor point provided, following the instructions supplied with the piece. Don't skip a point because the day is calm.
IMPORTANT: On an arch, anchor both feet. On a tent or gazebo, anchor every leg.
7. If you're running mains power for a pump or lighting outdoors, plug in through a safety switch (RCD), check your state's electrical safety rules, and run leads where the public can't trip on them or reach the plug.
8. Inspect the set-up before anyone uses it. Check the fabric and anchor points for wear, rips or damage.
9. Finally, watch the conditions at the site for as long as the inflatable is up. Agree who will decide when to deflate it if the weather worsens.
Note: Don't use a wind-speed figure for an amusement inflatable as a safe limit for your display. Deflate when conditions become unsafe; only re-inflate when the organiser agrees conditions are suitable.
Use the following steps to pack an inflatable away
1. Deflate the piece fully while it remains anchored.
2. Remove the anchors and weights.
3. Let damp fabric dry before long-term storage.
4. Finally, fold and pack the piece with its supplied equipment. Get help if a piece is too heavy to handle comfortably.
Planning a shape that isn't standard? See custom inflatables, or read more about inflatable arches, gazebos and displays for brand events.
Need some help?
We're here for you
If you're needing some advice or just a helping hand, please get in touch with our team, by clicking this button. Complete the enquiry form and one of our specialists will call you back as soon as we can.