

YOUR CART IS CURRENTLY EMPTY
How do I set up window graphic and one-way vision artwork?
What are the main types of window graphic?
Window graphics are made in several ways, and each needs the artwork prepared differently. We work with you to supply window graphics through our print partners. Check the print method with us before preparing a job we're supplying:
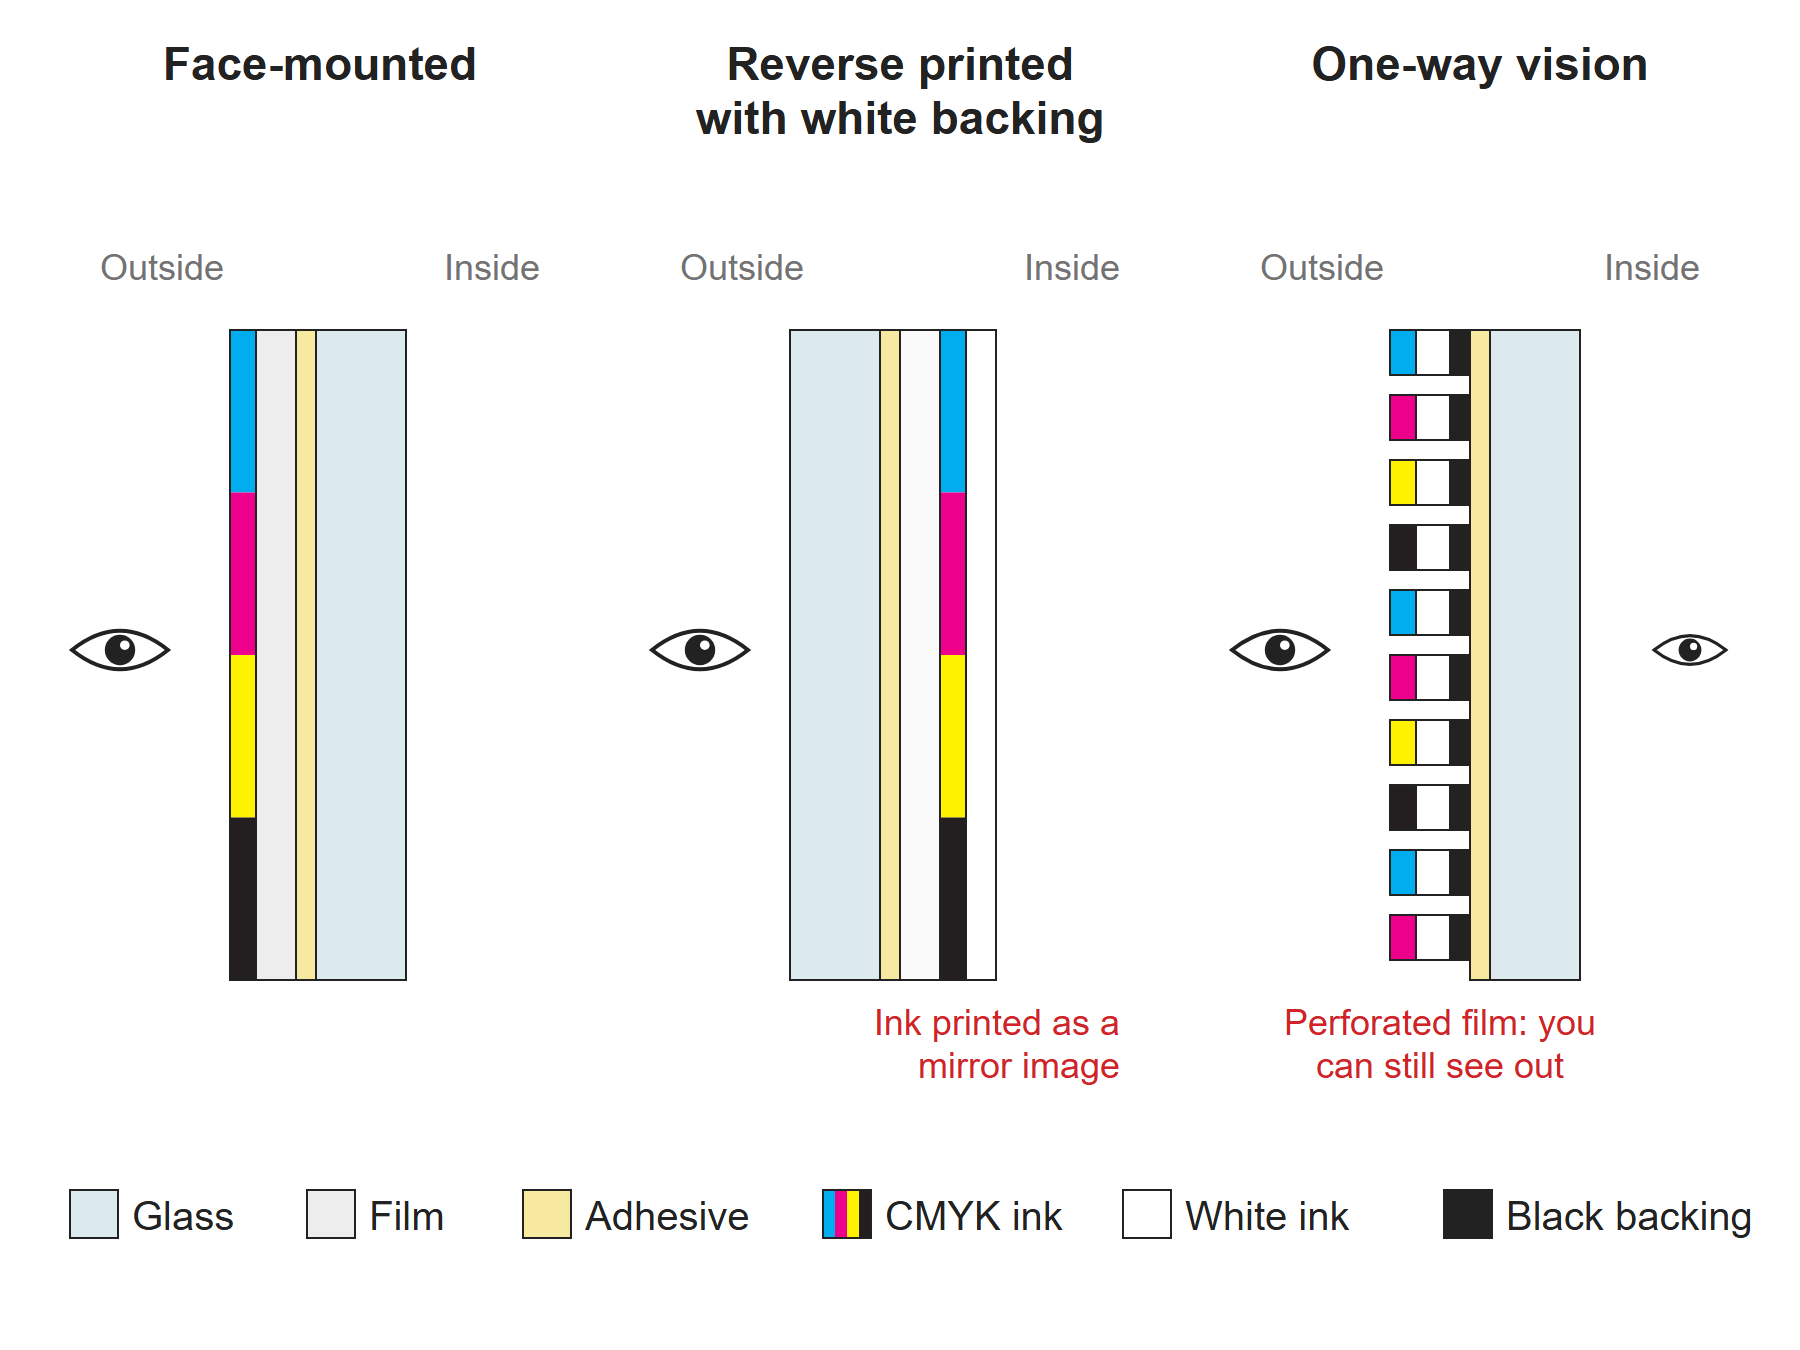
- Face-mounted: printed on the front of the film, with the adhesive on the back, and stuck to the outside of the glass. The artwork reads normally.
- Reverse printed: printed as a mirror image on clear film and stuck to the inside of the glass, so people outside see it the right way round through the glass.
- One-way vision: a perforated film that's white on the print side and black on the adhesive side. Your graphic shows on the outside, and people inside can still see out. It usually goes on the outside of the window.
Why does window artwork go wrong?
Two mistakes are easy to make. The first is supplying a reverse-printed graphic the right way round, so it reads backwards from the street, or mirroring a file that the printer will mirror again. The second is forgetting that clear film has no white. CMYK inks on their own let light through clear film, so any area that needs to look solid needs white ink printed behind it.
One-way vision has its own limits. Most one-way vision films have up to half the film punched out as holes, so fine detail and small text get lost, and dark areas let people see through more easily.
Use the following steps to set up window graphic artwork in Illustrator
1. Before you design, ask us which method and film will be used for a job we're supplying: face-mounted, reverse printed or one-way vision. If you're using another printer, check with them. The method decides whether the artwork is mirrored, who mirrors it, and whether you need a white layer.
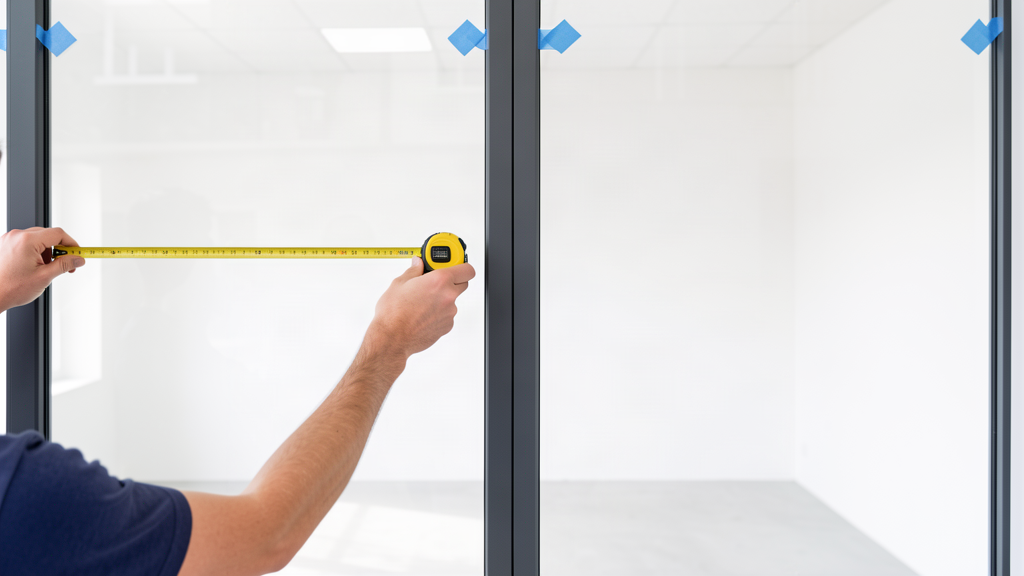
2. Measure each pane of glass and set up your artwork at 100% of the finished size. Ask us for the bleed needed for the film we're supplying (or ask your own printer). If the graphic runs across several panes, mark where the window frames fall and keep faces and words off them where you can.
3. For one-way vision, design for the holes. Use large, bold text, keep backgrounds bright, and avoid big areas of black, navy or dark brown. Ask us what size of text and contrast suit the film we're supplying. Don't rely on fine lines or small detail.
Note: Steps 4 and 5 are only for artwork that needs a white ink layer. Without white, skip to step 6 if the graphic is reverse printed, or step 8 for the other methods.
4. For a reverse-printed graphic that needs solid colour, make a white ink swatch. In the main menu, go to Window > Swatches and click the New Swatch icon. Type White, which is the name we use for jobs we supply (if another printer is producing it, ask them for the exact name theirs expects), and set Color Type to Spot Color. Give it a light tint, such as C 35, so the white areas show on screen (the tint is only for display), then click OK.
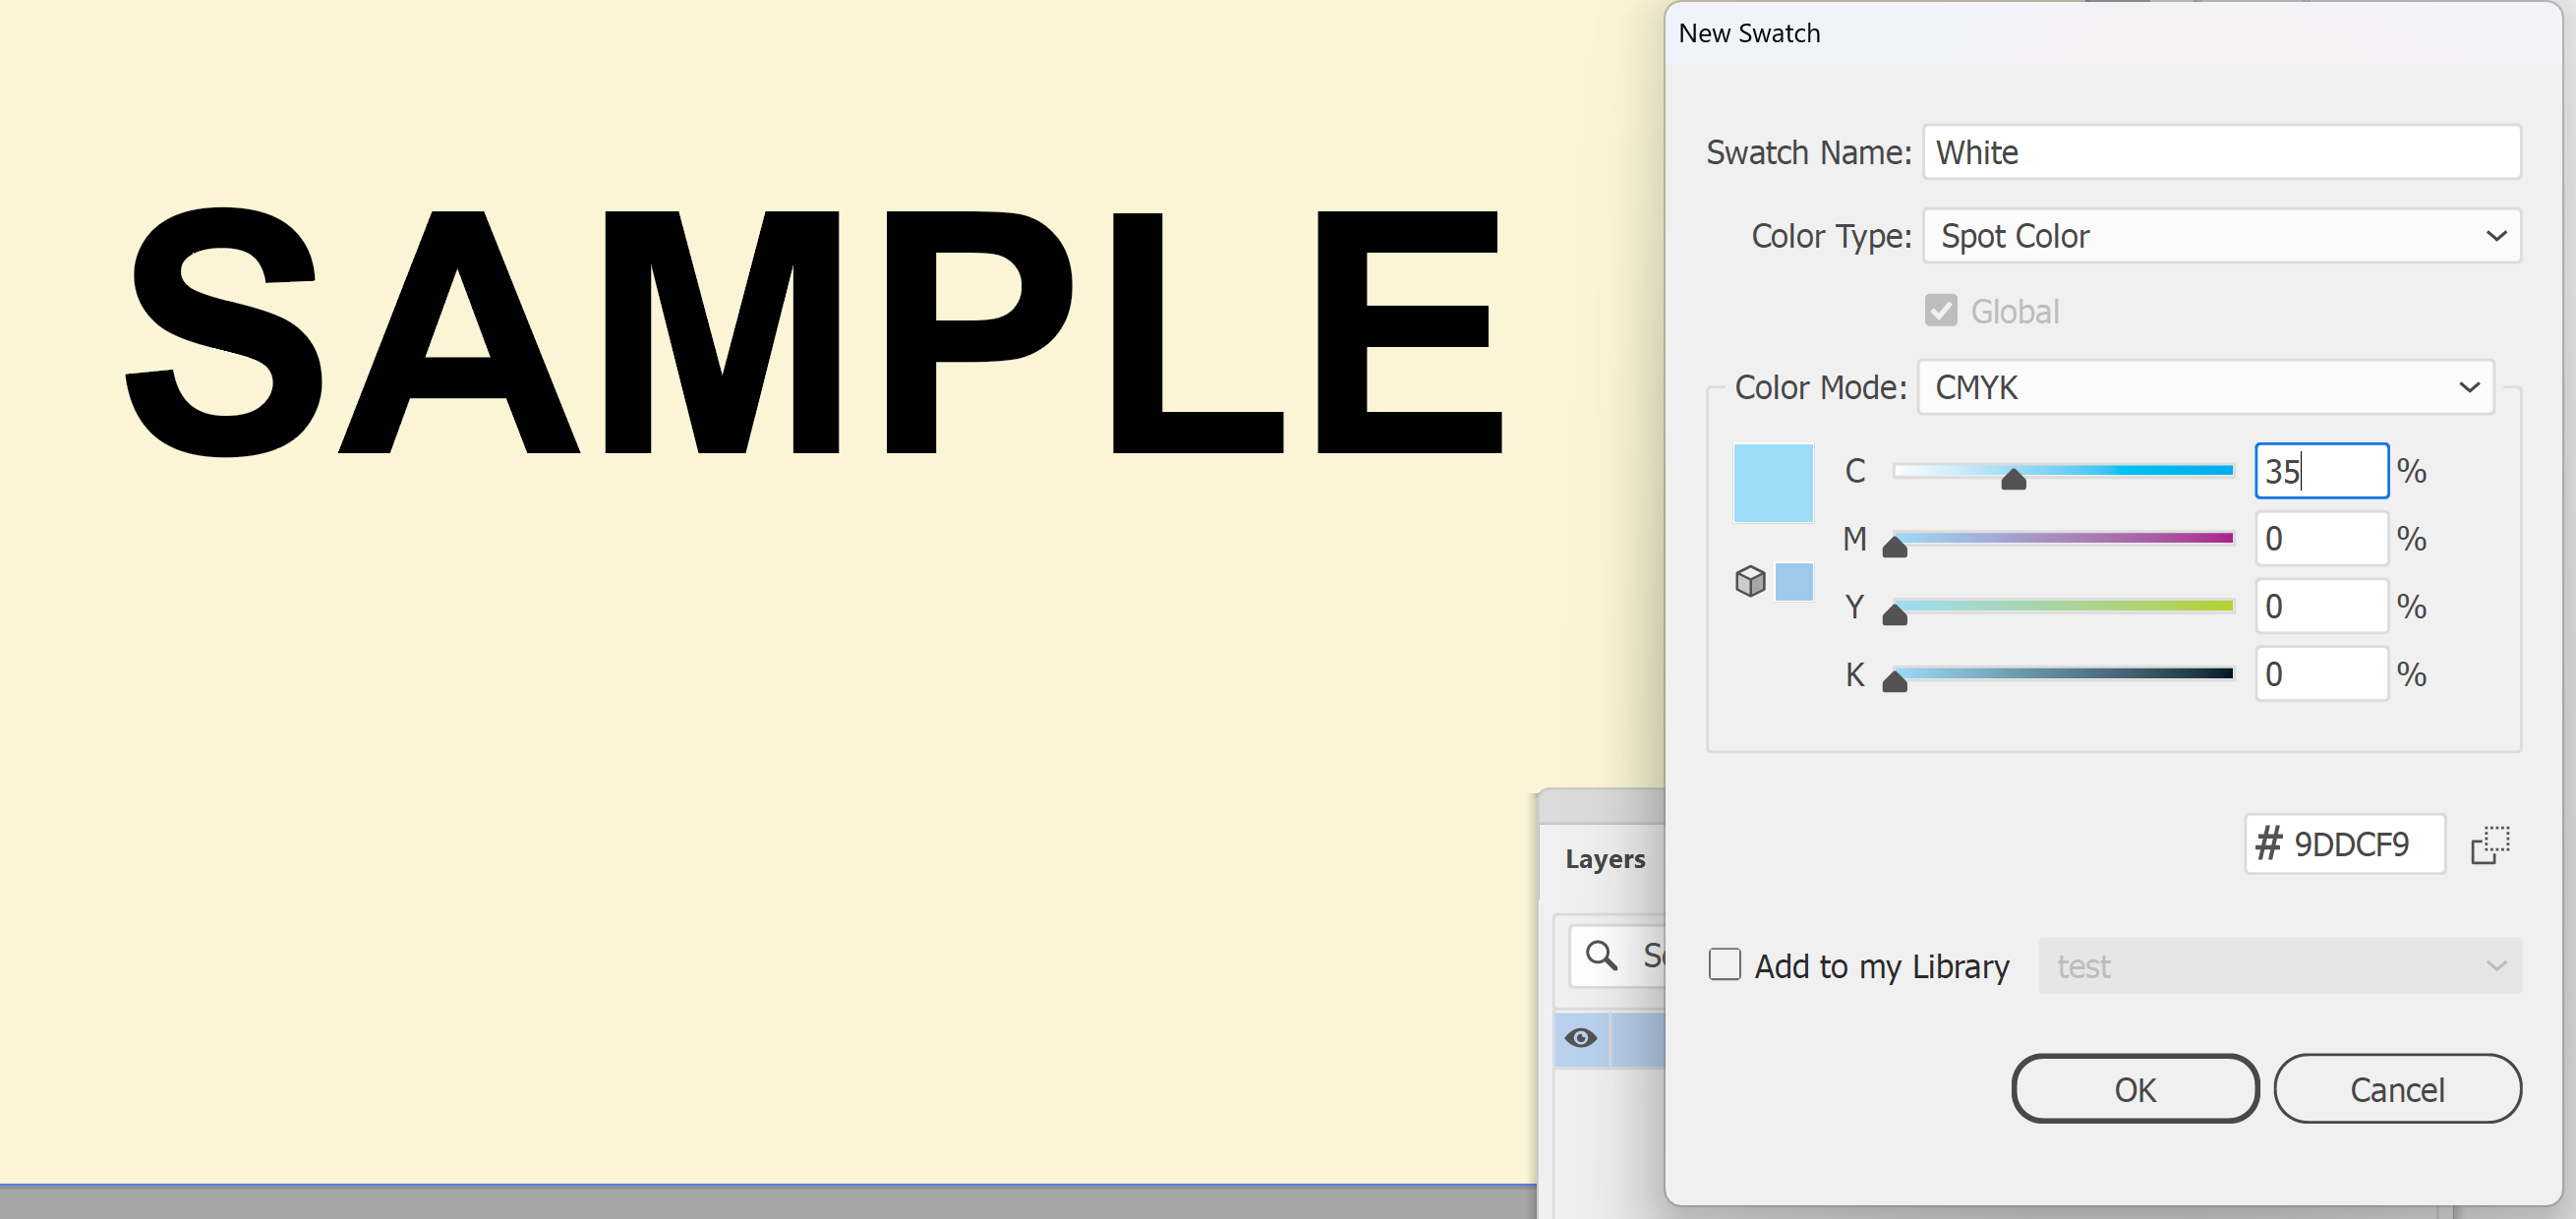
IMPORTANT: Leave this swatch as a spot colour unless we tell you otherwise for the job we're supplying. Like a dieline, it's an exception when you convert your other spot colours to CMYK.
5. Put the white on its own layer. In the Layers panel, add a new layer above your artwork and name it White. Draw the shapes that need white backing on it, or copy them from your artwork, choose Select > Deselect, click the White layer and use Edit > Paste in Front so the copies land in exactly the same position. Fill them with the white swatch. Then, with those shapes selected, open the Attributes panel (Window > Attributes) and select Overprint Fill, so the white doesn't knock out the colours underneath. Check this with us for a job we're supplying, as some print workflows handle it for you.
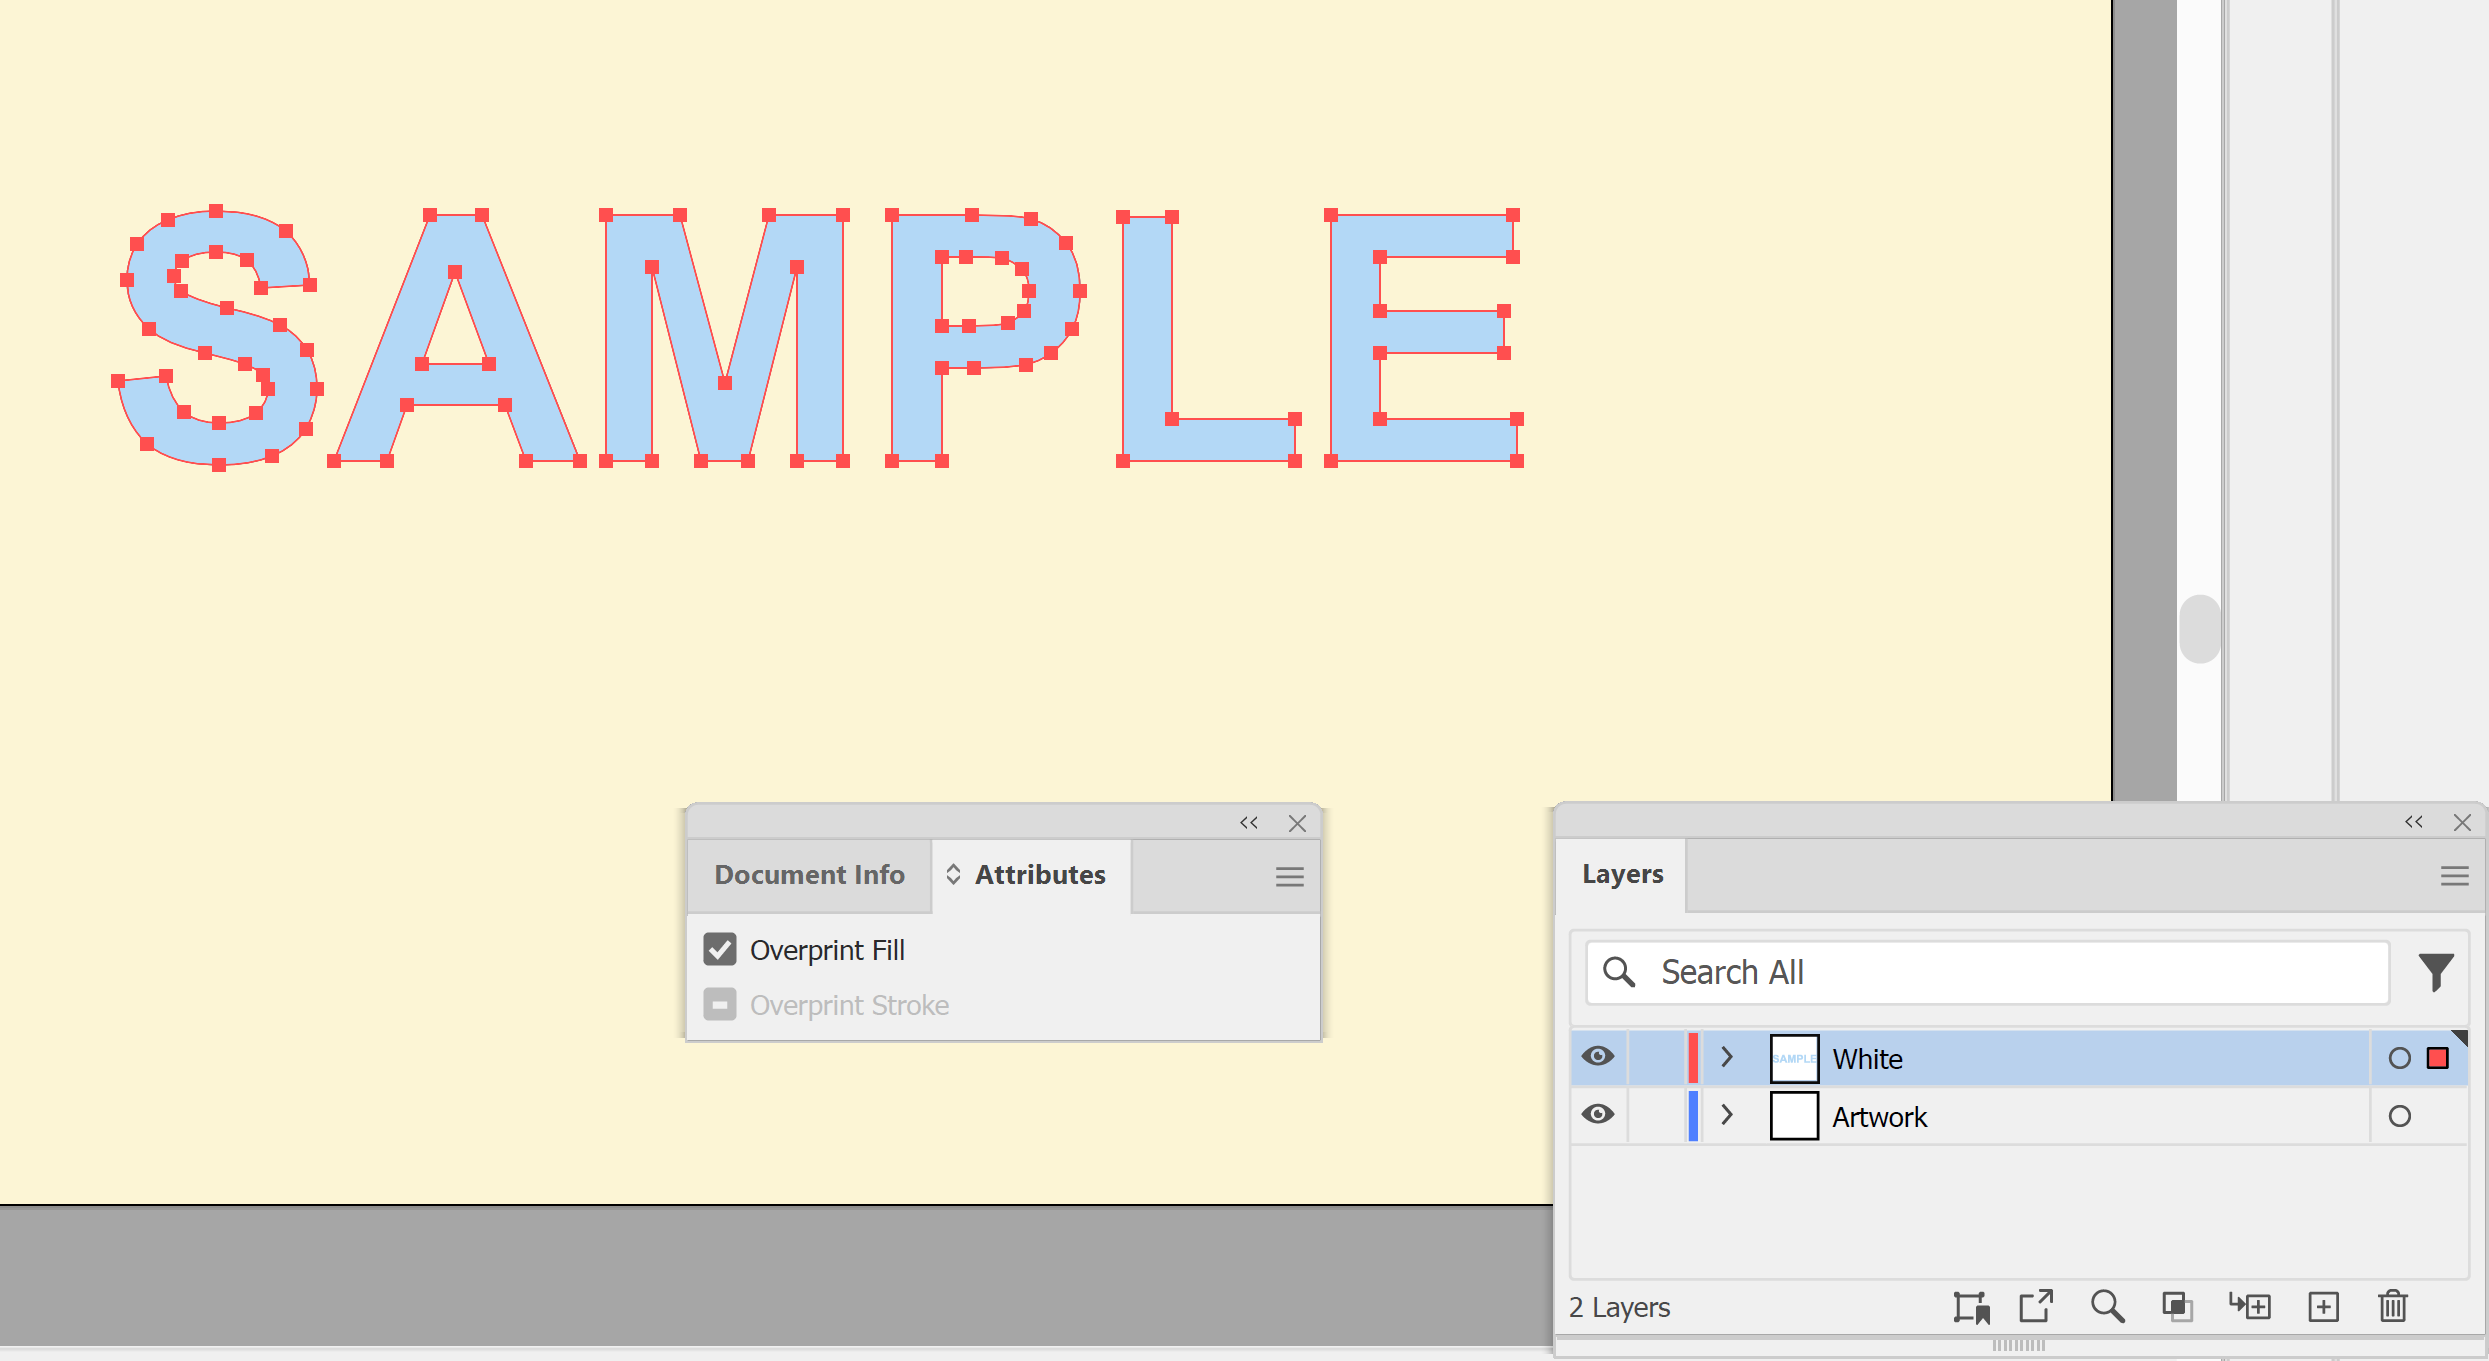
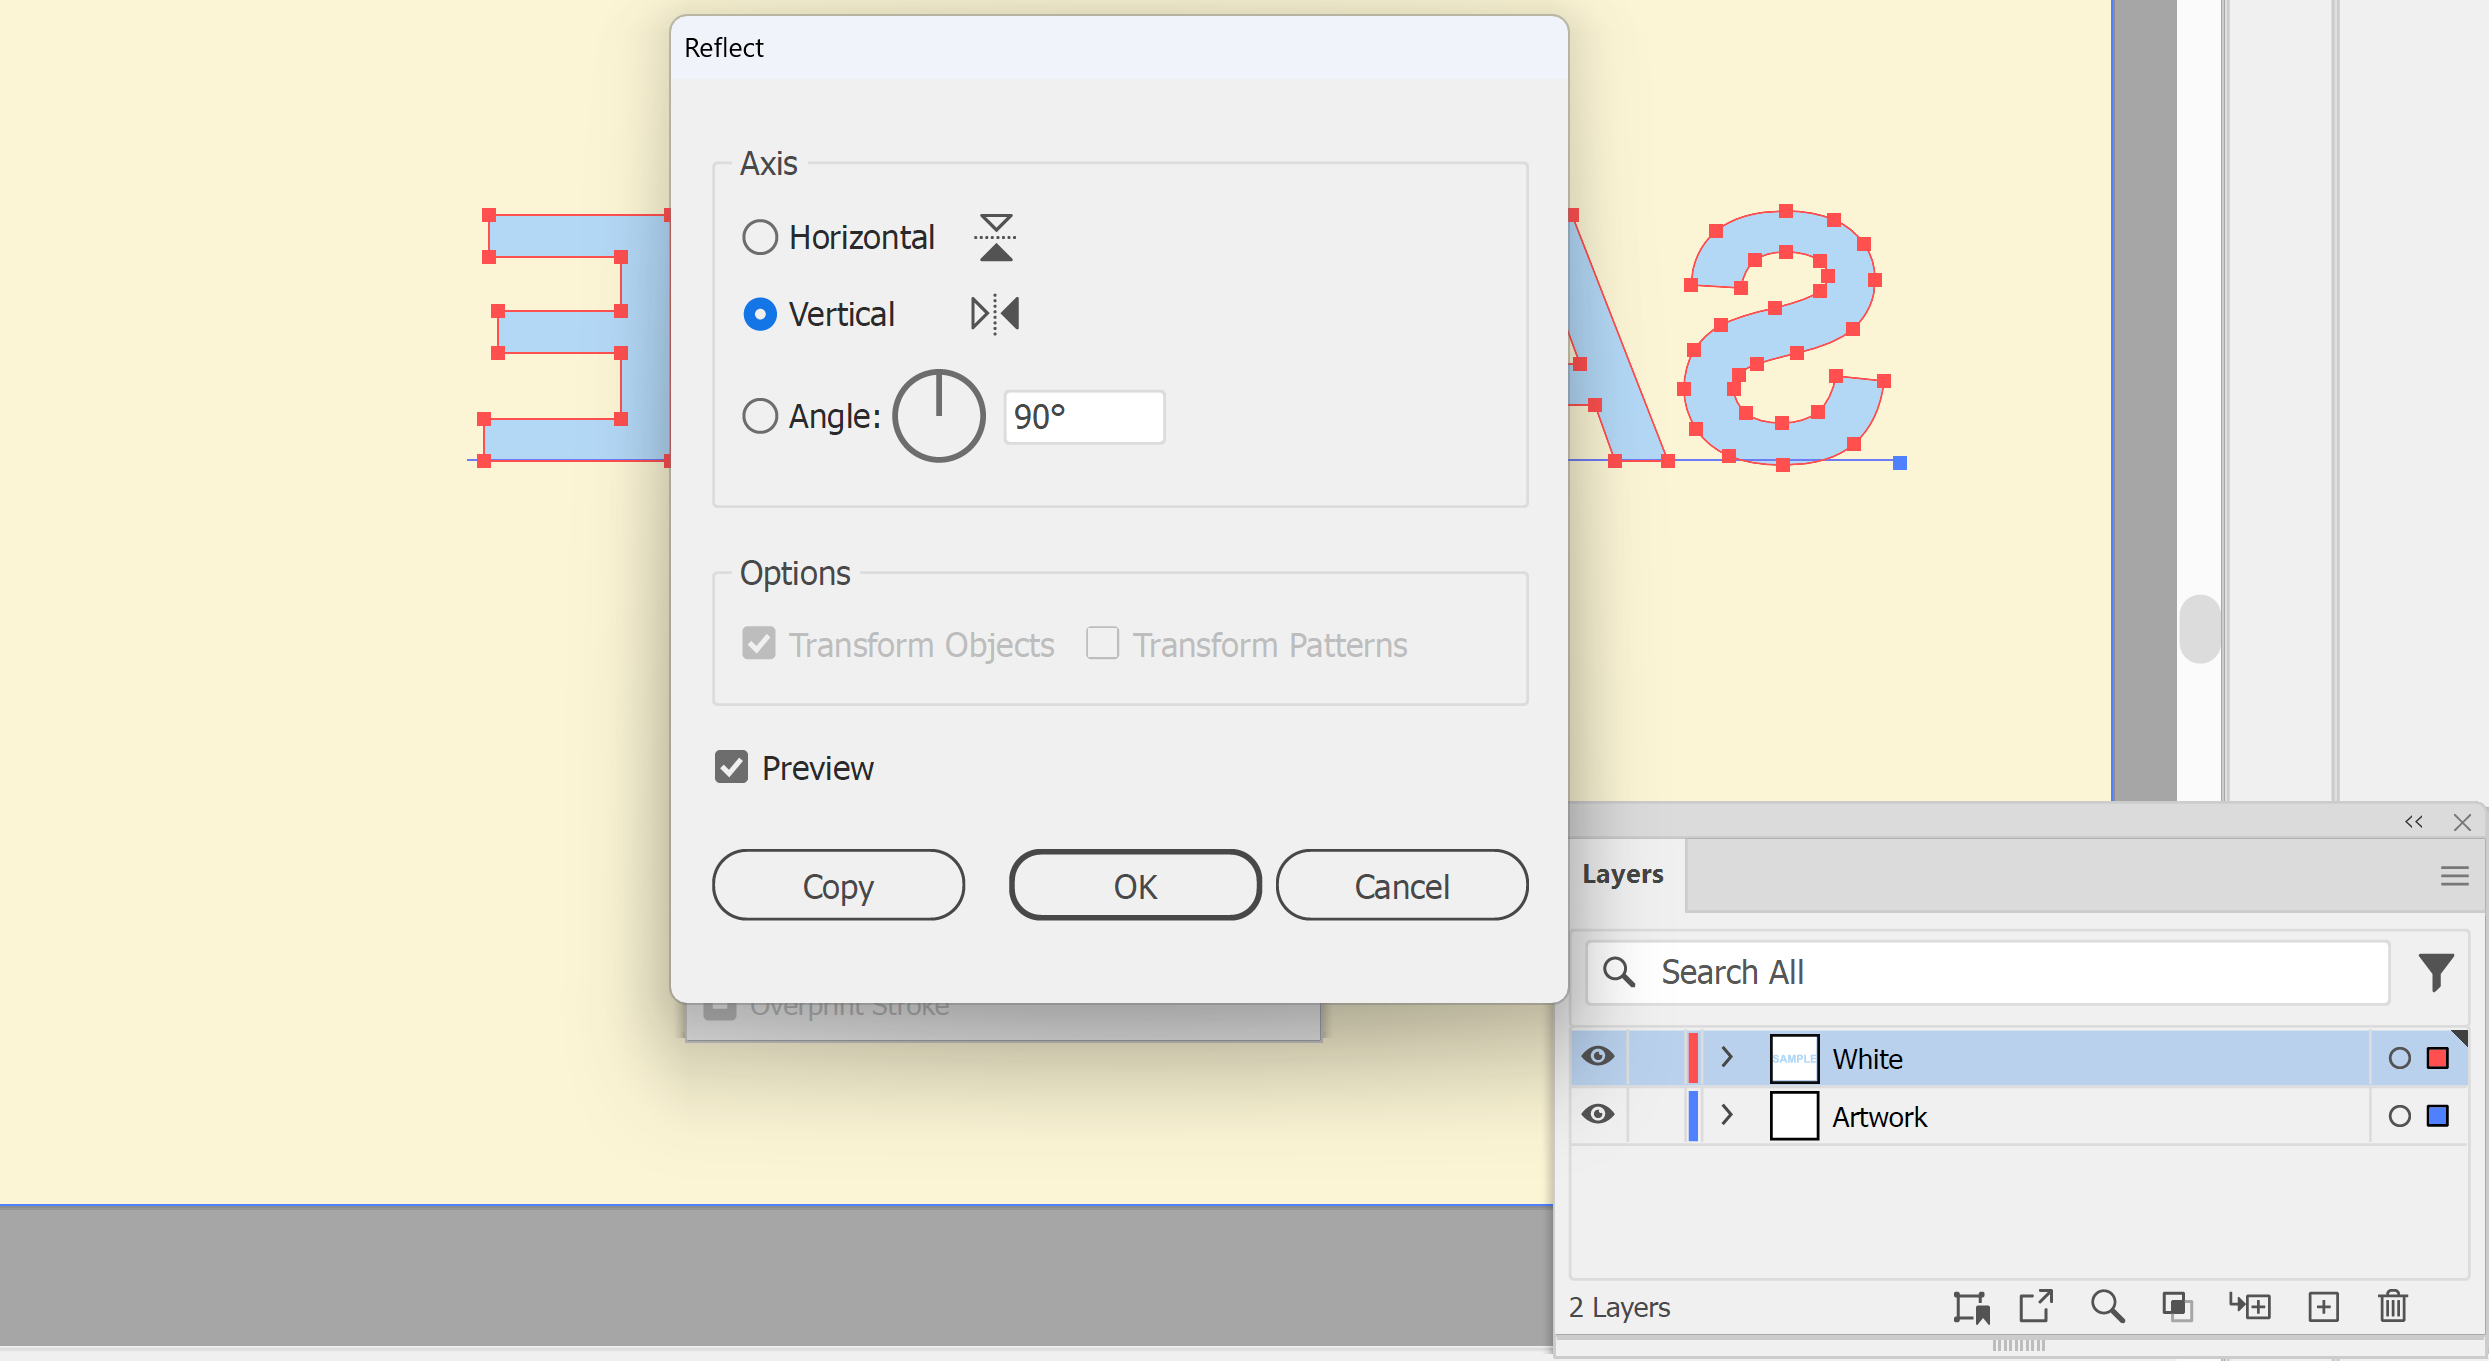
6. Mirror a reverse-printed graphic only if we ask you to for a job we're supplying (or if your own printer asks you). Some print workflows mirror the file at production, and mirroring it twice puts it back the wrong way. To mirror, make sure the White layer is visible and not locked, select all your artwork with the Selection tool, then in the main menu go to Object > Transform > Reflect. In the Reflect dialog box, choose Vertical and click OK. The white layer must be mirrored along with the colours, so they stay lined up.
IMPORTANT: Face-mounted and one-way vision artwork must read the right way round in your file.
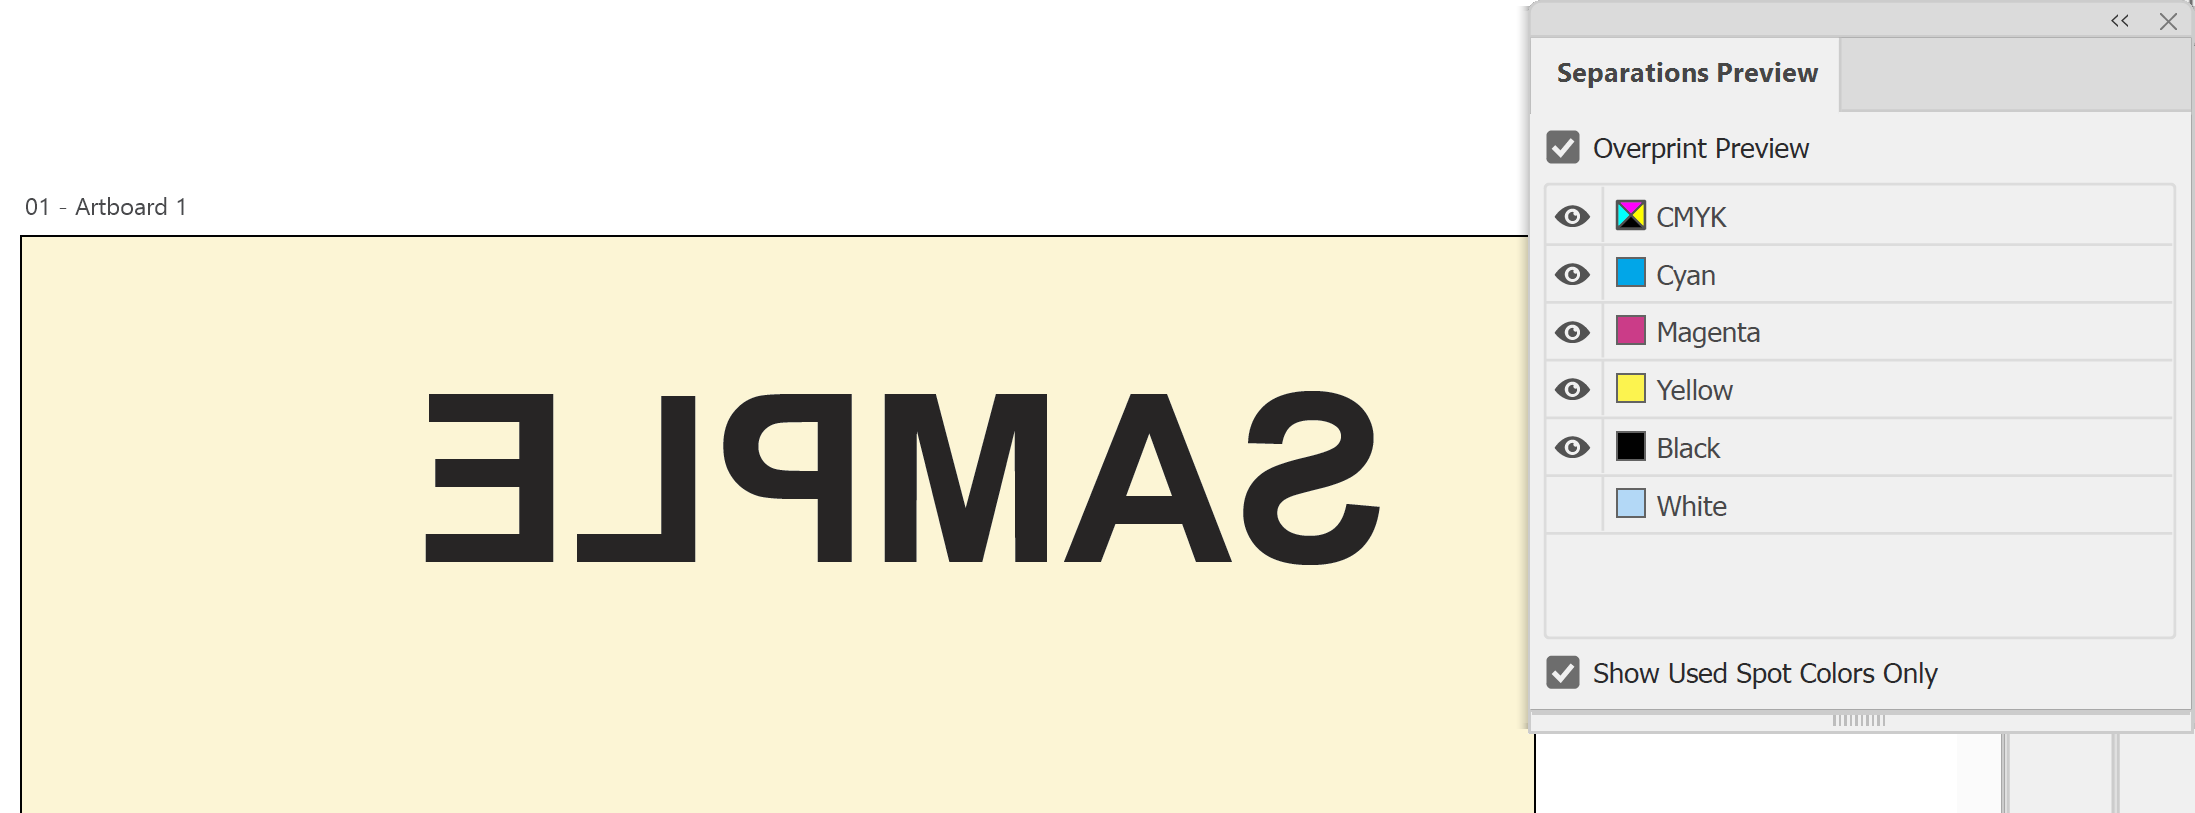
7. If your file includes a white layer, check it. In the main menu, go to Window > Separations Preview, tick Overprint Preview, then click the eye icon next to the white spot colour to hide and show it.
Note: In Illustrator, Separations Preview only works when the document is in CMYK mode (File > Document Color Mode > CMYK Color).
8. Finally, save a print-ready PDF. If you made a White layer, keep its spot colour in the PDF. For a job we're supplying, tell us whether the file has been mirrored or includes white, check the rest against our artwork specifications and email it to sales@displays2go.com.au. If another printer is producing it, follow their specifications. You're done!
Need some help?
We're here for you
If you're needing some advice or just a helping hand, please get in touch with our team, by clicking this button. Complete the enquiry form and one of our specialists will call you back as soon as we can.