

YOUR CART IS CURRENTLY EMPTY
How do I set up artwork for hanging fabric banners?
What is a hanging fabric banner?
A hanging banner (we call ours a Sky Banner) is suspended above a stand so people can see it from across the hall. A lightweight aluminium frame clicks together without tools, and the printed fabric graphic wraps around the outside of the frame like a pillow case, using zips to tighten.
Our standard shapes include the circular Sky Banner, the square Sky Banner and the triangular Sky Banner, in widths from 2.4m to 4.5m and heights from 600mm to 1200mm (the 4.5m width comes only in the 1070mm and 1200mm heights).
Why is the artwork different from a flat banner?
Because the graphic wraps all the way around the frame, you don't design one face. You design one long strip that runs around the whole shape. On a circle, the artwork you see from one aisle carries on round to the next. On a triangle, the strip turns each corner of the frame, so a side is visible from any vantage point in the venue.
That's why every shape and size has its own artwork template. The template shows exactly where the safe areas sit along the strip, and a product template always overrides our standard 10mm bleed.
Steps to set up hanging banner artwork in Illustrator
1. Download the artwork template for your exact shape and size. You'll find the templates listed on each product page under Artwork sizing and specifications. If yours isn't listed, contact us for the template to suit your product.
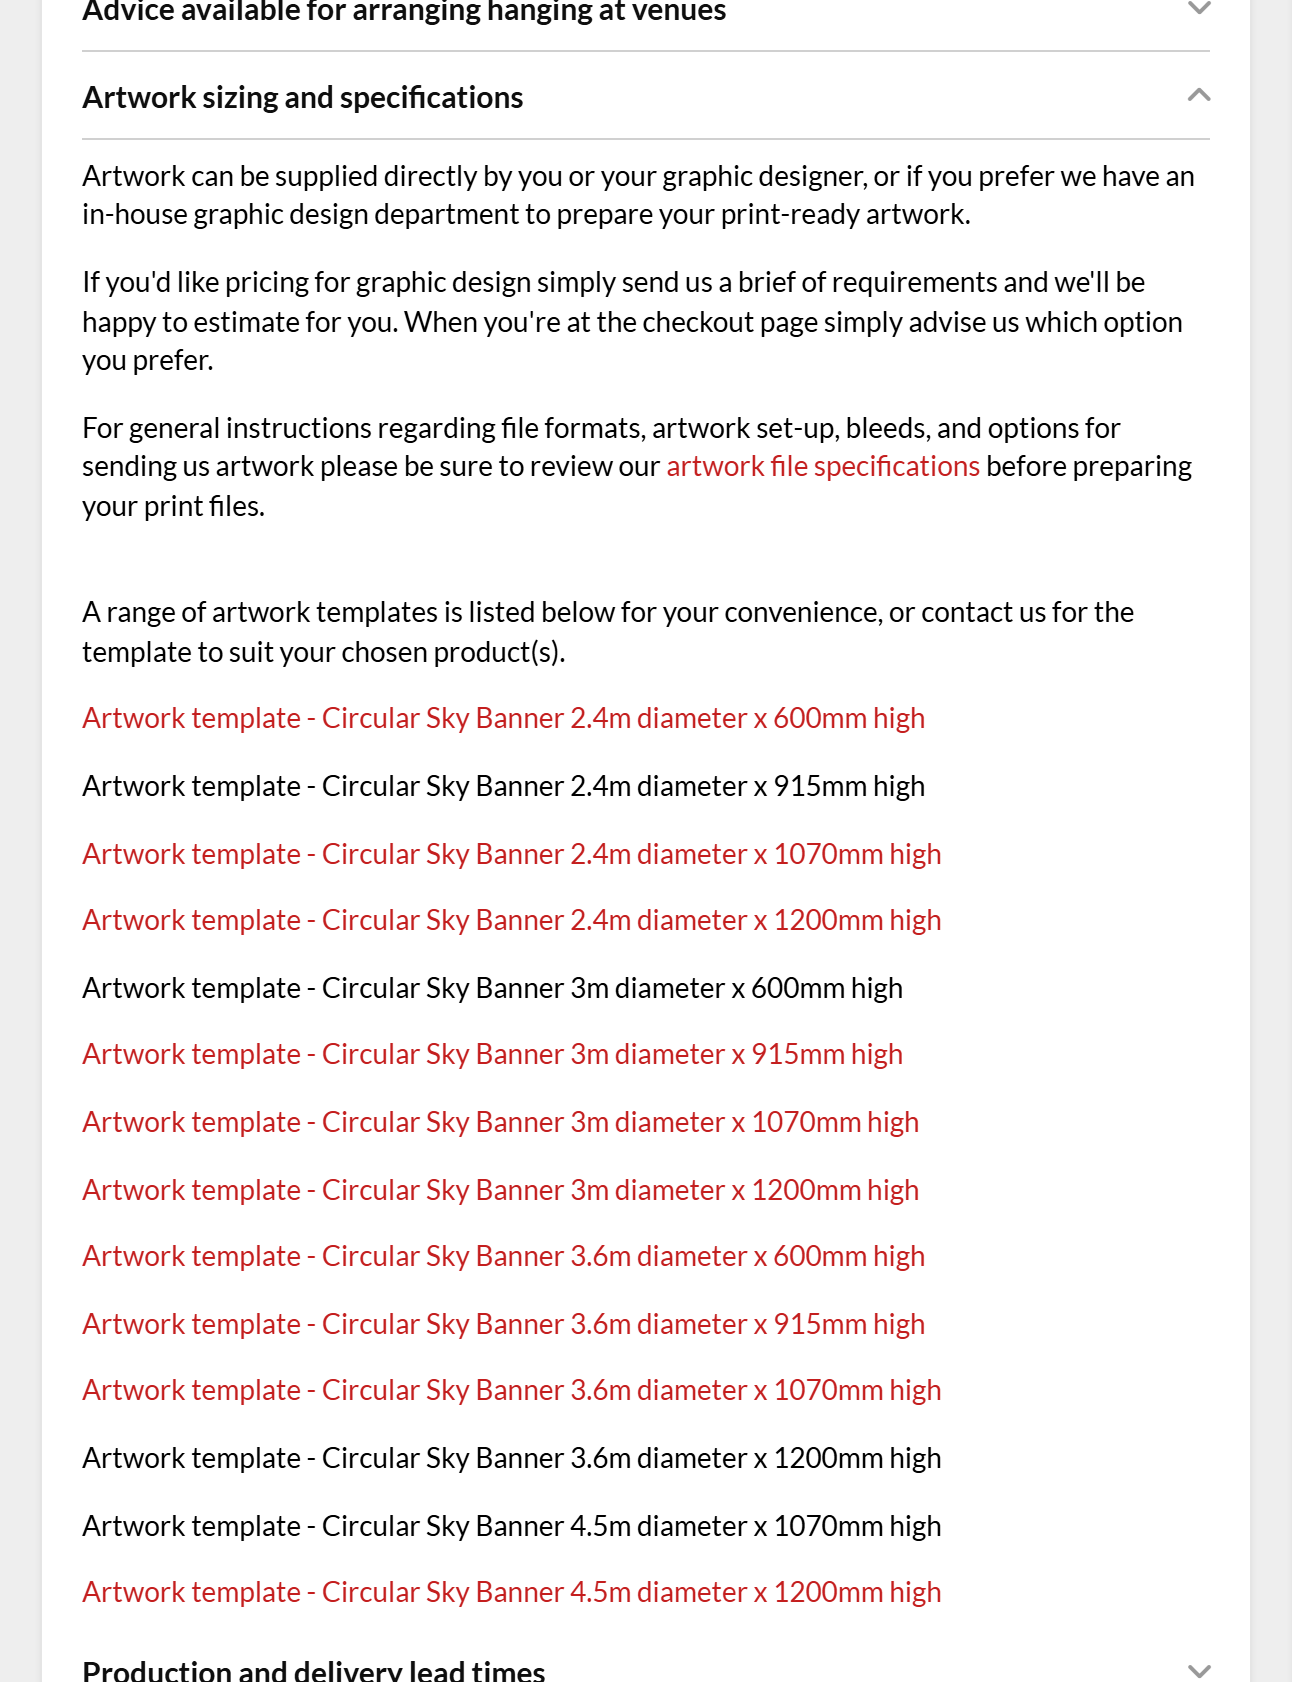
2. Open the template in Illustrator. In the main menu, go to File > Open, select the template PDF and click Open.
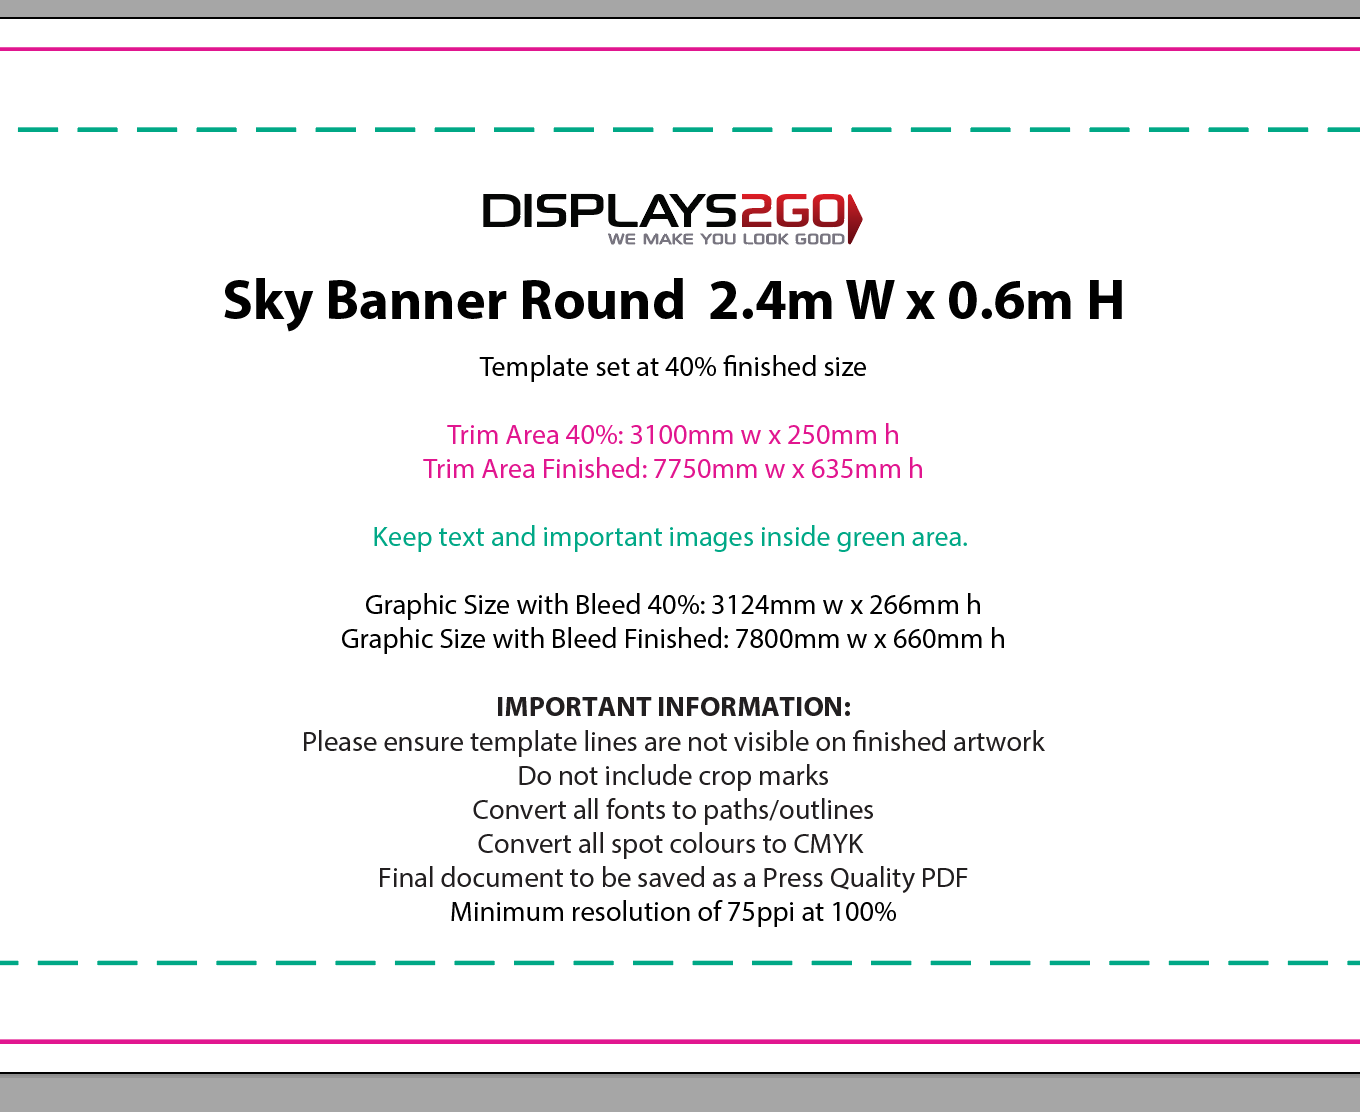
3. Read the scale and sizes printed in the middle of the template. Sky Banner templates are set at a reduced scale, and the scale varies from one template to the next. For example, the circular Sky Banner 2.4m x 0.6m template is set at 40% of finished size: the trim area is 3100mm wide x 250mm high on the template, and 3124mm x 266mm with bleed.
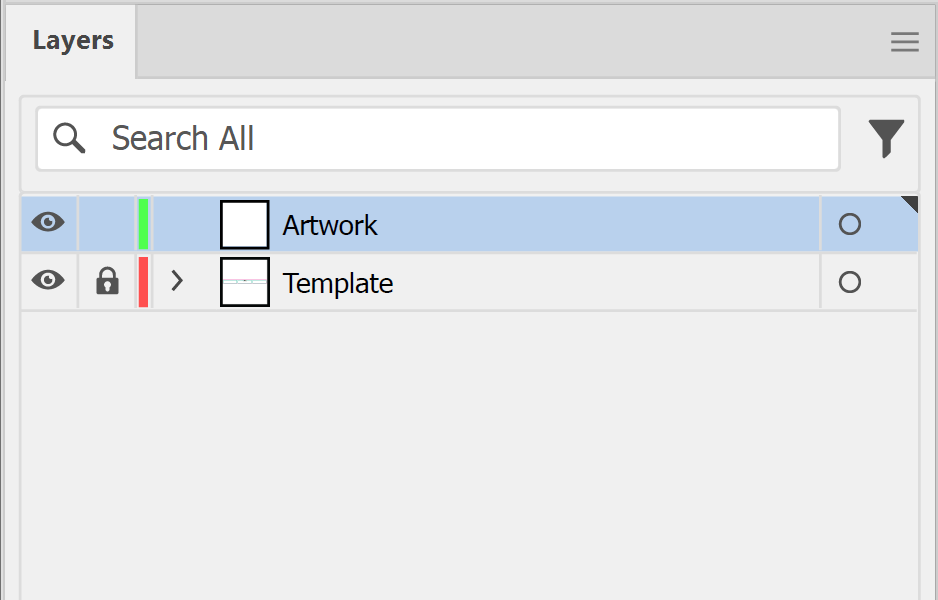
4. Lock the template and add a layer for your artwork. In the main menu, go to Window > Layers. Click the empty Toggles Lock area next to the template layer, then click the Create New Layer icon. Drag the new layer below the template layer, so the magenta and green lines stay visible over your artwork.
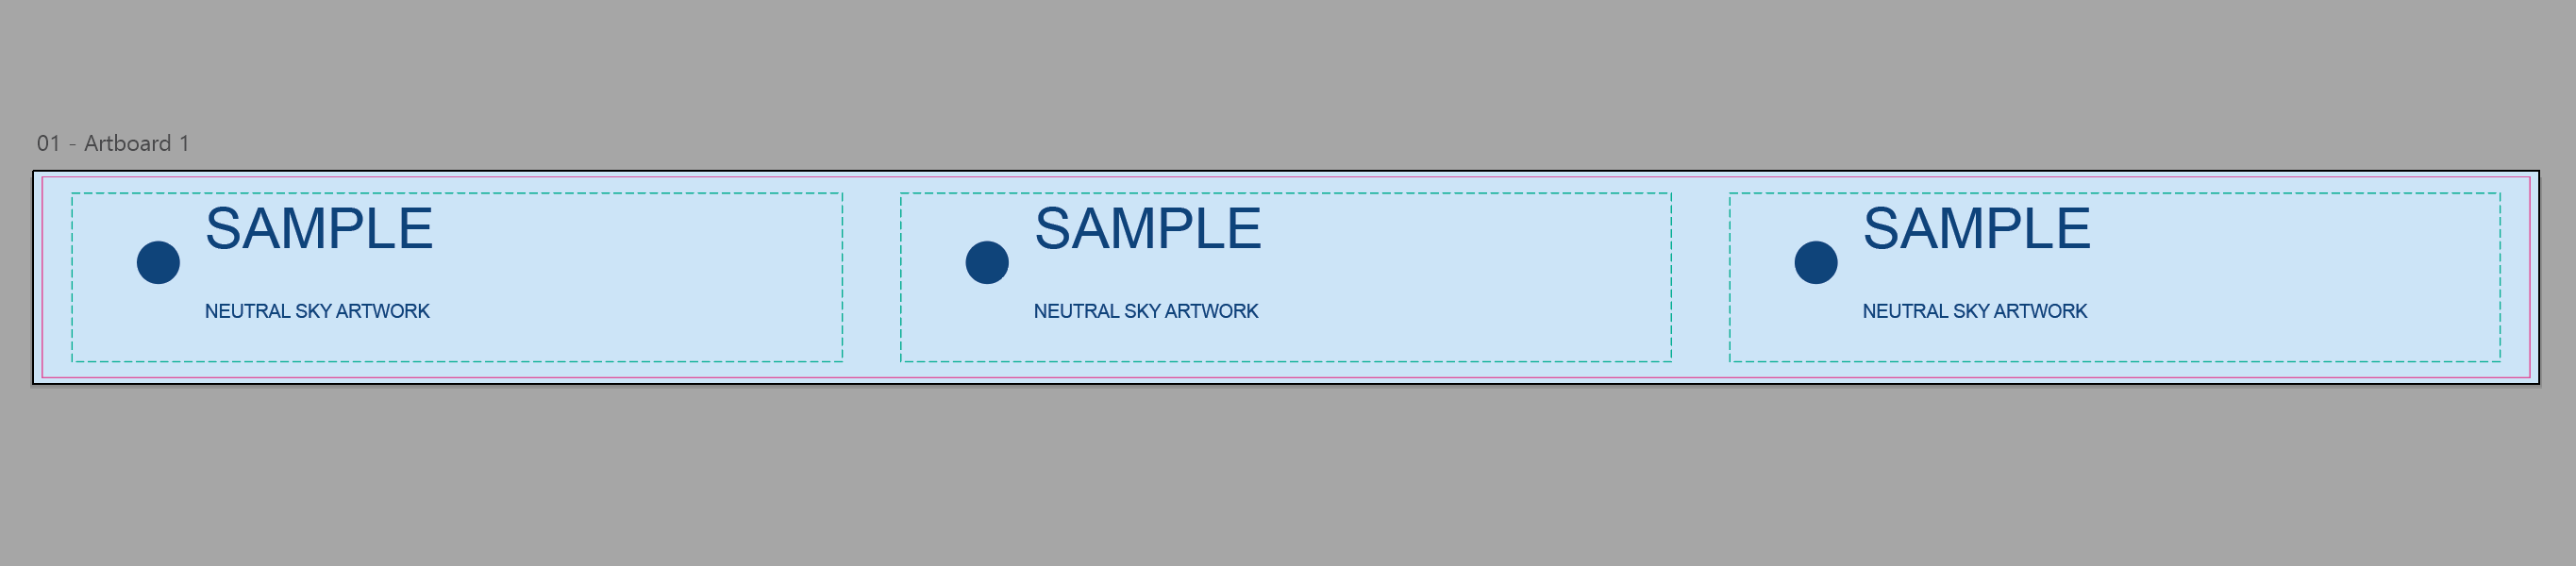
5. Run your background colour or image past the magenta line, which marks the trim area, so it fills the full graphic size with bleed printed on the template. On the 2.4m x 0.6m round template, that's 3124mm x 266mm at 40%.
6. Keep text and important images inside the green areas. The green dashed boxes along the strip are the safe areas. Use the space outside them for background only.
7. Check your images at the template's scale. Select each image and read its PPI under Link Info in the Links panel (Window > Links). For best results, images should be at least 150ppi at 100% of finished size, and 75ppi is the lowest we accept. On a 40% template, multiply by 2.5: an image needs 375ppi in the file to print at 150ppi on the banner.
8. Outline all fonts and convert any spot colours to CMYK. Our guide on how to outline text shows how.
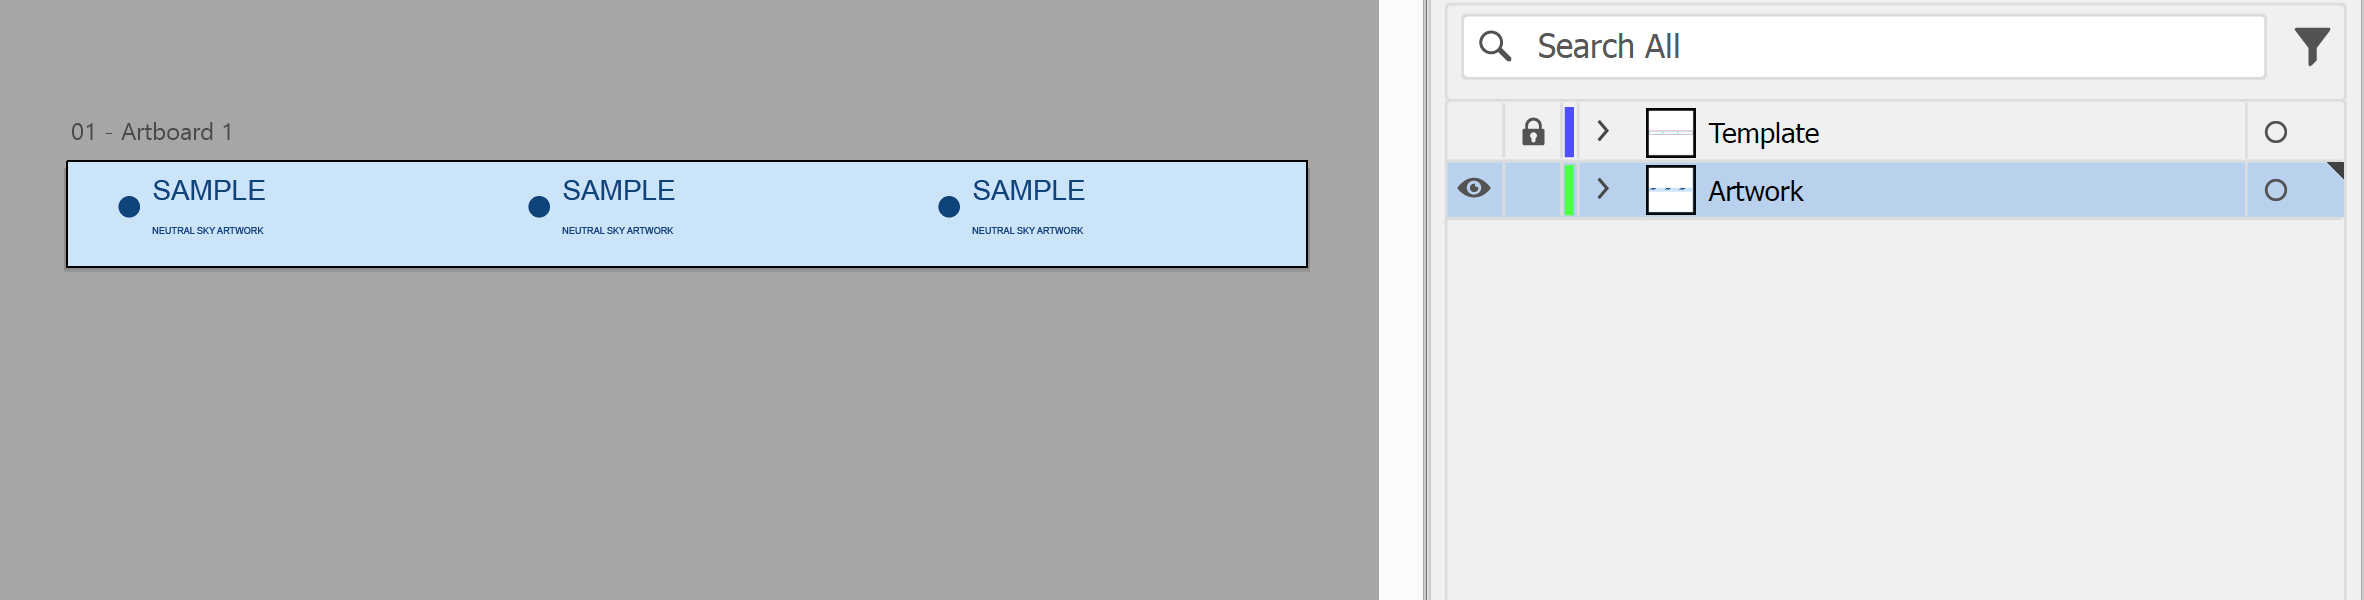
9. Hide the template before you save. Template lines must not be visible on the finished artwork, unless your template's notes say otherwise. In the Layers panel, click the eye icon on the template layer to hide it.
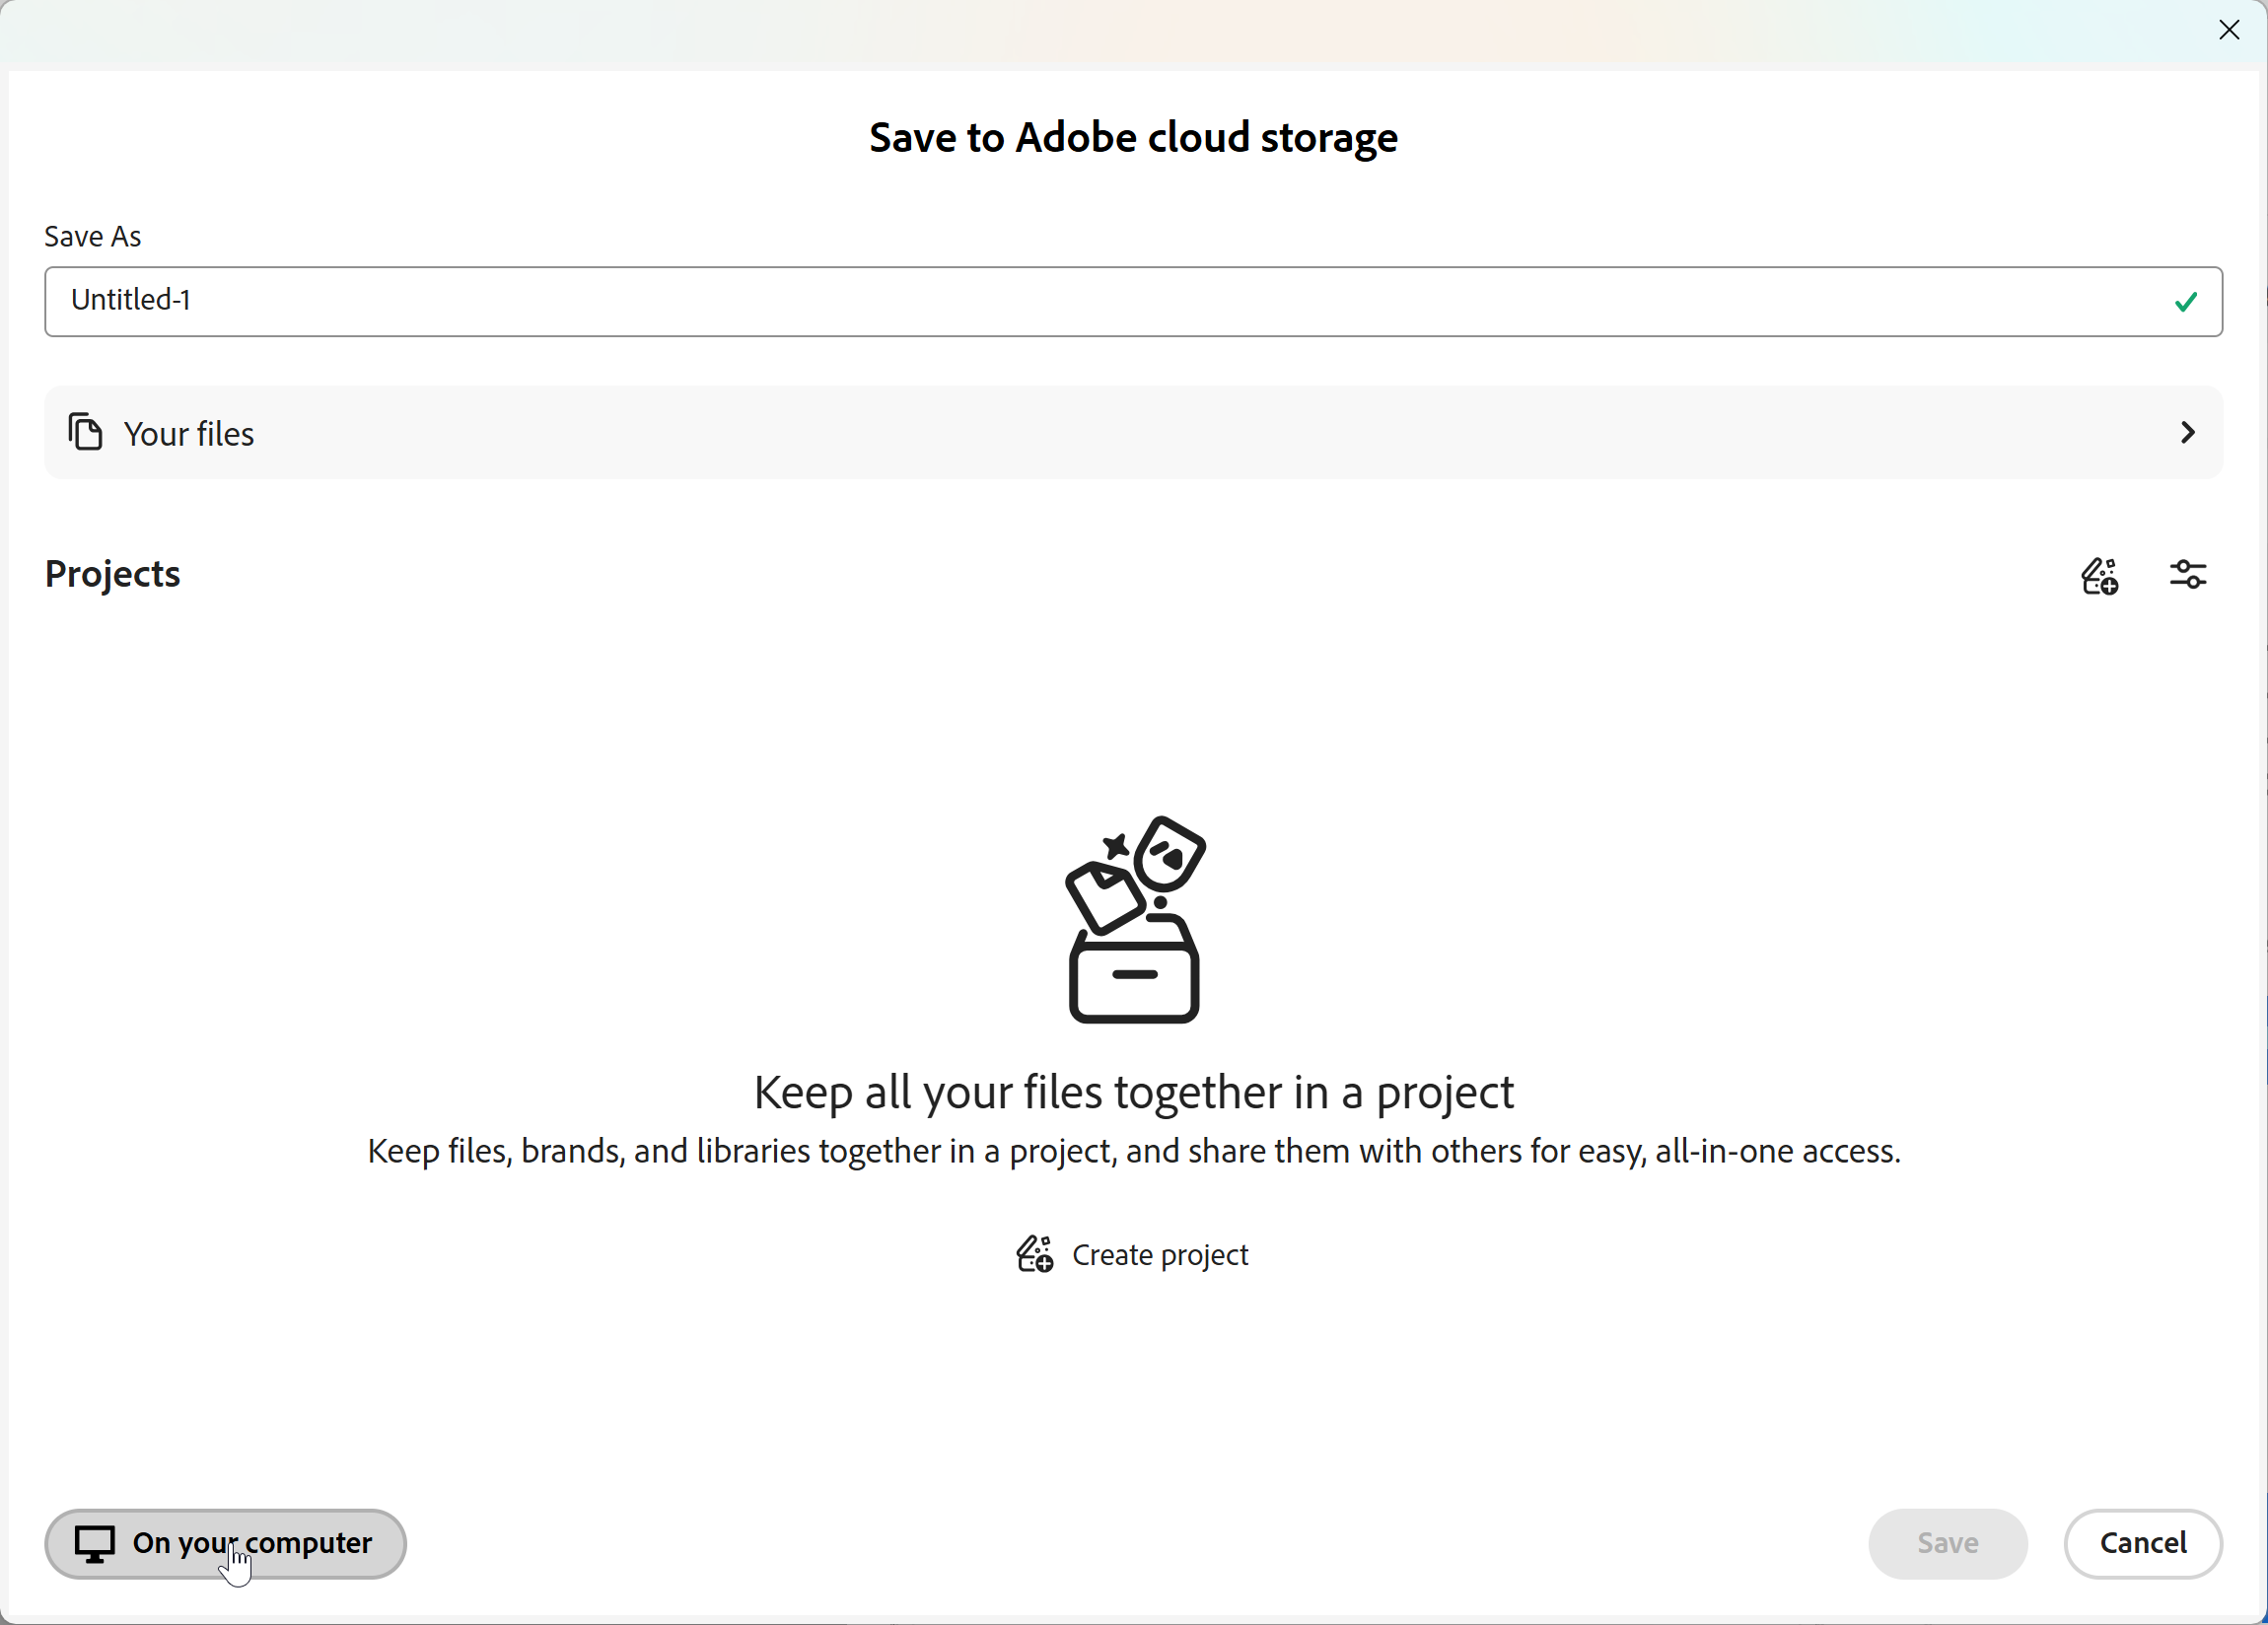
10. Save the file as a PDF. In the main menu, go to File > Save As. If the Save to Adobe cloud storage dialog box appears, select On your computer. Then choose Adobe PDF (*.PDF) from the Save as type menu and click Save.
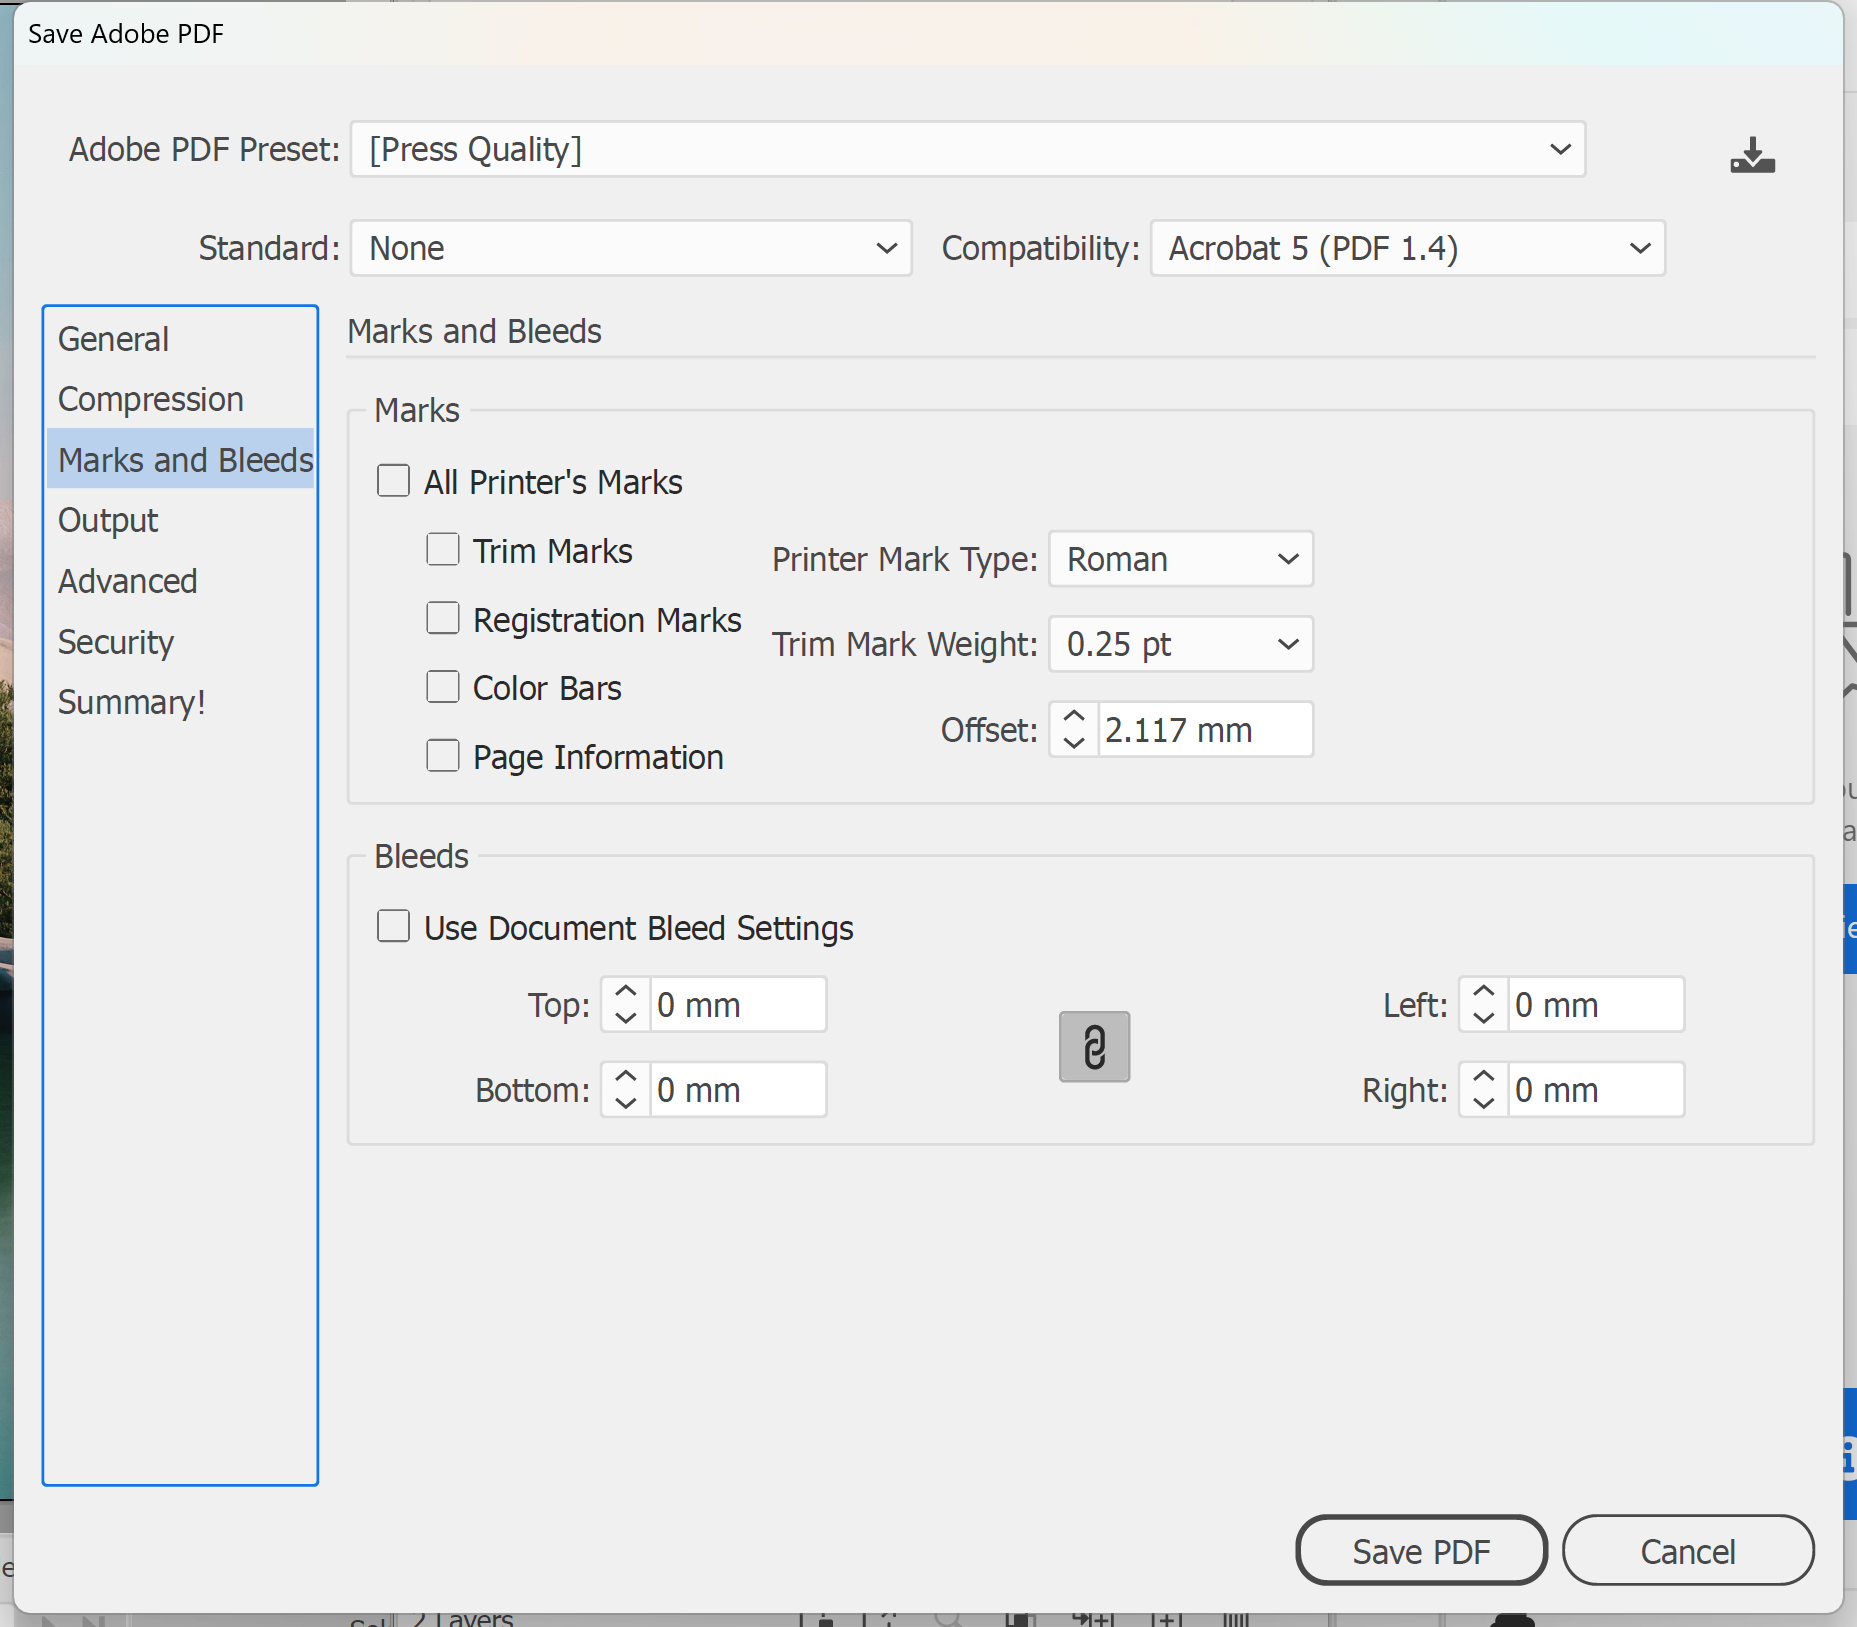
11. Choose the Press Quality settings. In the Save Adobe PDF dialog box, choose [Press Quality] from the Adobe PDF Preset menu. Under Marks and Bleeds, leave All Printer's Marks unchecked, because we don't want crop marks. Click Save PDF.
12. Finally, check the file against our artwork specifications and email it to sales@displays2go.com.au, with your order or job number in the subject line if you have one. You're done!
Note: Graphics can be printed on both the inside and outside faces of a Sky Banner, or just the outside, and there's an optional printed base panel that encloses the structure. If you've ordered either, contact us for the template to suit.
Need some help?
We're here for you
If you're needing some advice or just a helping hand, please get in touch with our team, by clicking this button. Complete the enquiry form and one of our specialists will call you back as soon as we can.