

YOUR CART IS CURRENTLY EMPTY
Display risers and tiered displays: using height to rank products
Published
Quick answer
Put the product that matters most on the highest level and step the rest down from it, so every item stays visible and the order of importance reads at a glance. Use small risers on a counter, shelf or window, and floor-standing plinths in mixed heights for a launch or a centre display. A matched plinth kit gives you set height steps, usually 100mm apart, so the group looks planned rather than borrowed.
Why height creates hierarchy
A row of products at one height reads as stock. The same products at different heights read as a display, because the eye goes to the highest point first and then works down. That is a merchandising habit, not a measured law, but it is how most launch tables, windows and centre displays are built.
Height does three jobs at once:
- It ranks. The hero product goes highest, supporting lines lower.
- It reveals. Small items at the front no longer hide behind larger ones at the back.
- It frames. A stepped group has a shape (a staircase, a pyramid, a cluster) that makes the display look deliberate.
Our guide to visual merchandising displays covers the wider principles: sightlines, hot spots, colour blocking and the pyramid. This article is about the height steps themselves.
Risers, plinths and kits: which do you need?
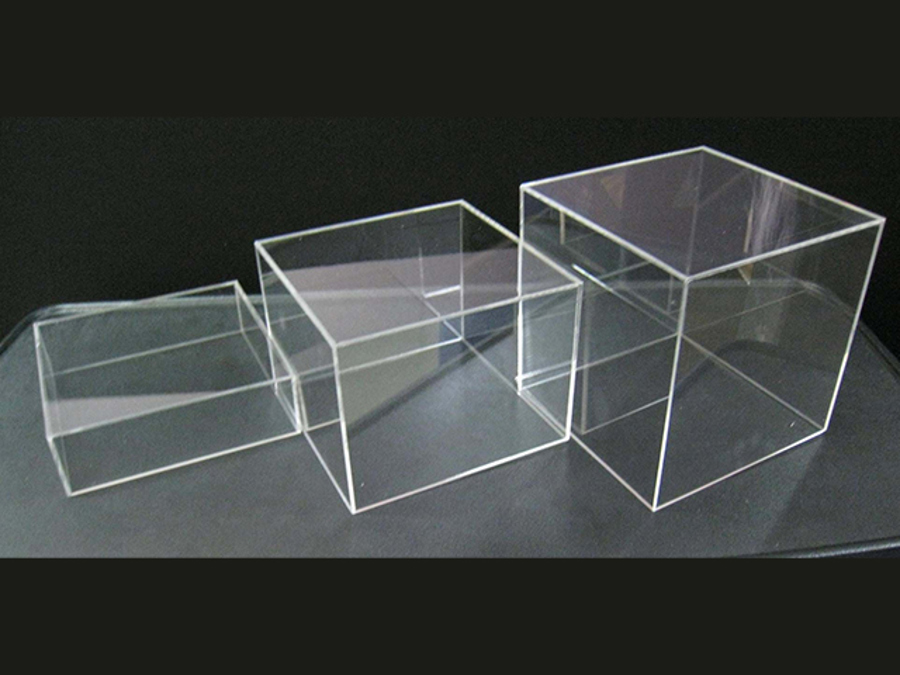
Risers are small stands that sit on something else: a counter, a shelf, a table or a window bed. Clear acrylic risers add height without adding colour, so the product stays the focus. We've made them as box-shaped sets that step up in size, and as graduated sets that nest together for storage.
Plinths stand on the floor. They suit launches, foyers, windows and shopping centre sites, where the display has to be seen from across a space. Our standard plinth is 400mm square and 900mm high, and our plinth sizes guide explains which height bands suit which objects.
Plinth kits are matched sets of plinths in several heights, sold together so the steps are consistent. They are the quickest way to build a tiered floor display without designing one from scratch.
Standard plinth kit heights
Our plinth kits use portable plinths, 400mm wide as standard, in white or black. Five of the standard kits:
| Kit | Plinths | Heights | From (white, ex GST) |
|---|---|---|---|
| Staircase | 4 | 900, 800, 700, 600mm | $868 |
| Combination | 5 | 1 at 900, 2 at 800, 2 at 700mm | $1,096 |
| Hexagon | 6 (triangular) | 900, 800, 700, 600, 500, 400mm | $1,258 |
| Double Staircase | 8 | 900mm down to 200mm in 100mm steps | $1,648 |
| Super Combo | 9 | 1 at 900, 4 at 800, 4 at 700mm (700s triangular) | $1,958 |
Prices are for portable plinths at the standard size without graphics, and exclude GST and freight. Black bases cost more. The standard production time is 1.5 weeks from order and print-ready artwork.
Two things stand out in the table. First, every kit tops out at 900mm, the standard plinth height, so the hero product sits at the height most people mean by "a plinth". Second, the steps are an even 100mm apart, so each level reads as one clear step down from the last.
Plinth widths come in slimline 300mm, standard 400mm, large 500mm and jumbo 600mm, so the top size can follow the product rather than the kit.
The hero, support and range layout
Most tiered displays sort products into three levels:
- Hero. The new product, the prize or the flagship, on the tallest plinth.
- Support. Variants, colours or the next model, one or two steps down.
- Range. Accessories, packs or the full line-up, on the lowest steps, nearest the viewer.
There are two common ways to arrange them, and they suit different sites.
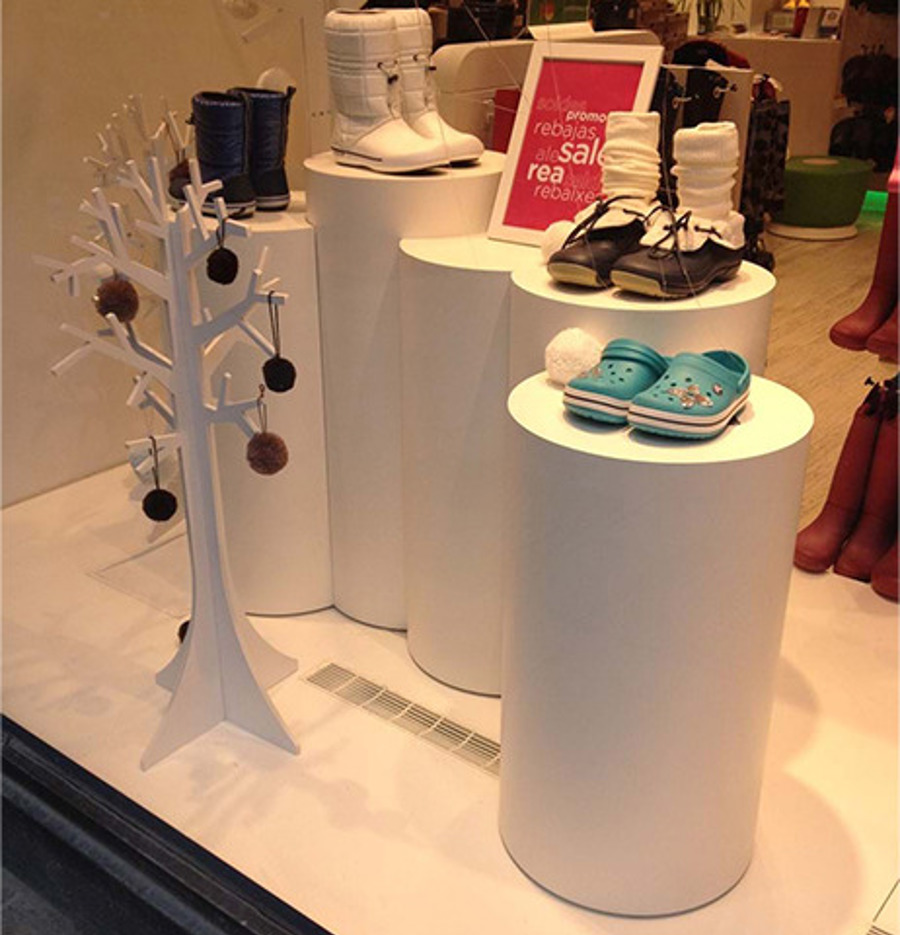
- Staircase. Heights fall away to one side. It works against a wall, in a window or along a counter, where people approach from one direction. It is also the simple approach our plinth sizes guide suggests, with the tallest plinth placed at the back or off to one side rather than in the centre.
- Pyramid or cluster. The tallest plinth sits at the centre with lower ones around it, as in the Super Combo kit, or the heights spiral down around one centre point, as in the Hexagon kit. A centred peak breaks the staircase rule on purpose, so it suits an open space or a centre court, where people walk all the way round.
Pick the layout from the way people will approach the display, then place the hero where the main approach sees it first.
Odd numbers, triangles and spacing
These are working habits from display practice rather than rules, but they hold up on most jobs.
Odd numbers are easier to balance. With three or five plinths, one can be the centre or the peak, and the others step down evenly on either side. With an even number, a symmetrical group has no natural peak, so a staircase usually works better.
Triangles keep the eye moving. Three products at three heights form a triangle, and the eye travels from the top point down each side. The triangular plinths in the Hexagon and Super Combo kits fit together into one compact group.
Keep the gaps even. Our plinth sizes guide recommends roughly equal gaps between plinths. Uneven gaps make the group look accidental.
Leave space around each product. A product that covers the whole top looks cramped. The same guide suggests a top about 100mm wider on each side than the object.
Materials and finishes for tiered displays
A kit doesn't have to be portable plinths. Plinth kits can be built in timber, acrylic or aluminium, and custom shapes and sizes are available.
- Portable plinths are the standard kit build. Each takes up to 70kg and has a 5mm extruded polypropylene base with a 12mm melamine-faced MDF top. The bases fold flat into a carton, and one person should be able to put a single plinth together in under two minutes. For branding, a four-sided stretch fabric sleeve slips over each base and can be swapped for the next campaign.
- Acrylic plinths are 6mm acrylic as standard, in white, black or clear, and can be made in any size. Clear acrylic all but vanishes on a tiered display, leaving the products to do the talking. As a rough guide, a 6mm acrylic plinth 400mm square (and up to 1,000mm high) holds about 20kg, so check the weight of heavy products first.
Keep one finish across the whole group. Mixing materials in a tiered display tends to look like a set of leftovers.
Lighting a tiered display
The hero product needs the most light, and that is easiest to plan before the display is built. A lower plinth can end up in the shadow of the taller ones around it, so check the lighting from the main approach once the group is in place. Our guide to plinths for product launches covers internally lit plinths, battery packs and gooseneck lights in detail.
Examples from launches and retail windows
- Counter launch. Three clear acrylic risers in graduated sizes on a counter, with the new product on the tallest and two variants in front.
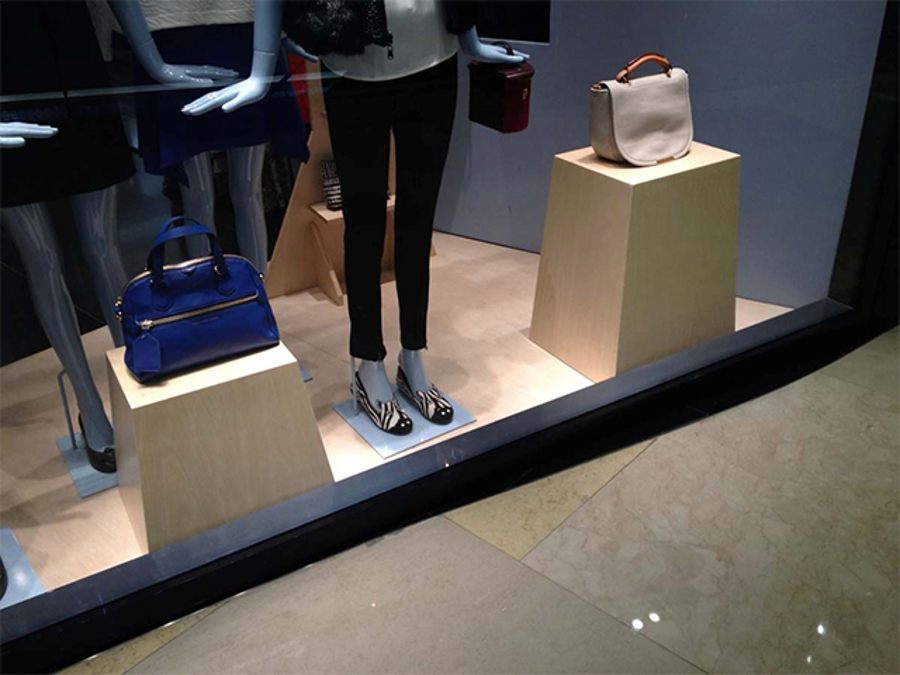
- Retail window. A staircase of plinths falling away from the side wall, so passers-by see the hero product first from the footpath or mall.
- Centre court. A Hexagon kit, the hero on the 900mm peak and the range spiralling down to 400mm, readable from every side.
- Multi-product launch. A Double Staircase kit along a back wall, eight products in strict order from 900mm down to 200mm.
Next step
Browse our full range of display plinths, then tell us the products, their weights and where the display will stand, and we'll recommend a kit or build one in the heights that suit your range. Call 1300 240 250.