

YOUR CART IS CURRENTLY EMPTY
How to add bleed to display artwork
Bleed is artwork that carries on past the line where a graphic is cut or finishes, so the edge stays fully printed if it wraps around or inside another structure, and even if the cut or the fit is slightly out. For our display graphics, allow 10mm on every edge unless the product template says otherwise. Our templates already include the bleed in the page size.
Most design software starts you with less bleed than that, or none at all. Here's how to set up 10mm in Illustrator or InDesign before you start designing, and how to check it's there. When the artwork is finished, our guide on how to export a print-ready PDF covers the export settings.
Three ways to add bleed
- Use our templates. Using our template means the bleed and final sizing are already built in to the document.
- Build it into the page. Make the page the finished size plus 10mm on every edge. A 2,400 x 1,000mm panel becomes a 2,420 x 1,020mm page (2,400 + 10 + 10 = 2,420). Our product templates are set up this way, so you don't need to add any bleed on export.
- Set it in the document. Keep the page at the finished size and enter 10mm in the program's bleed settings. The bleed shows as a guide outside the page, and you include it when you export.
If you work at a smaller scale rather than full size, scale the bleed too: at half size, allow 5mm. If you're using one of our templates, don't add more bleed on top. Whichever you use, leave printer's marks and crop marks off when you export.
Why the default isn't enough
Each program's default or recommended bleed is less than 10mm:
- InDesign: the bleed typically defaults to 0.
- Illustrator: Adobe's guidance treats press bleed as "at least 18 points", which is 6.35mm, so it can be unhelpful.
None of these gives you the 10mm we ask for with most graphics. Display graphics are cut to size or tensioned into a frame, and the extra margin is what stops a white edge showing afterwards.
InDesign
- For a new file, go to File > New > Document and enter 10mm in the bleed values before you select Create.
- For an existing file, go to File > Document Setup, where the bleed area is defined.
- Use the same value for Top, Bottom, Inside and Outside. InDesign allows up to 6 inches (152.4mm) on each edge, so 10mm is well within range.
- To check it, go to View > Screen Mode > Bleed. The bleed area becomes visible, so you can see whether the background reaches its outer edge.
When you export, check the bleed under Marks and Bleeds matches your document setup, as Adobe's print-ready PDF steps advise. With one of our templates, the bleed is already in the page size, so leave the Marks and Bleeds settings at their defaults and don't add more bleed.
Illustrator
- Go to File > Document Setup and set the bleed for the artboard. Illustrator shows it as a red line around the artboard.
- Enter 10mm on every edge. If your units are set to points, that's 28.35 pt (10 / 25.4 x 72 = 28.35).
- On export, the Marks and Bleeds section has a Use Document Bleed Settings option, which picks up what you set here.
Recent versions of Illustrator also have a Print Bleed button on the bleed boundary. Adobe describes it as using generative AI to fill the bleed area with "a natural extension of your artwork". If you use it, check every edge before export, and don't let it invent anything near a logo or a face.
If your design is in Canva, talk to us before you send it: Canva isn't suited to preparing wide format print files.
Running artwork into the bleed
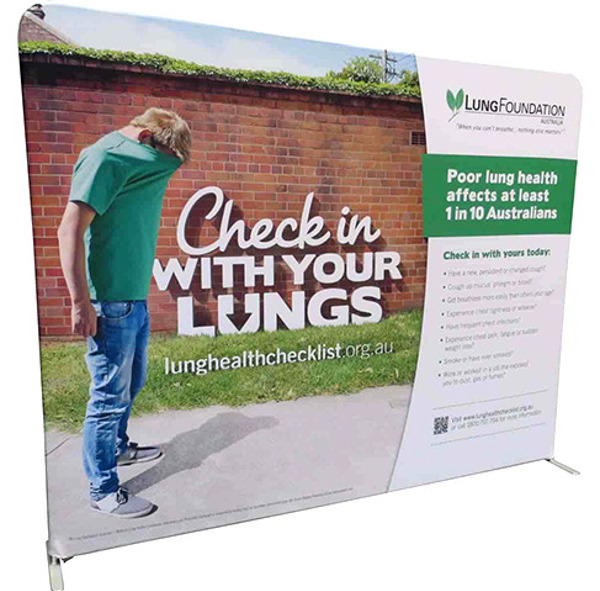
- Backgrounds and photos should run right to the outside edge of the bleed, not stop at the trim line.
- Text, logos and faces stay well inside the trim. On fabric, the edge disappears into the frame, and on panel walls such as our exhibition wall graphics the joins sit in set positions, so look at the template before you put anything important close to either.
- Be careful stretching photos to fill the bleed. Enlarging them lowers their resolution, and our specifications ask for at least 150ppi at finished size.
Match the template size
If you're working from one of our templates, keep the document at exactly the template size. A document size that doesn't match the design template is first on our list of the top five issues we find in preflighting. You'll find templates on our product pages, or we can send you the right one.
Check the bleed made it into the PDF
Open the PDF and check the page size: at full size, it should be the finished size plus 20mm in each direction (10mm each side), or exactly the template size. Then zoom in on each edge. If you see white between the artwork and the edge of the page, the bleed is missing.
For the rest of the file rules, see our artwork specifications, and our display and print glossary explains the other terms on your proof. If you'd like us to check the file, artwork preflighting is $45 ex-GST per job, with digital proofs sent back for approval.
Not sure what a particular product needs? Email sales@displays2go.com.au or call 1300 240 250.