

YOUR CART IS CURRENTLY EMPTY
How to export a print-ready PDF from Illustrator or InDesign
To export a print-ready PDF for a display graphic, start from our product template, so the page is already the finished size plus bleed. Then save with the [Press Quality] preset, set images to 150 ppi, leave printer's marks off and, in Illustrator, switch off "Preserve Illustrator Editing Capabilities". Before you export, the artwork itself should already be in CMYK, with fonts outlined or embedded and transparencies flattened.
Each program gets there a different way. Here's what to set in each one, and how to check the file before you send it to us.
The settings that matter, whatever you use
- Size. 100% of the finished size, or in proportion, with the bleed included in the page.
- Bleed. 10mm on every edge, unless the product template says otherwise. The template always wins.
- Resolution. At least 150 ppi at finished size. 75 ppi is the lowest we can accept.
- Colour. CMYK, with any spot colours converted to process colours.
- Fonts and effects. Fonts outlined or embedded. Gradients, layers and transparencies flattened.
- Format. A high-resolution PDF. We also take TIFF, JPEG, Illustrator and EPS files, but print-ready artwork that isn't a PDF carries a $75 conversion fee (ex GST).
The full list is on our artwork specifications page.
Illustrator
#1 - Save as Adobe PDF
Go to File > Save As. If a Save to Creative Cloud dialog box appears, select On your computer. Choose Adobe PDF as the file type and click Save. Adobe notes that Save As swaps the open .ai document for the PDF, so make sure your master file is saved first.
#2 - Choose the preset
In the Save Adobe PDF window, pick [Press Quality] from the Adobe PDF Preset menu. Adobe describes it as the preset for high-quality print production. It converts colours to CMYK and embeds subsets of all fonts. It doesn't flatten transparency, though: it keeps it live, so flatten the file as our specifications ask (see the PDF/X note below).
#3 - Switch off editing capabilities
In the General panel, untick Preserve Illustrator Editing Capabilities. This is the setting that makes the biggest difference to file size. Our guide on how to make a PDF file smaller explains how this one setting can cut a file by up to 95%.
#4 - Set compression to 150 ppi
In the Compression panel, set colour and greyscale bitmap images to 150 ppi, and monochrome bitmap images to 600 ppi. Left alone, Press Quality downsamples colour and greyscale images to 300 ppi, which makes a much heavier file. 150 ppi is plenty for large-format printing. Downsampling only removes pixels, though: it can't rescue a photo that is below 150 ppi at finished size.
#5 - Leave marks and bleeds at the defaults
Our templates already include the bleed in the artboard size, so we don't need printer's marks or extra bleed. If you're building the file without a template, make the artboard the finished size plus 10mm on every edge. A 1,000 x 2,000mm panel becomes a 1,020 x 2,020mm artboard (1,000 + 10 + 10 = 1,020). Then click Save PDF.
InDesign
InDesign uses Export rather than Save As, but the settings are the same.
- Go to File > Export, choose Adobe PDF (Print) as the format, and click Save.
- In the Export Adobe PDF window, choose [Press Quality] from the Adobe PDF Preset menu.
- In Compression, set colour and greyscale images to 150 ppi and monochrome images to 600 ppi.
- In Marks and Bleeds, leave printer's marks off. If you set up the bleed in InDesign rather than building it into the page size, set the bleed here to the full 10mm so it is included in the PDF.
- Click Export.
If your studio works to a PDF/X standard, that's fine. Adobe recommends PDF/X-4 for print publishing workflows. Just note that PDF/X-4, like [Press Quality], keeps transparency live rather than flattened, so the file still needs flattening as our specifications ask. Our guide on how to flatten a transparency shows how to do that in Acrobat Pro.
Designing in Canva?
Canva isn't suited to preparing wide format print files. If your design is in Canva, talk to us before you send it, and we'll suggest the best way to get it print-ready.
Big artwork: work in proportion
Large wall graphics are easier to handle at a reduced scale, and everything scales with them. Here's how a 3,000 x 2,000mm wall graphic works out:
- At 10%: a 300 x 200mm page with 1mm of bleed (10mm x 0.1). Images need 1,500 ppi in the file to print at 150 ppi full size (150 x 10 = 1,500).
- At 50%: a 1,500 x 1,000mm page with 5mm of bleed (10mm x 0.5). Images need 300 ppi (150 x 2 = 300).
Illustrator has a size threshold too. If any artboard is larger than 227 inches (227 x 25.4 = 5,765.8mm, about 5.77m), it switches to a large canvas, which exports to fewer formats, though PDF is one of them.
Check the product template before you choose a scale. Our Big Mural display wall, for example, lists separate artwork guides for its 3m, 2.25m and 1.5m wide straight walls. Tell us what scale you've used when you send the file.
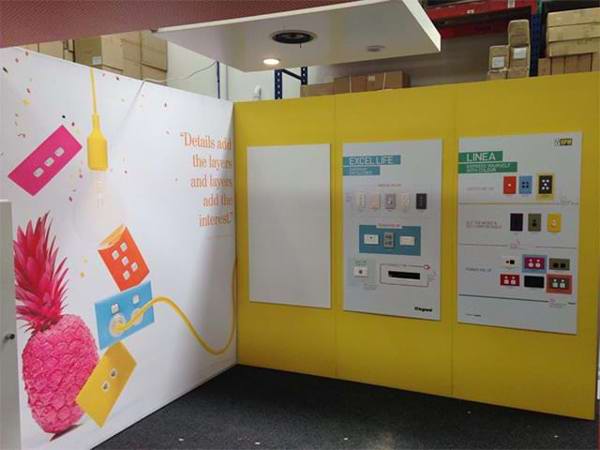
Check the PDF before you send it
Open the exported PDF in Acrobat and run through these:
- Page size. Does it match the template, including bleed? A document size that doesn't match the design template is one of the top five issues we find in preflighting.
- Separations. In Acrobat Pro, go to All tools > Use print production > Output preview and choose Separations. If any spot colours show up, go back to the source file and convert them to CMYK process colour. The one exception is a dieline, which is set as a spot colour on purpose so it doesn't print.
- Images. Zoom in on photos and check none are soft or pixelated at finished size.
- Fonts and flattening. Make sure text was outlined or embedded and that the file was flattened.
- File size. If it's too big to email, get in touch and we'll arrange another way to get it across.
When it's ready, see how to send your artwork: email it to sales@displays2go.com.au with your order or job number in the subject line. If you'd like a second pair of eyes first, our artwork preflighting service is $45 ex-GST per job, with digital proofs sent back to you for approval before anything prints.