

YOUR CART IS CURRENTLY EMPTY
How do I convert a JPG or PNG logo to a vector file?
What is the difference between a JPG and a vector logo?
A JPG or PNG is a picture file made of pixels. Enlarge it far enough and the edges go soft and blocky. A logo file made for a website is typically low resolution, because it only needs to be large enough to show on a screen.
A vector logo uses paths, not pixels, and stays sharp at any size. An .ai, .eps or PDF can also contain pixel images; changing the file type doesn't make them vector.
Why do I need a vector logo?
Logos sit front and centre on banners, flags and walls. That's where a small JPG falls apart, while a vector logo stays sharp.
If the logo was designed professionally, ask your marketing team or the original agency for the .ai, .eps or PDF master before you try anything else. That's always better than converting.
Can any JPG be converted?
Simple, flat logos with a few solid colours trace well. Gradients, photos, tiny lettering and soft or fuzzy edges don't. Adobe's own advice is that it's always better to get the trace settings right than to edit the paths afterwards, and that some images are better traced by hand.
If the result isn't clean, you will likely need to have the logo rebuilt by a designer. Our in-house graphic design team can produce print-ready artwork from a brief, and we'll estimate the cost first.
Steps to convert a JPG or PNG logo to vector in Illustrator
1. Place the logo in a new Illustrator document. In the main menu, go to File > Place, select your JPG or PNG, click Place, then click on the artboard to place it. Use the largest version of the logo you have.
2. Open the Image Trace panel. Select the logo with the Selection tool, then in the main menu go to Window > Image Trace.
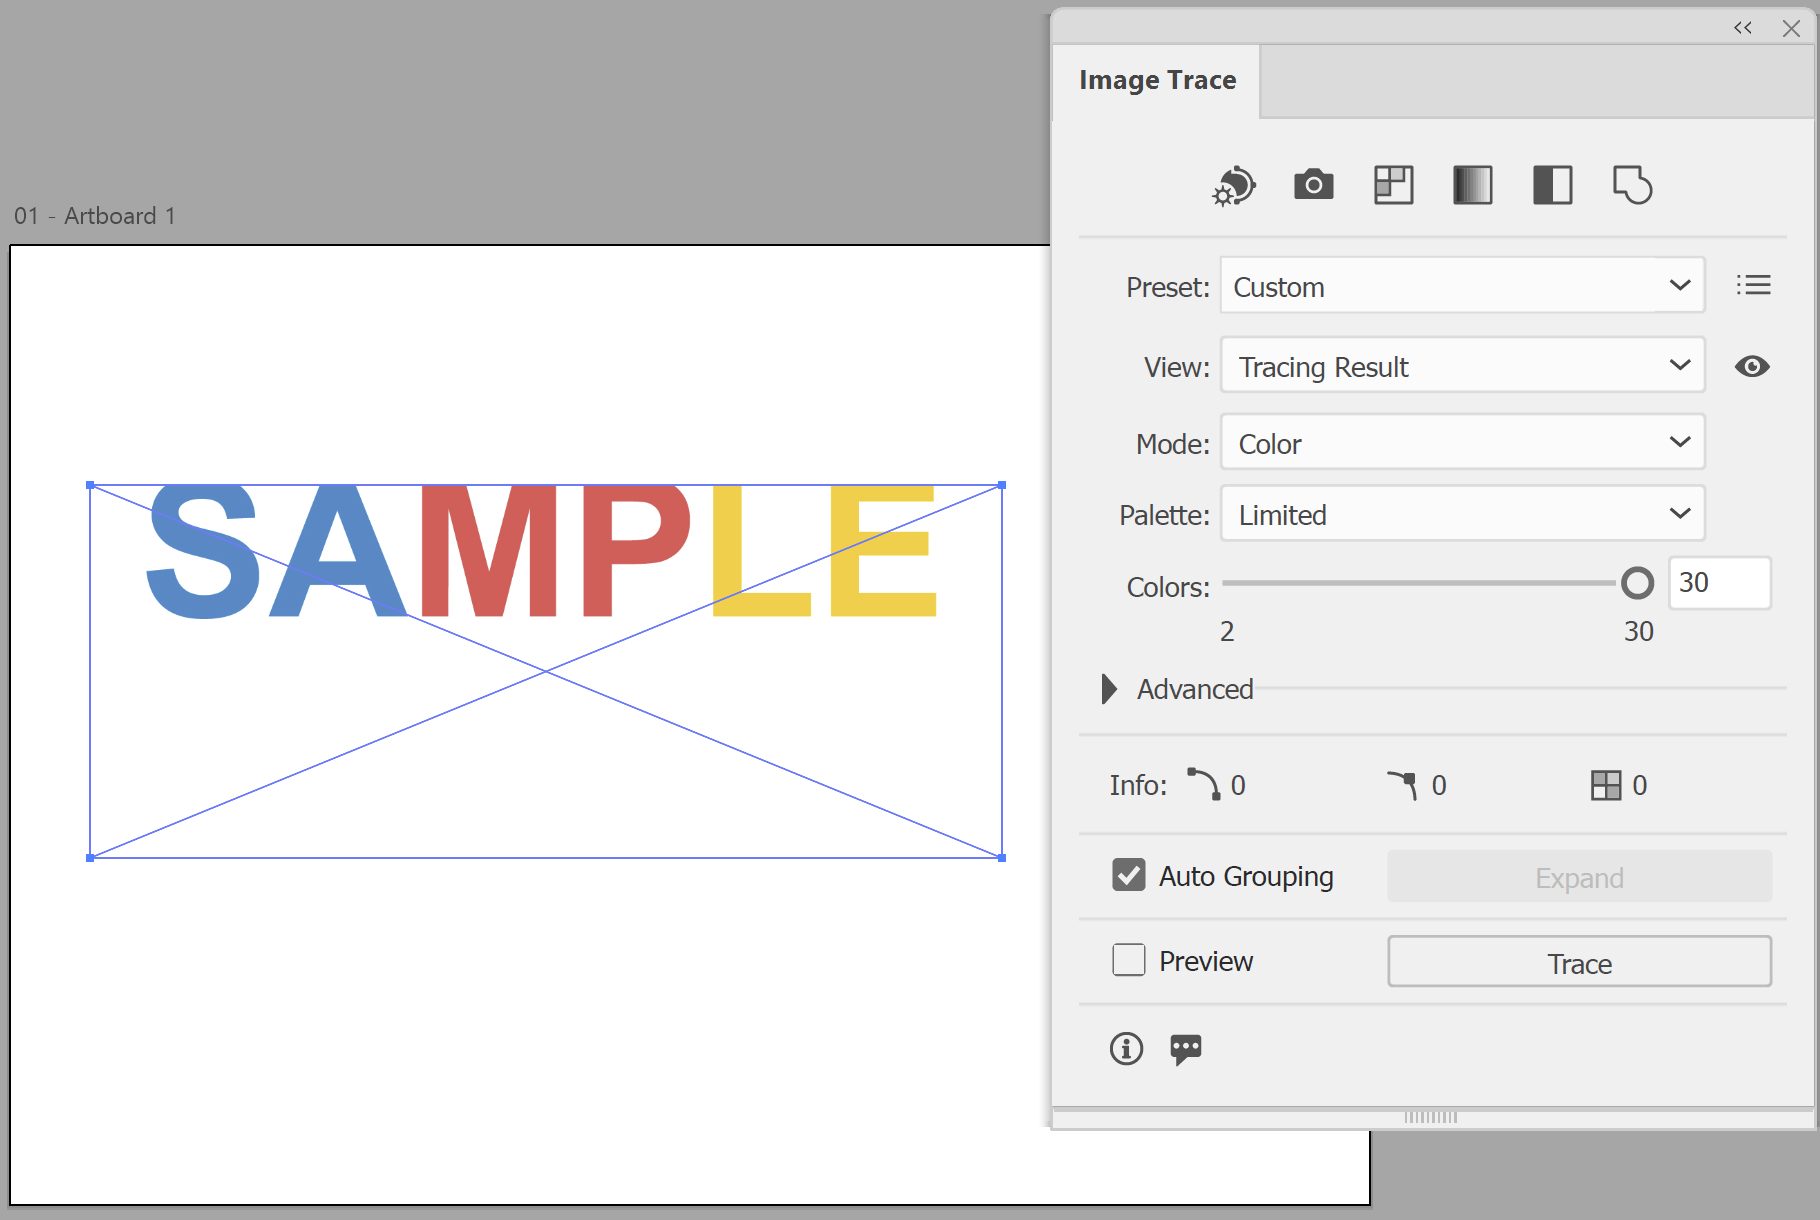
3. Choose a starting preset. For a black logo on white, click Black and White. For other flat-colour logos, choose Auto-Color, which lets Illustrator work out what suits the image. The trace result replaces the original image.
4. For a colour logo, set the number of colours. Set Mode to Color and Palette to Limited, then set Colors to include every logo colour and its background. The Info area shows how many colours the trace has created.
Note: The white background counts as one colour, so use 4 for a three-colour logo on white.
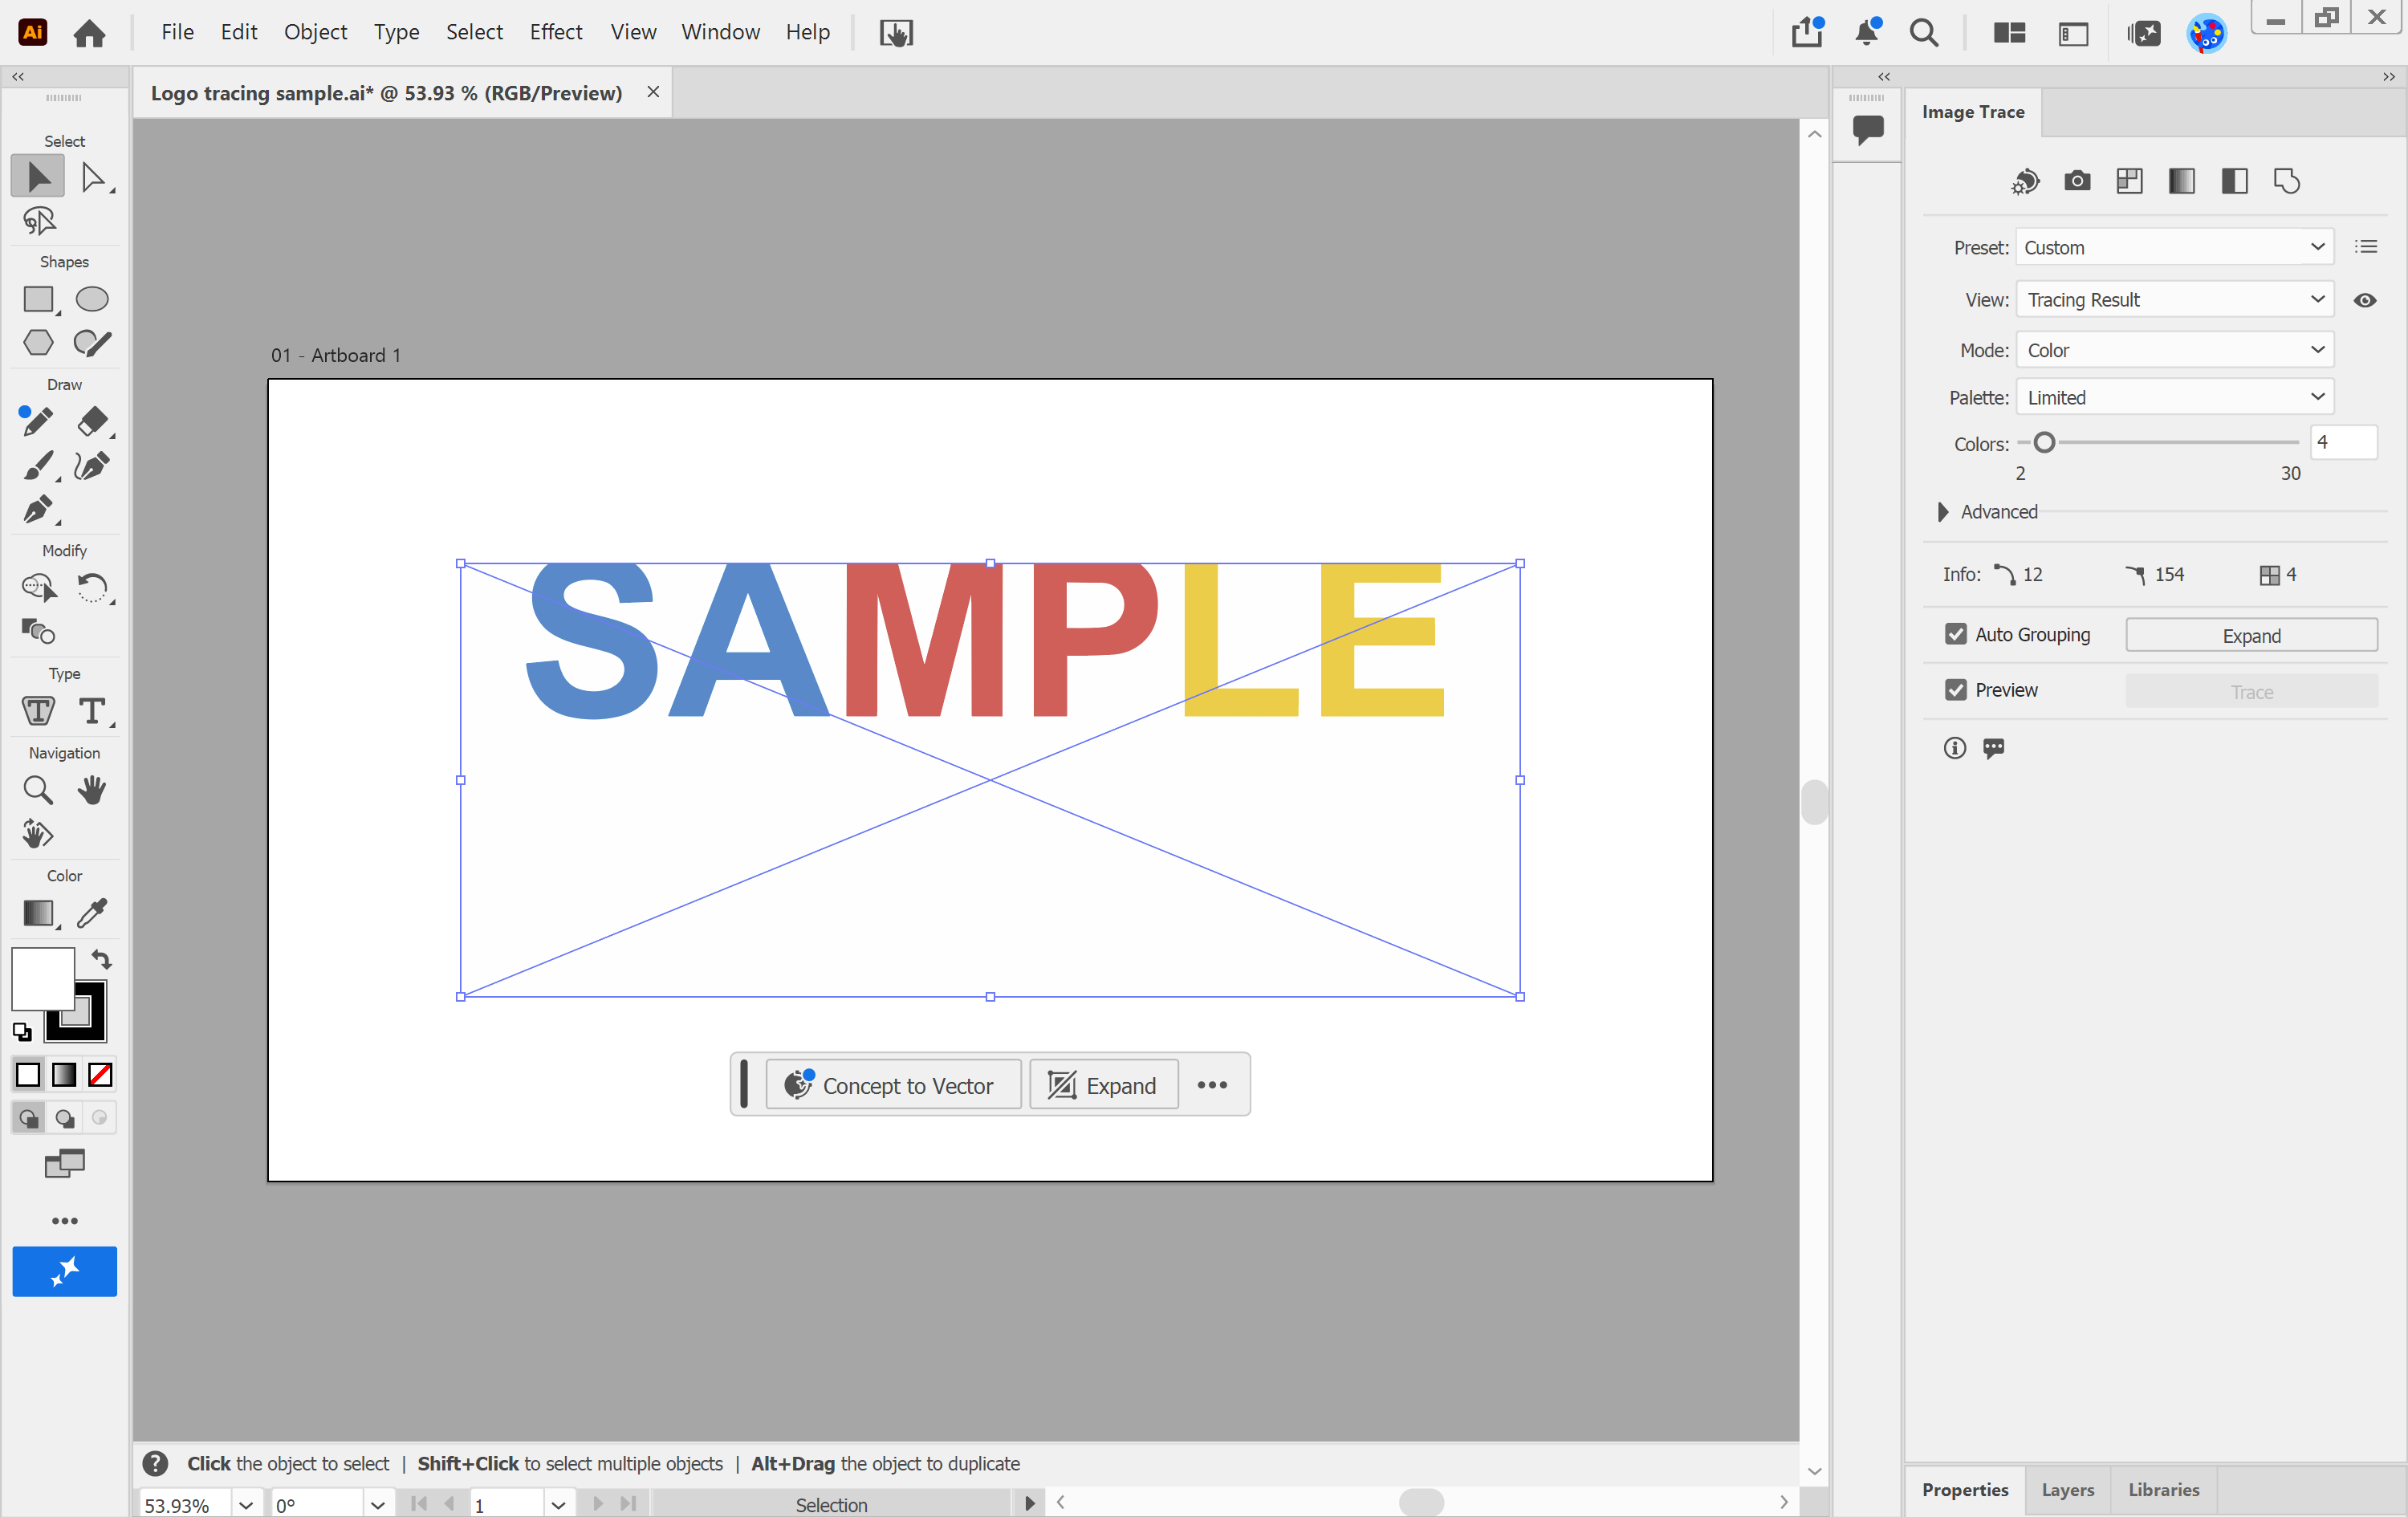
5. Tidy the edges. Click the arrow next to Advanced to show more options:
- Move the Paths slider right for tighter fitting to the original shape, but not to the far right, or paths get bumpy.
- Move the Corners slider right to turn more sharp bends into corners.
- Use the Noise slider to ignore small specks. It sets the size of speck, in pixels, that the trace skips. Adobe suggests 1 to 10 for low-resolution images and 20 to 50 for high-resolution ones.
- Under Options, check Snap Curves To Lines for logos with straight, square edges.
- Only check Ignore Color and pick white if the logo has no white details: it removes all white shapes. Otherwise, leave it off. For a transparent PNG, check Transparency; use Mode Color and at least 4 Colors with Palette Limited.
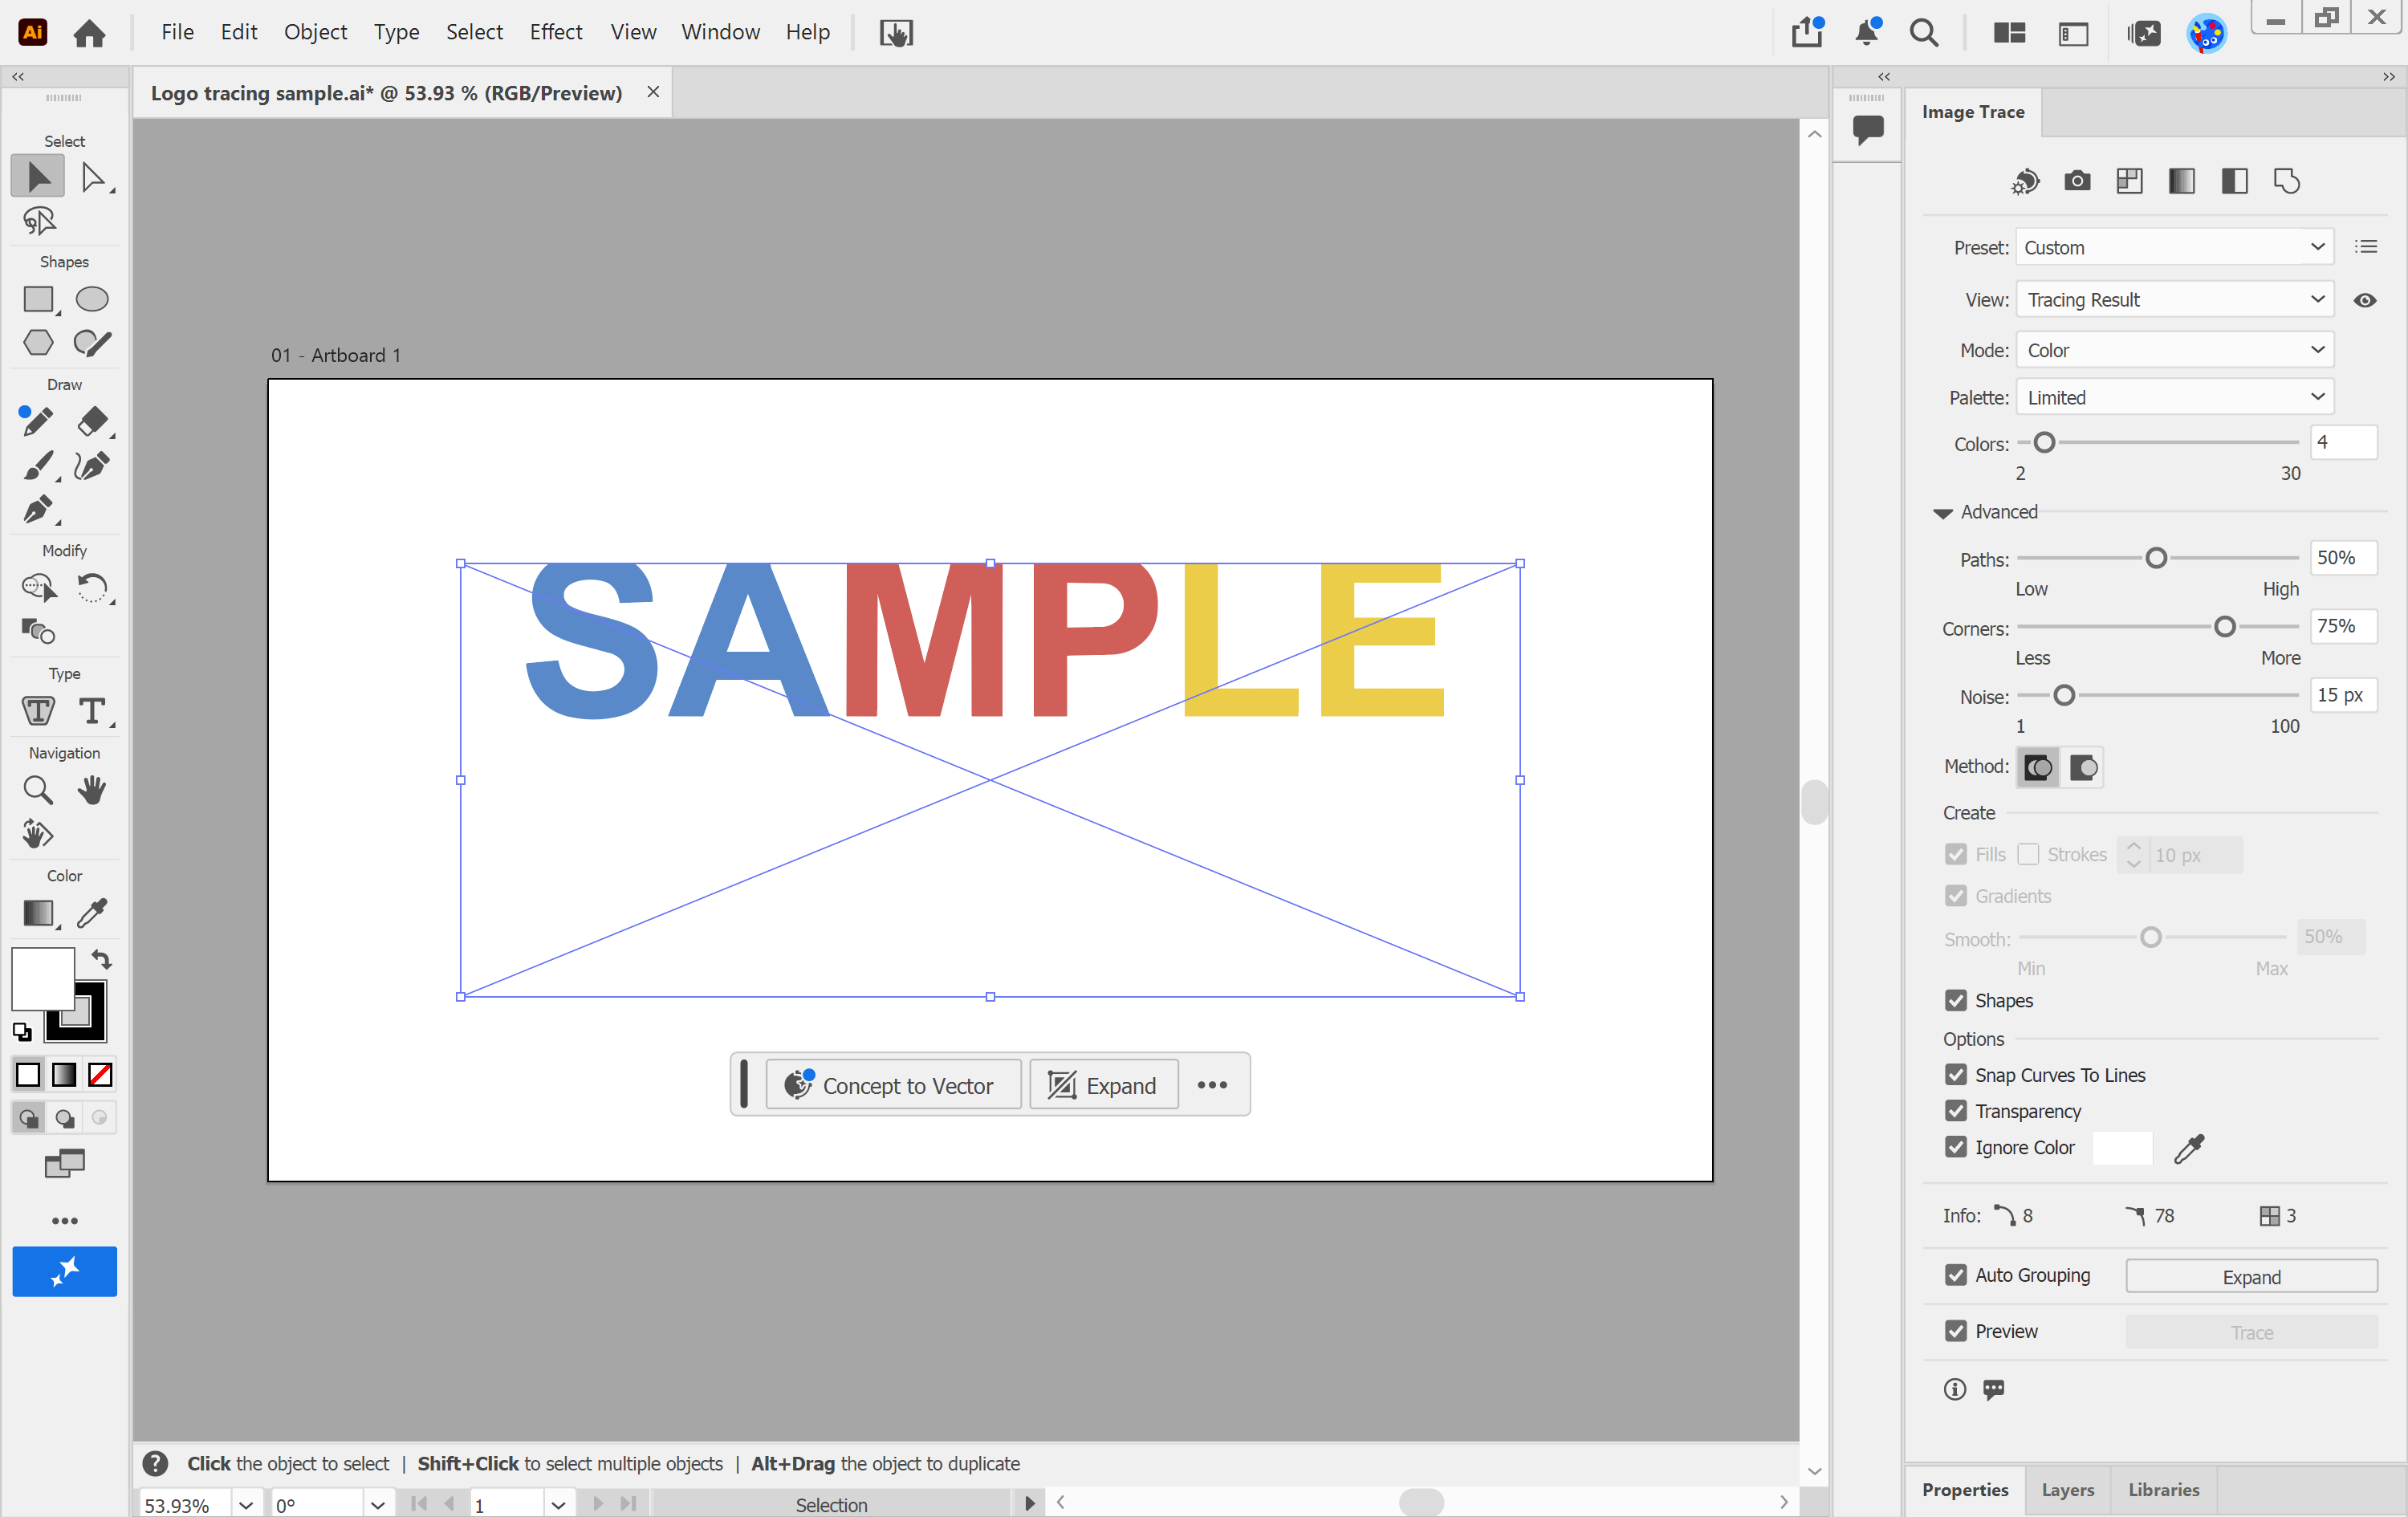
6. Compare the trace with the original. Press and hold the Press & hold to view source image button next to View to see the original, then let go to see the trace. Zoom in on lettering and points.
Note: Adobe says the trace result always moves slightly down and to the right of the original, so line it up again by eye if you need to.
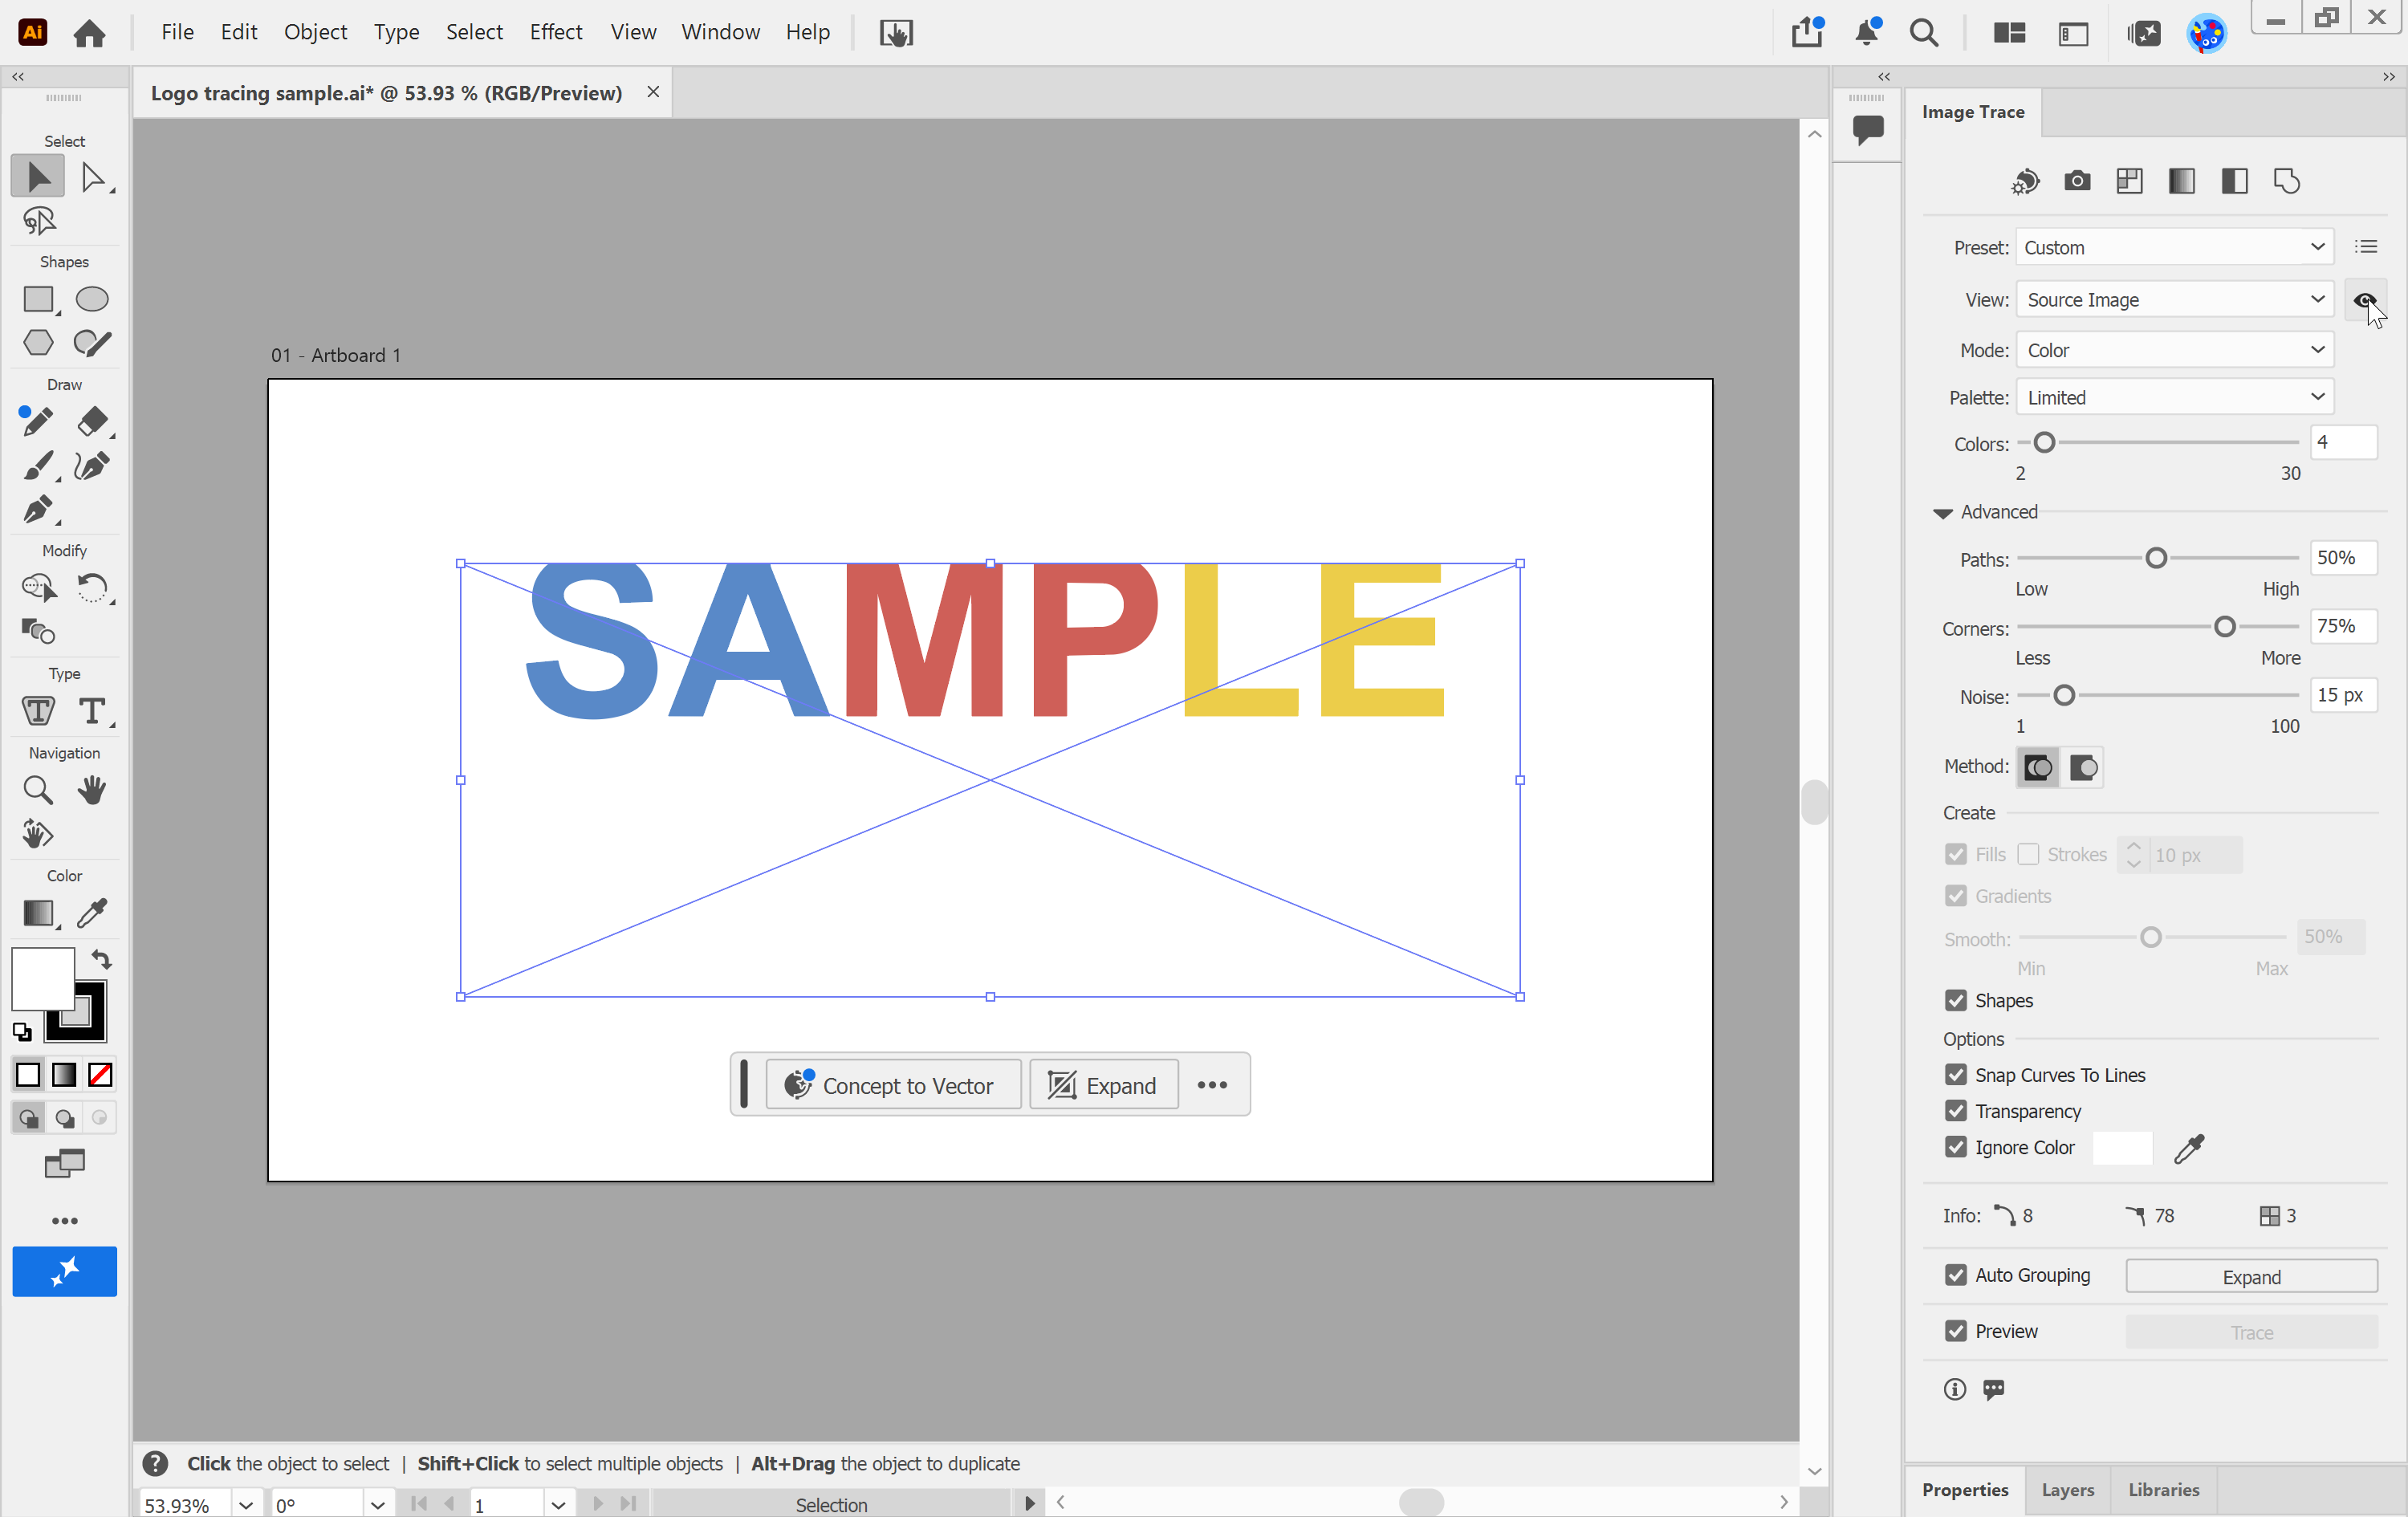
7. Turn the trace into paths. Click Expand in the Image Trace panel or the Properties panel. The logo is now made of editable vector paths.
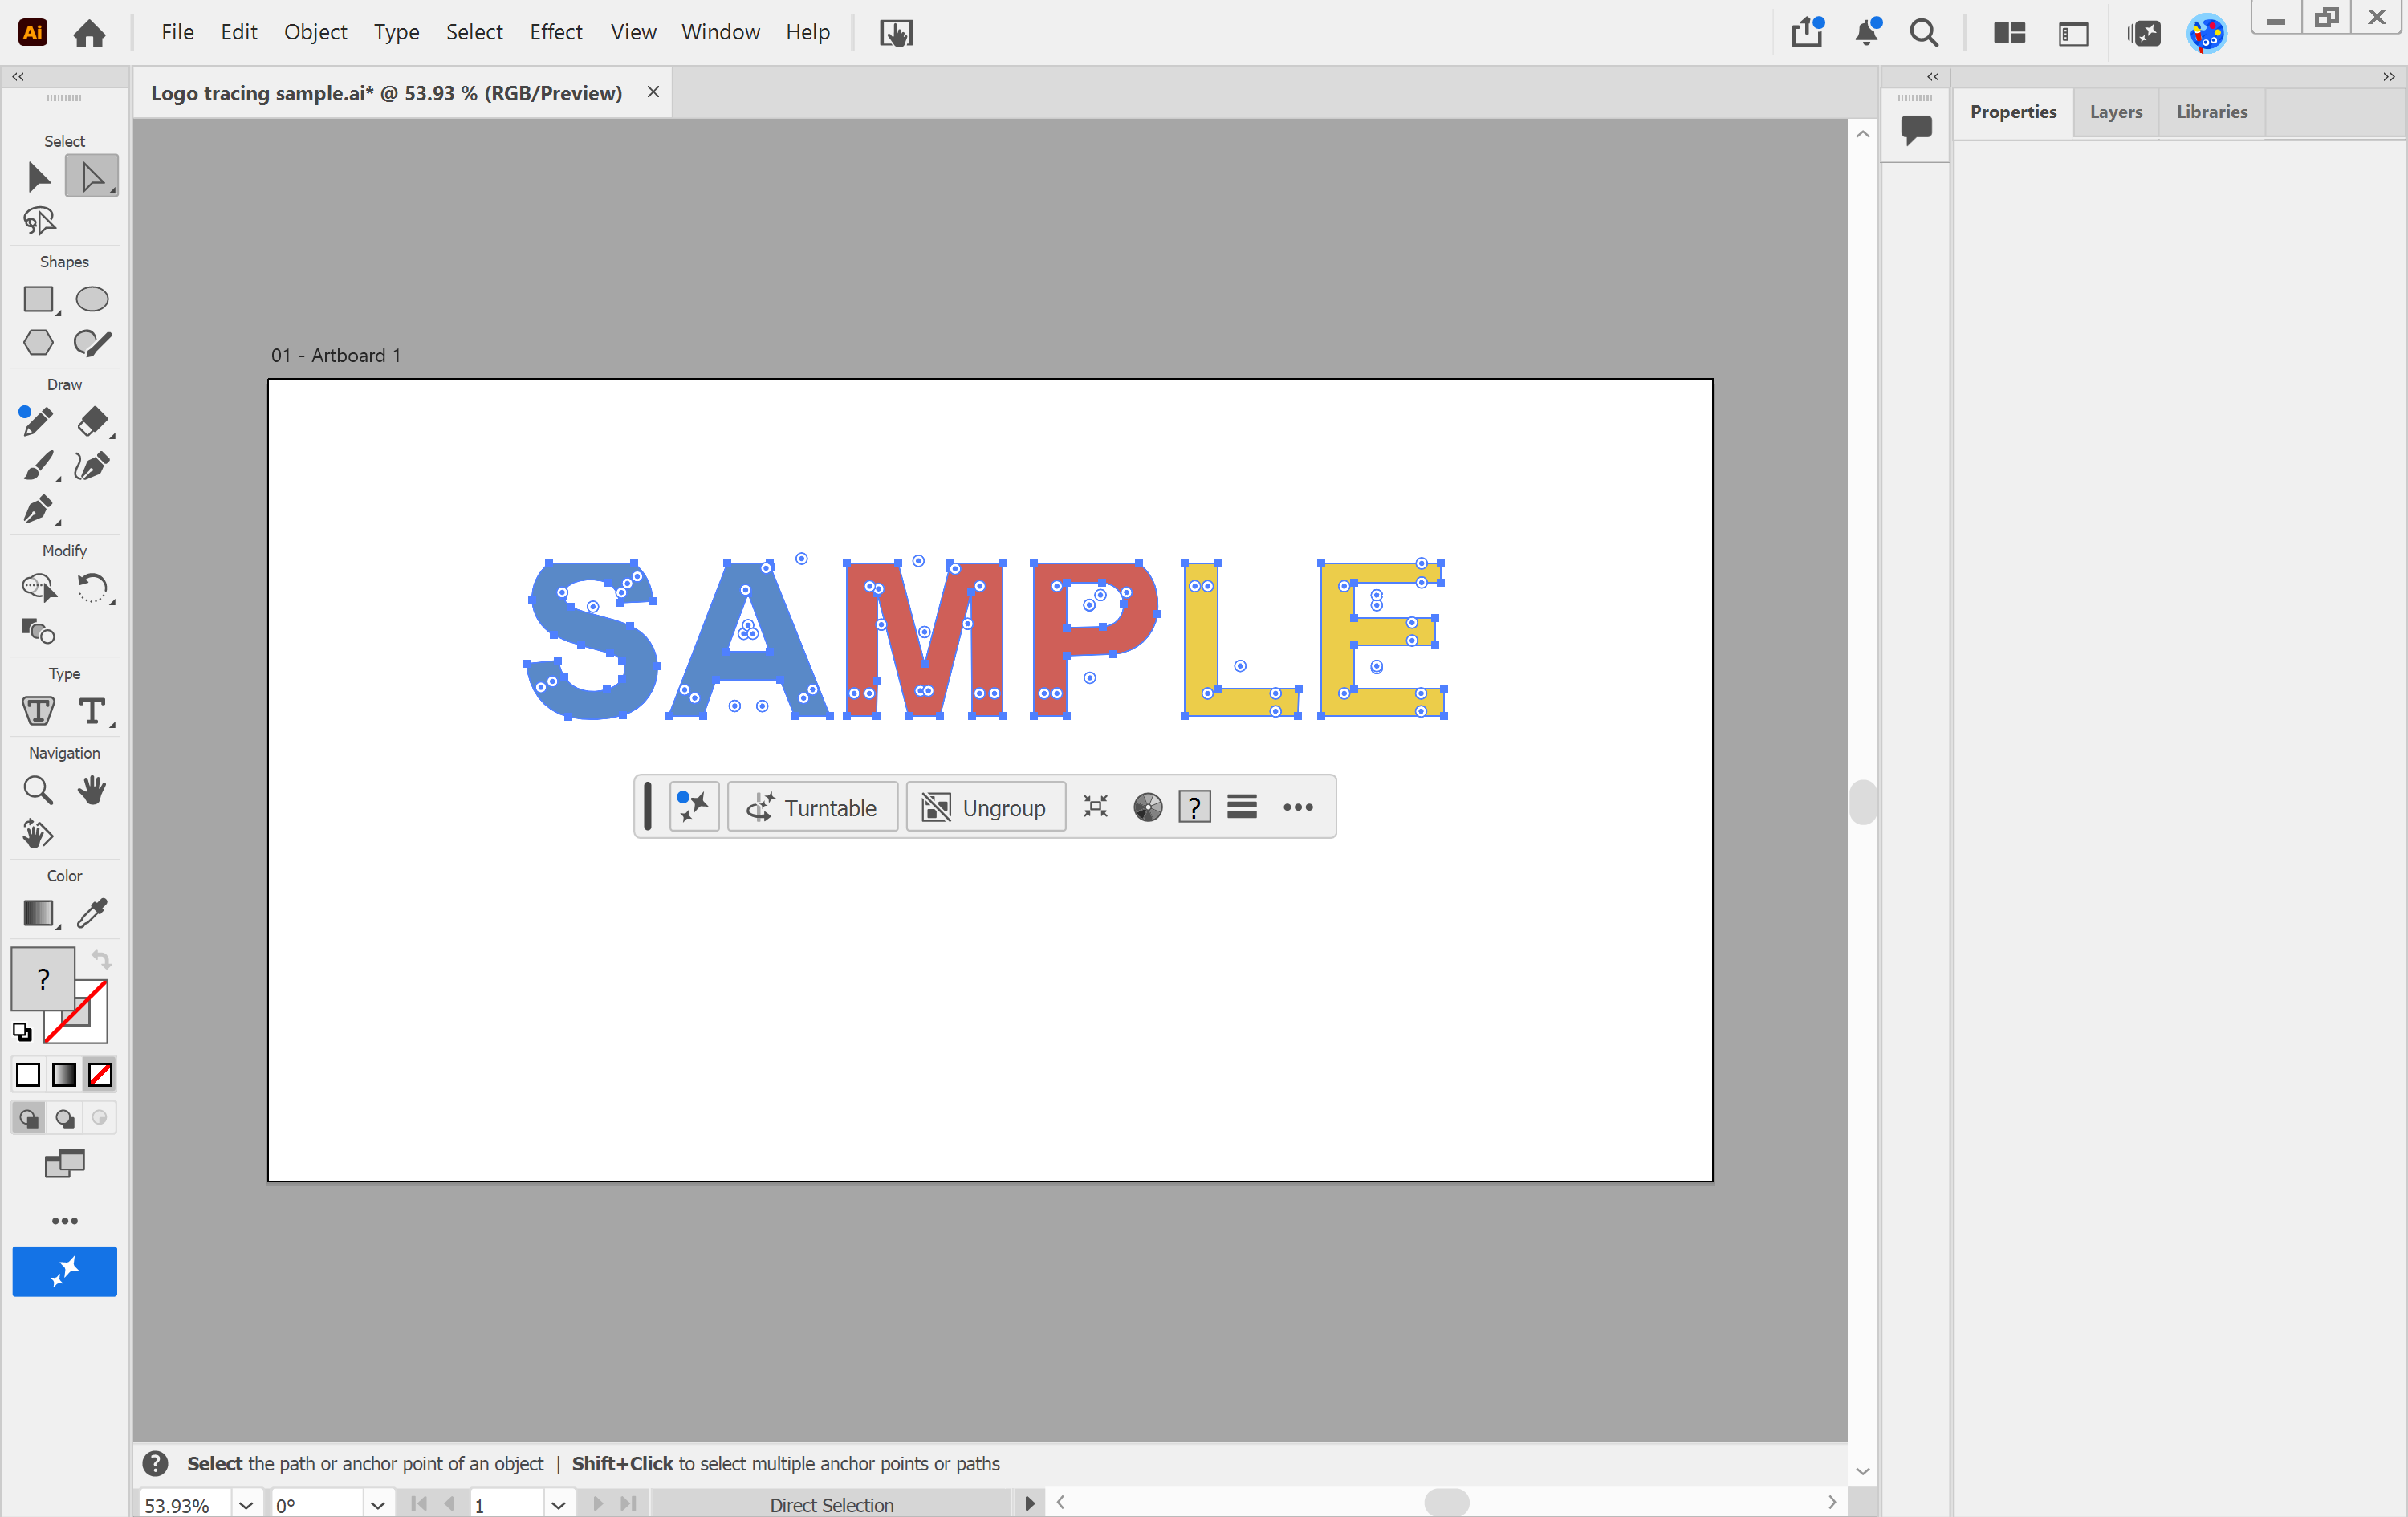
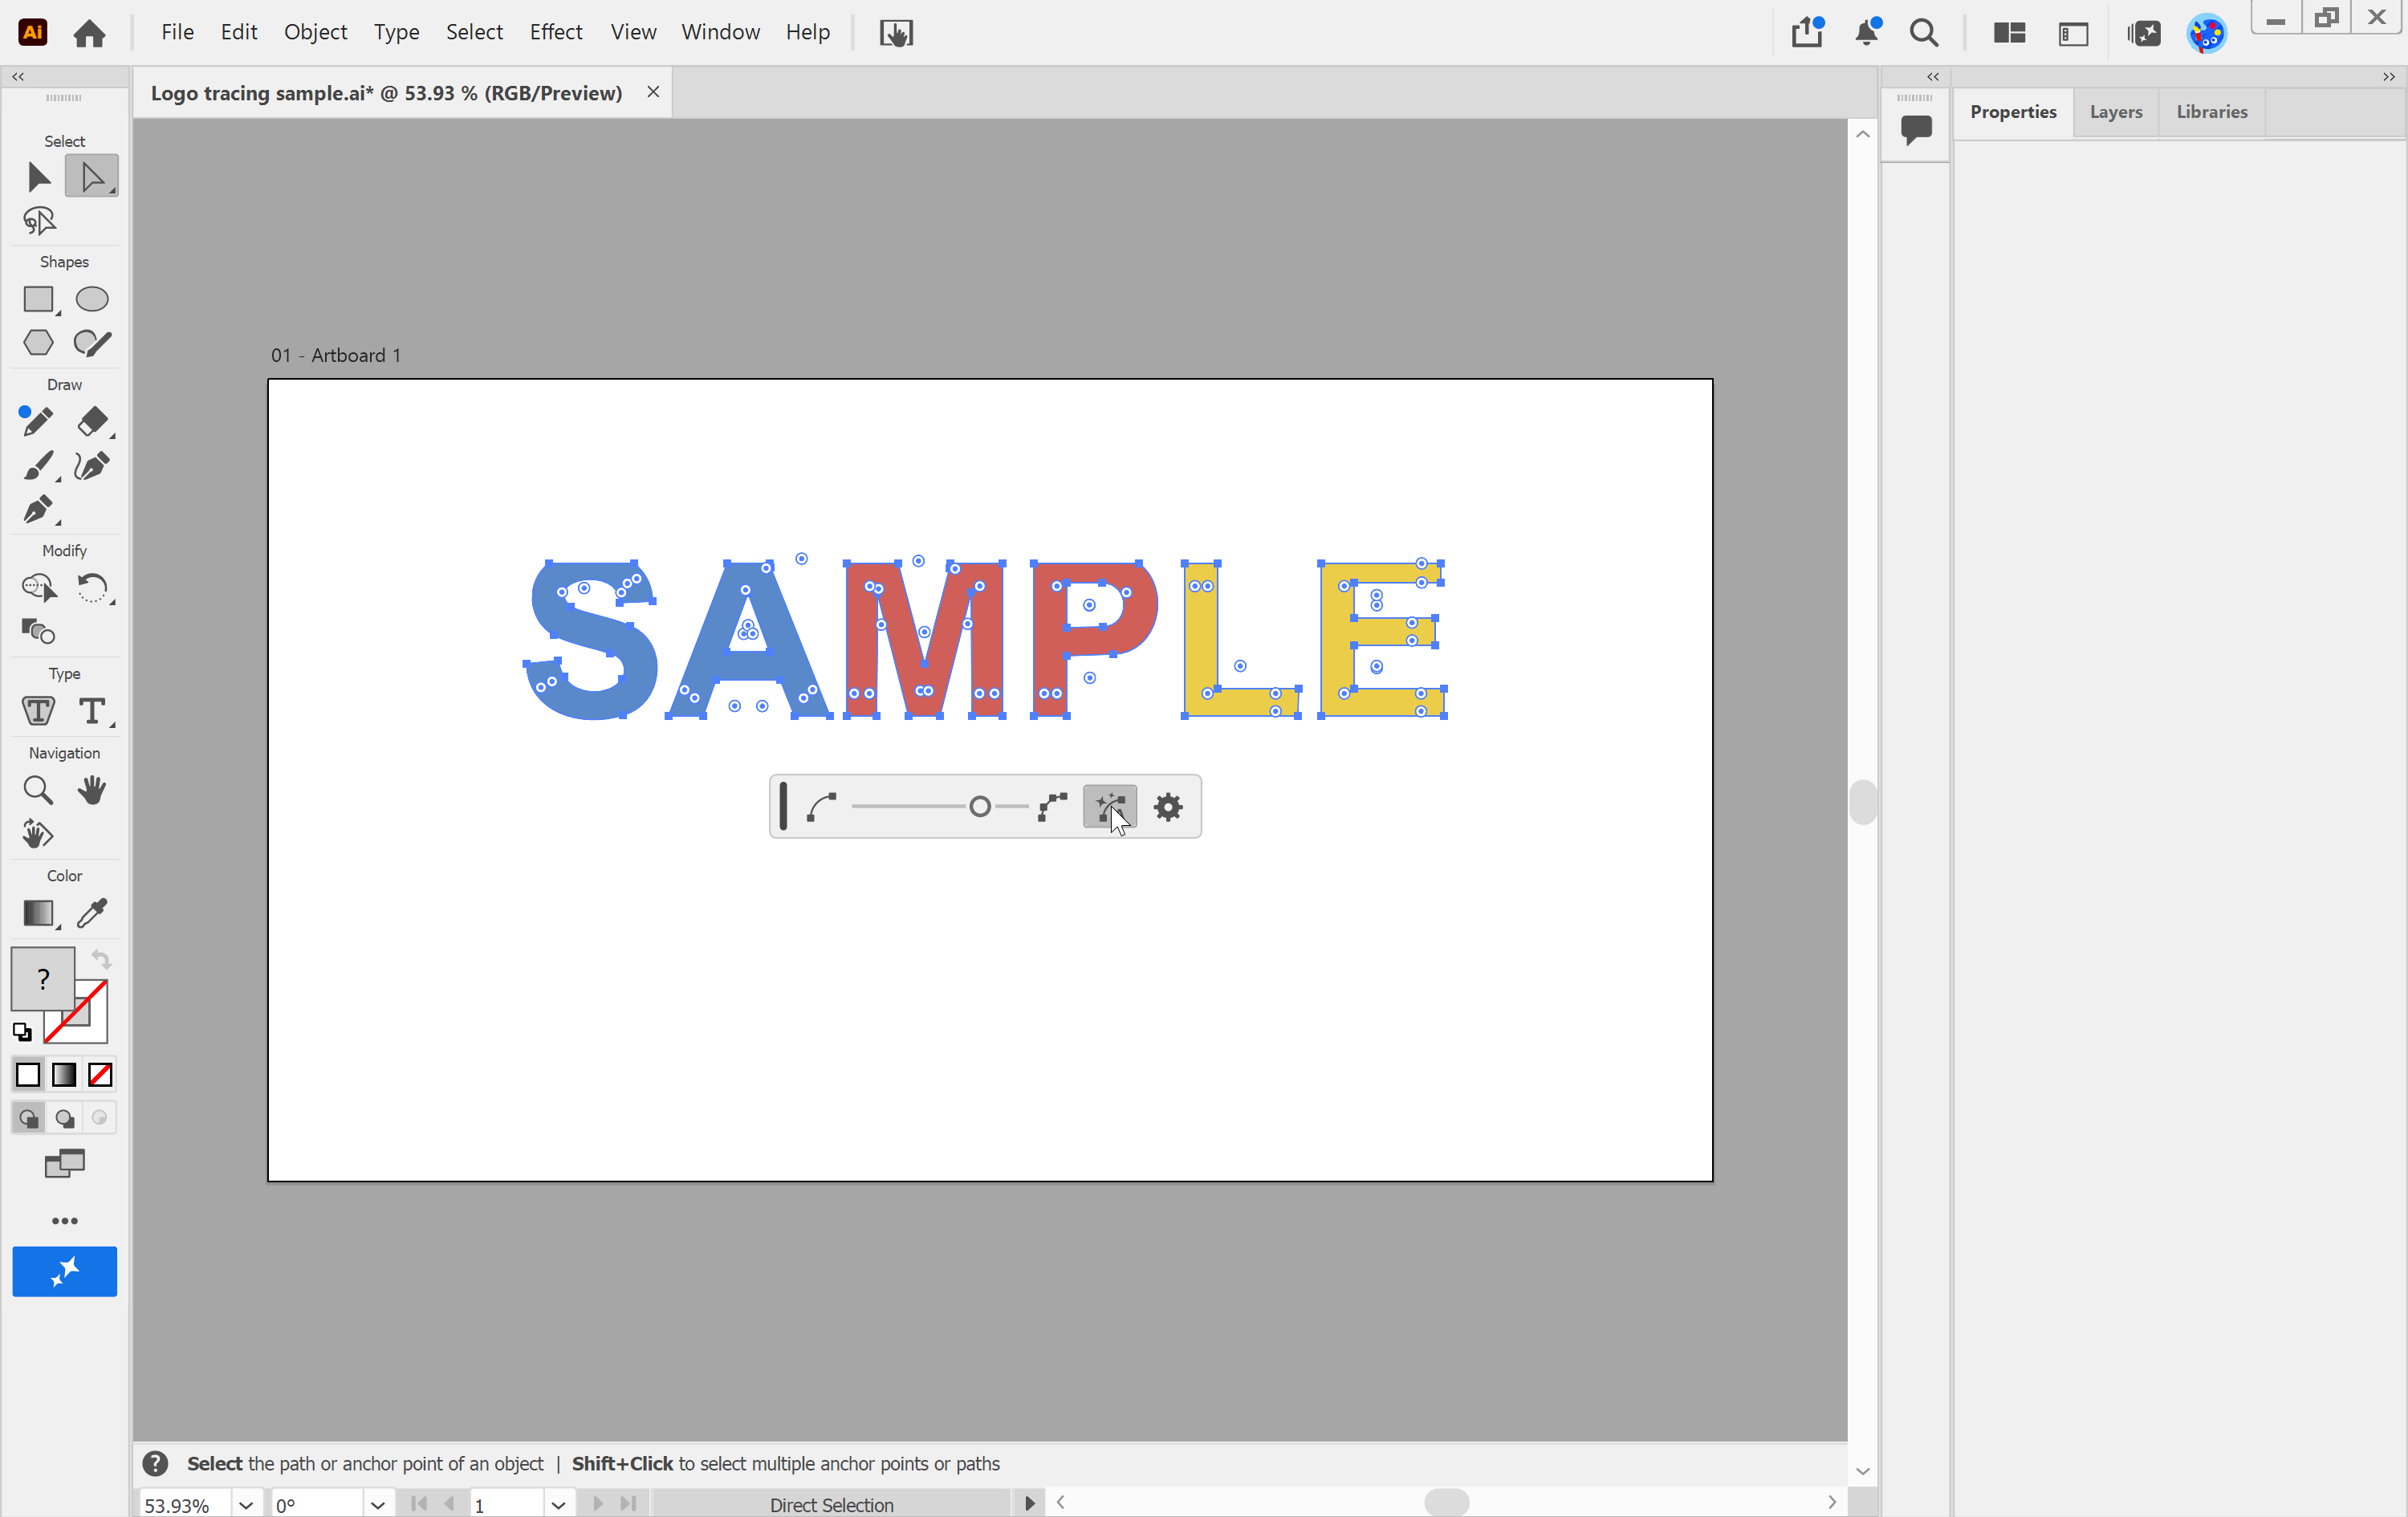
8. Optional: smooth the paths. Select the logo, then in the main menu go to Object > Path > Simplify and select Auto-Simplify to remove unnecessary anchor points and smooth the paths. Check the result against the original; undo if it distorts any lettering or corners.
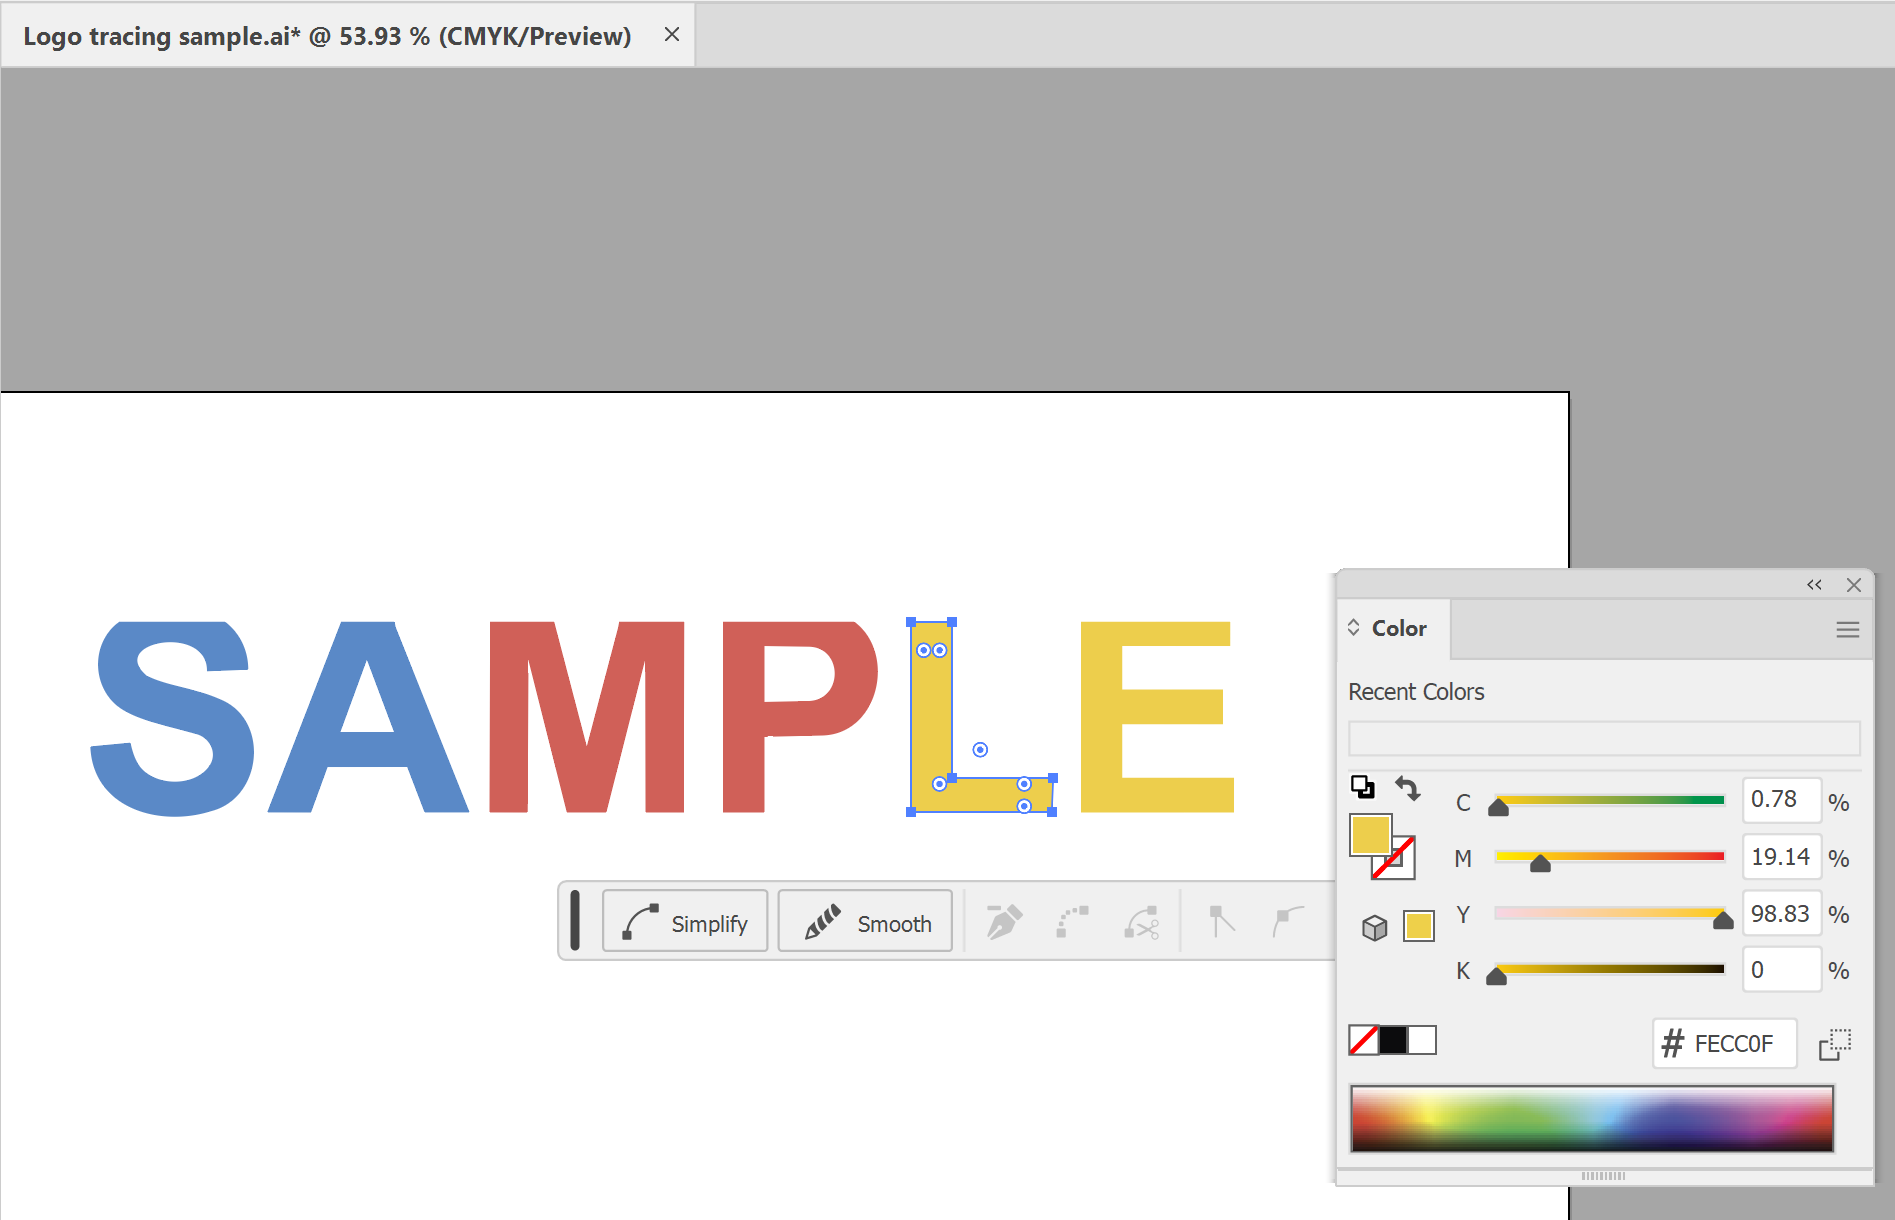
9. Set the brand colours. Go to File > Document Color Mode > CMYK Color. Select the expanded logo and go to Edit > Edit Colors > Convert to CMYK. Use Direct Selection to select each colour area, then set its Fill to your brand's CMYK values in Window > Color. If any colour is a spot colour, our guide to converting spot colours to CMYK shows how to change it.
10. Finally, save a master copy as an Illustrator (.ai) file, then save a high-resolution PDF to send us. A PDF is our preferred format. Logo files sent for our designers to use have no conversion fee; the $75 conversion fee (ex GST) applies only to non-PDF print-ready artwork. Check it against our artwork specifications. For the other files to ask for, see our guide on supplying the right logo file for printing. You're done!
Note: Generative tools such as Illustrator's Concept to Vector create a stylised version of an image, not a faithful copy, so don't use them for a logo that must match your brand guidelines.
Need some help?
We're here for you
If you're needing some advice or just a helping hand, please get in touch with our team, by clicking this button. Complete the enquiry form and one of our specialists will call you back as soon as we can.